Design: Instruction and Analysis
This gallery has a group of selected projects that I have used to illustrate some interesting design issues and processes that are important in project development. Each project has unique challenges that can become interesting opurtunities.
Maple Burl Bedroom Suite
The program for this project was deceptively simple. Design a suite of bedroom furniture centered around a 3 slab flitch of Western Maple Burl panels. This is the perfect example a design centered around a crucial and limited material.
The Bed

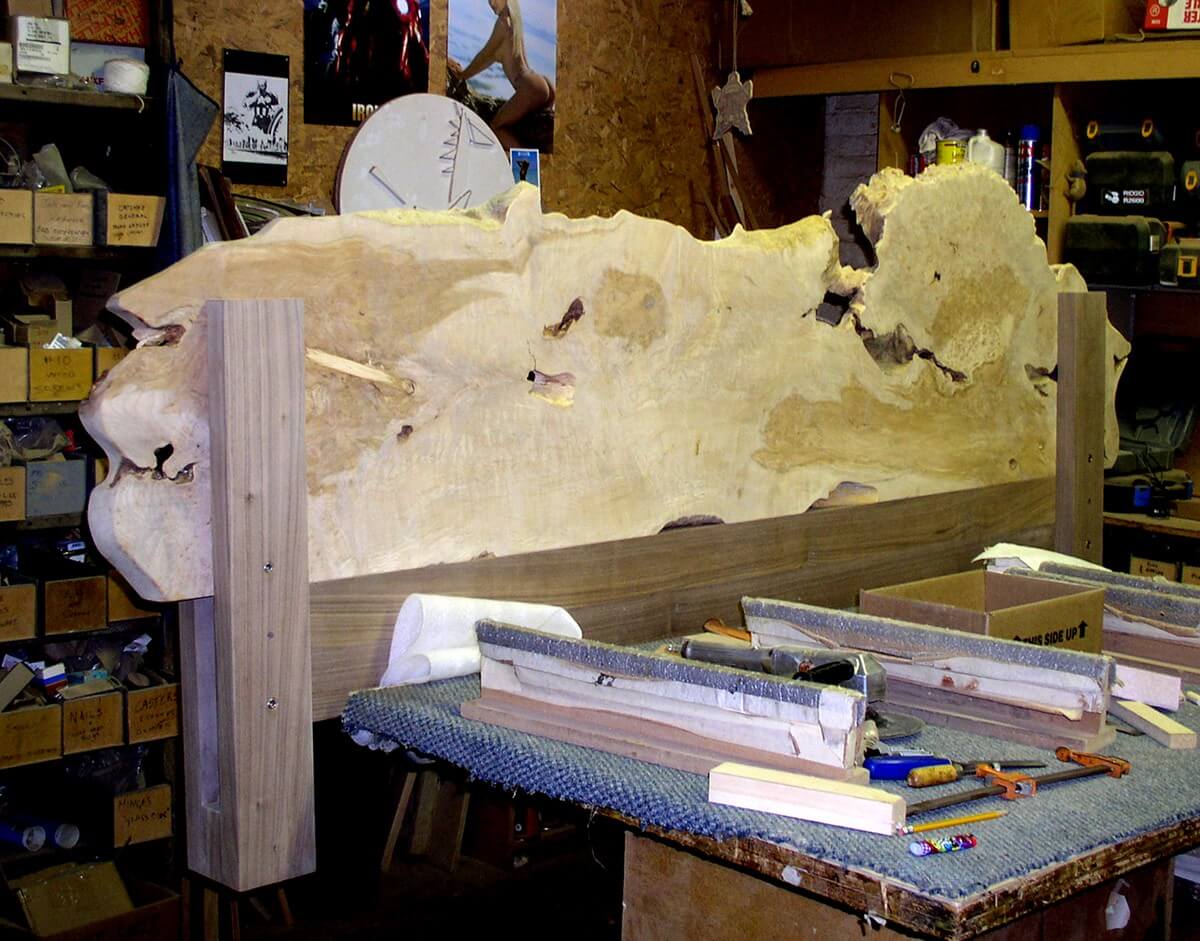
The Burl

Available material dimensions must be determined at the begining of each project. These dimensions must account for hardware requirements.
 Preliminary Milling
 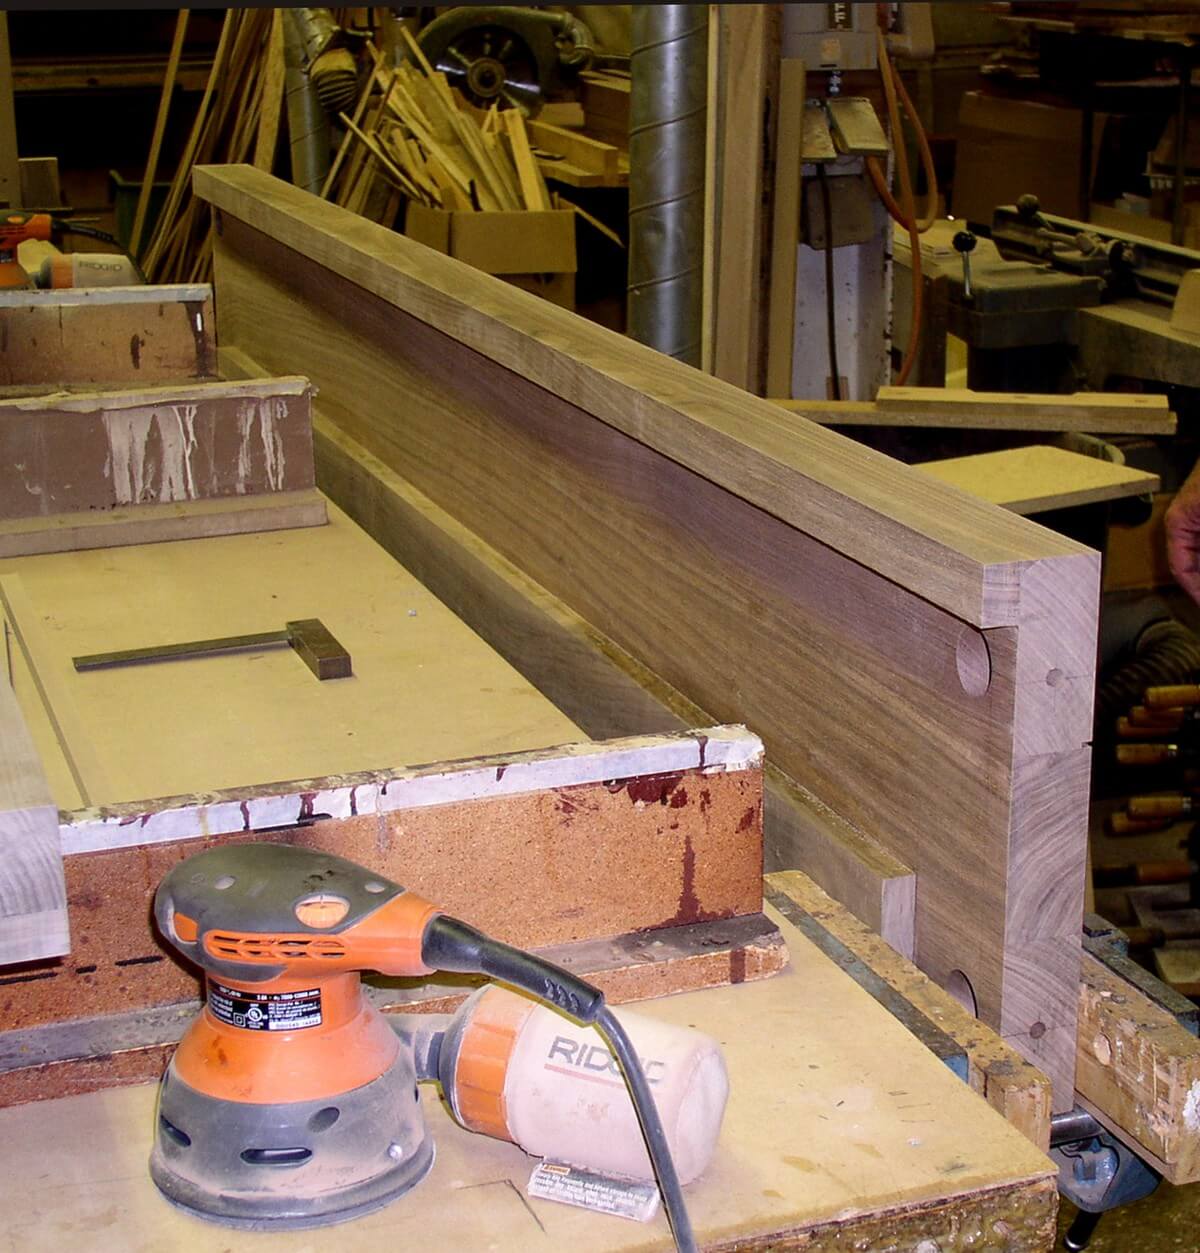 Hardware Holes
 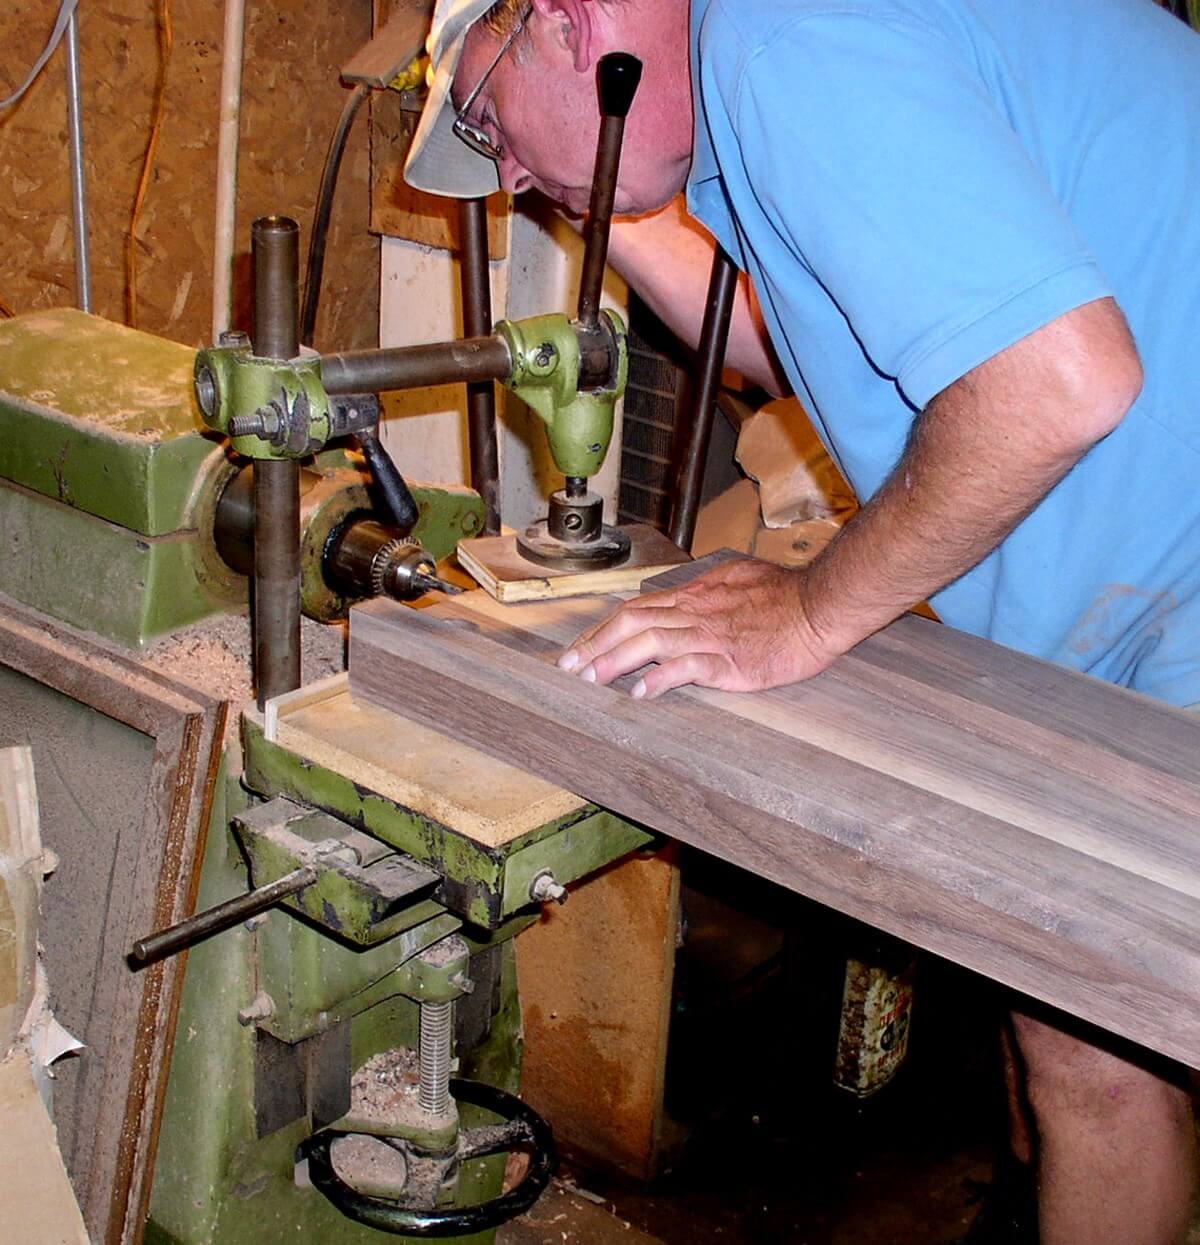 Hardware Holes
 The clarity of the drawings is essential so that each step can proceed without error. The drawings should allow for each step to be confirmed before continuing. Additionally, the crucial objects or materials must be surveyed carefully since they will limit the dimensions of the project.
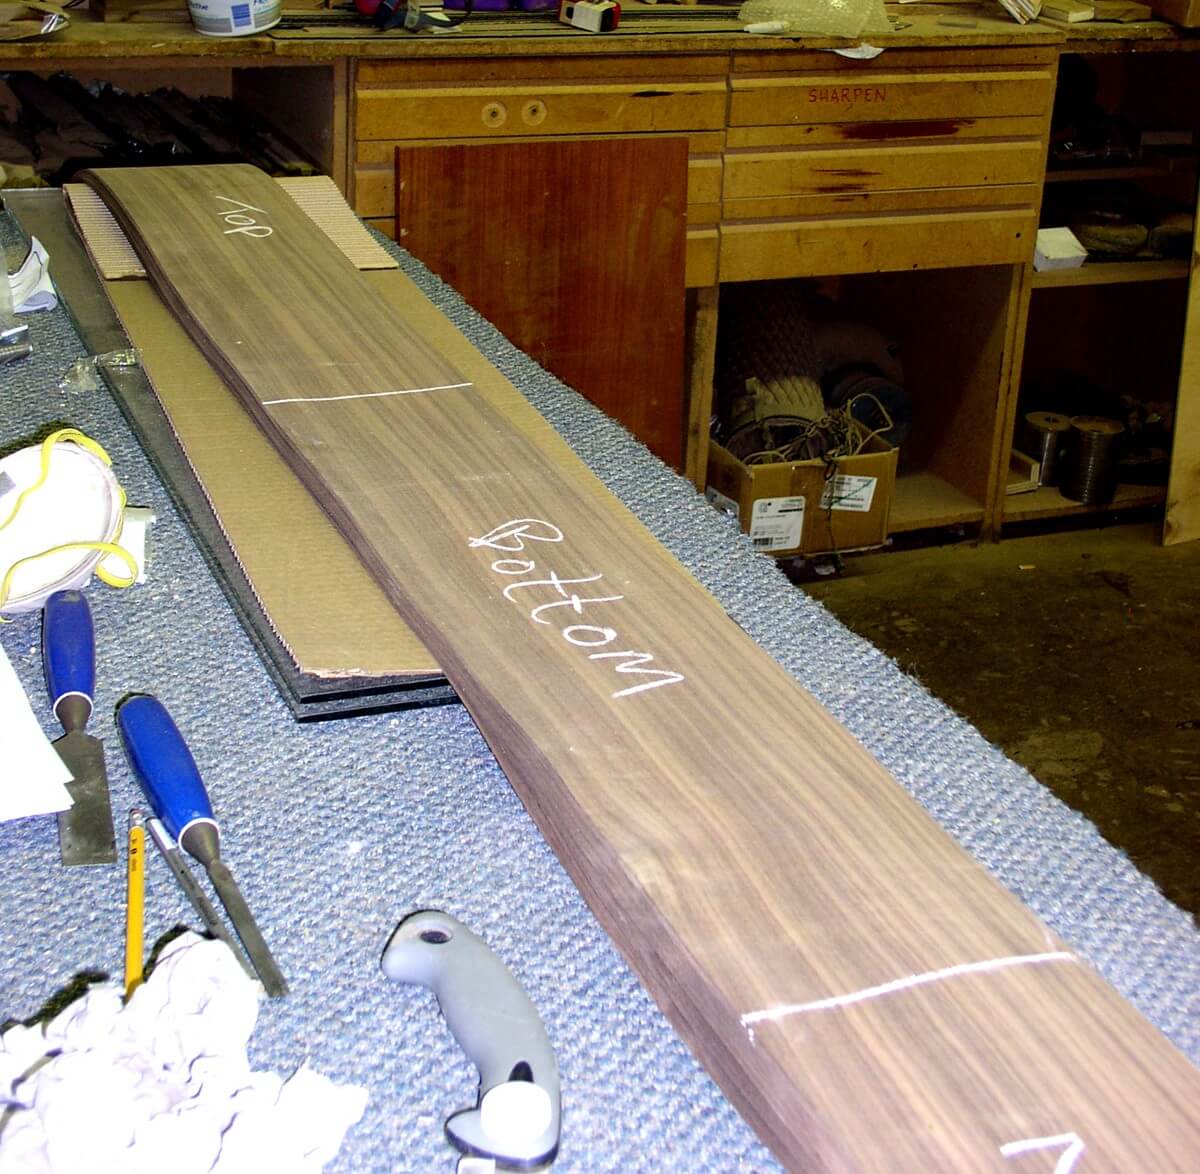
 1st Stage of Side Rail
 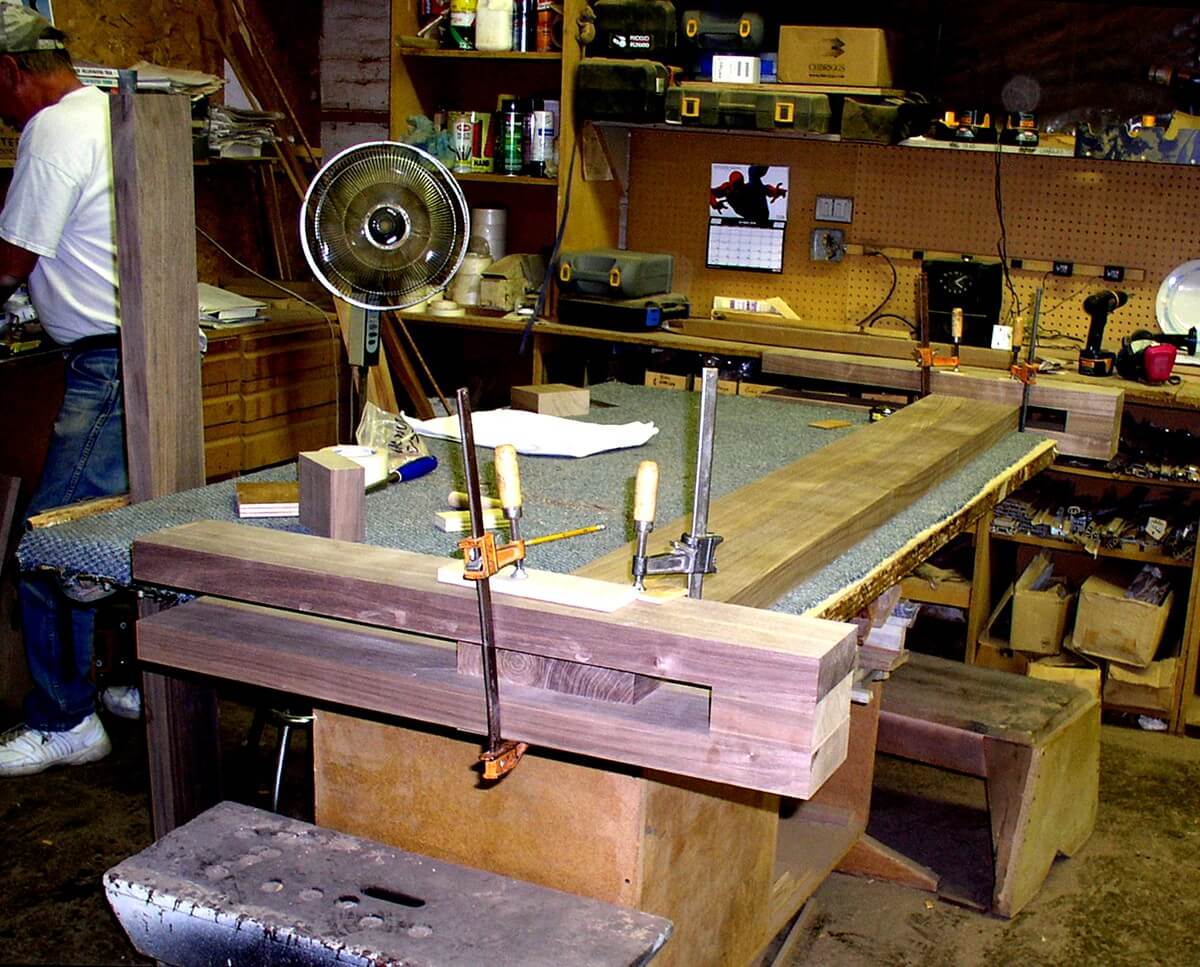 Assembly of Foot Frame
 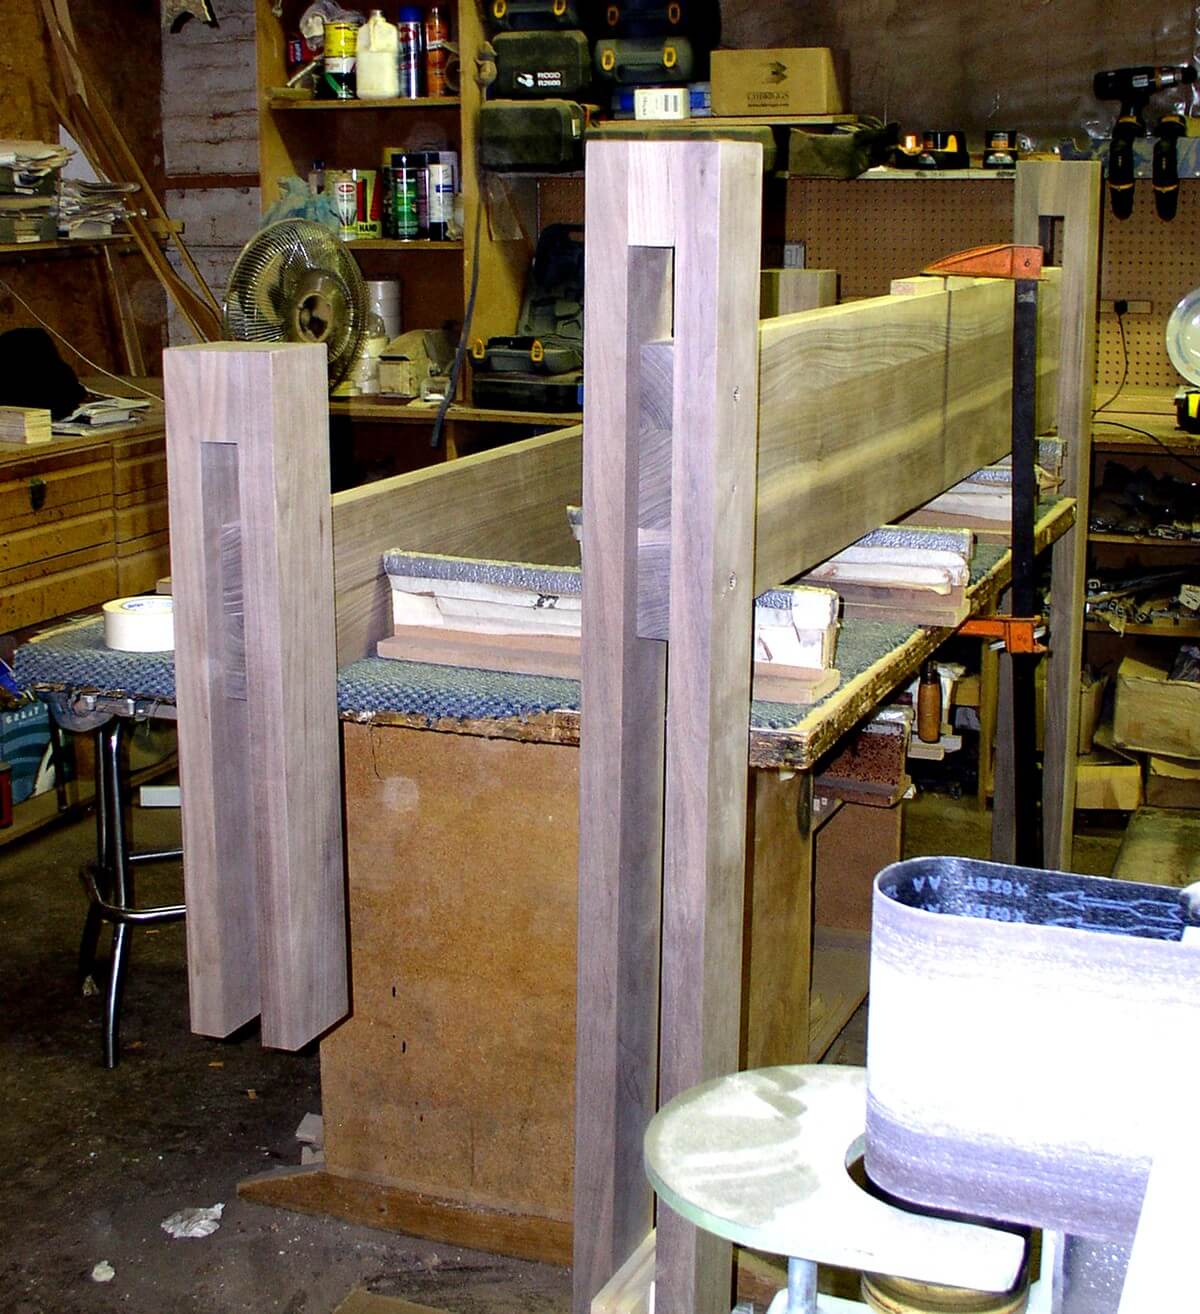 Foot and Head Frame
 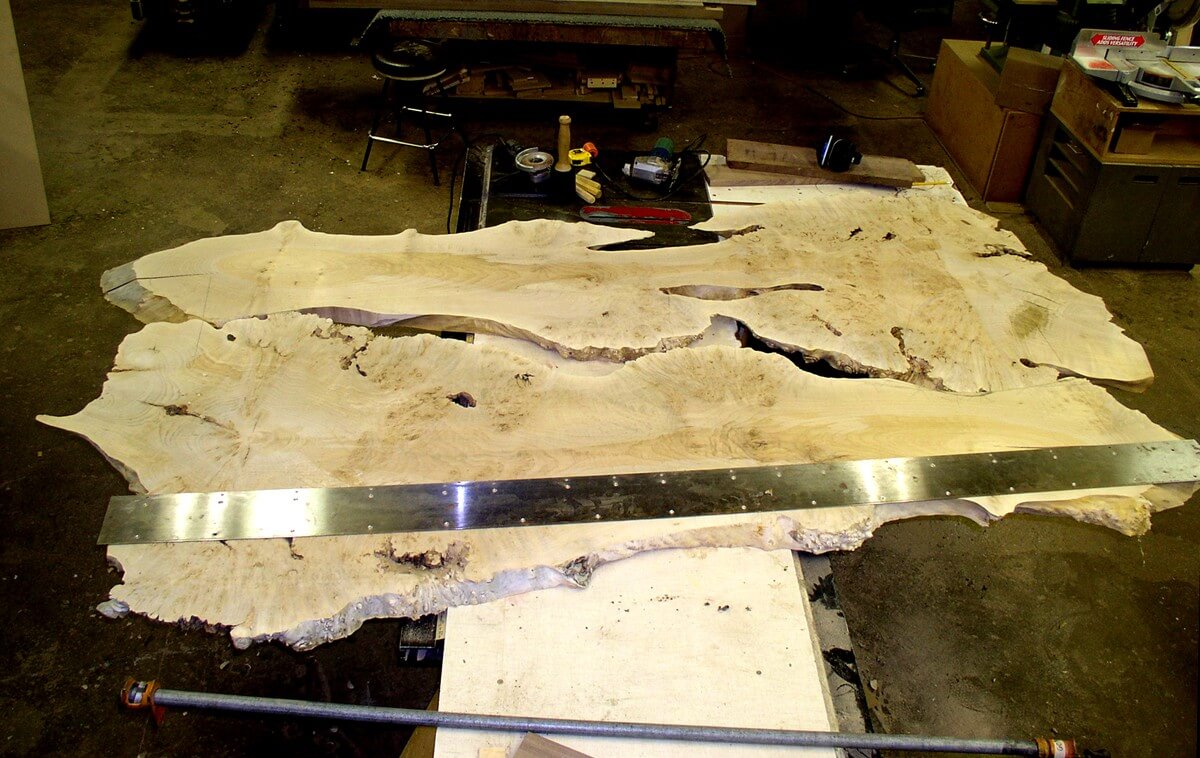 Head Board layout
 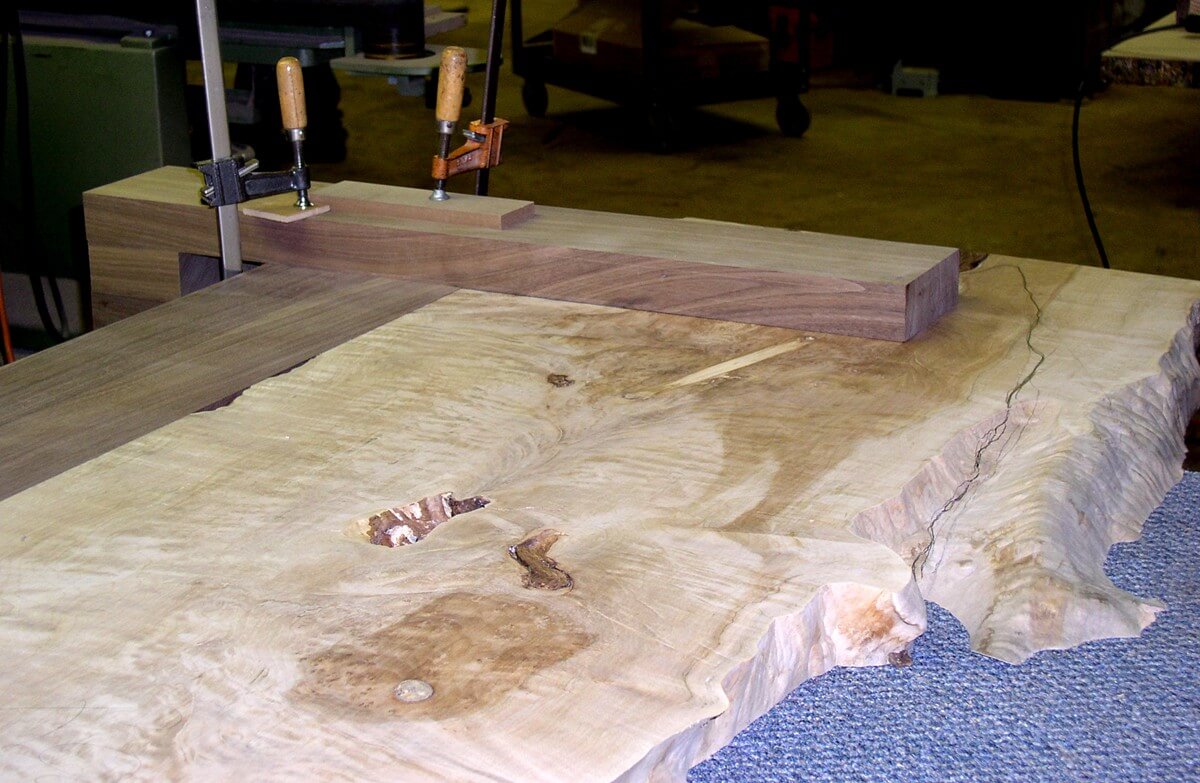 End Detail on Foot Board
 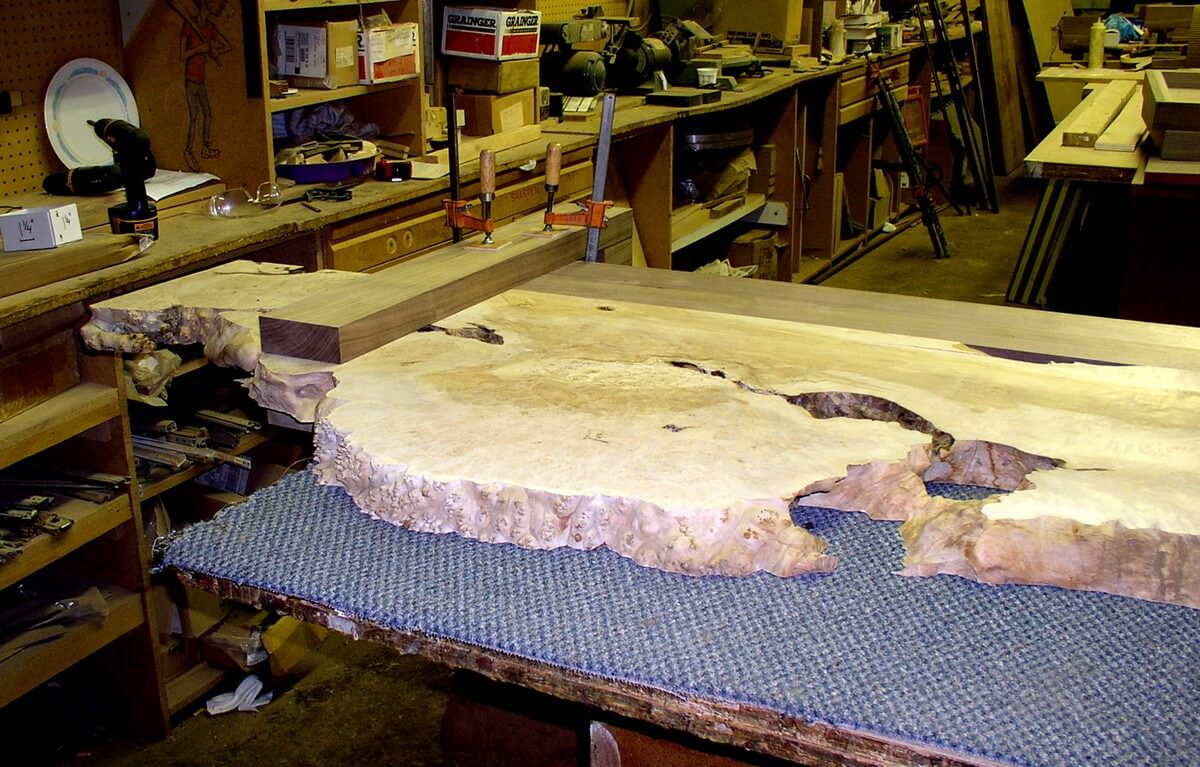 Fitting Foot Board
 After careful preparation, the final assembly goes as planned.
 The Footboard Burl Fit
 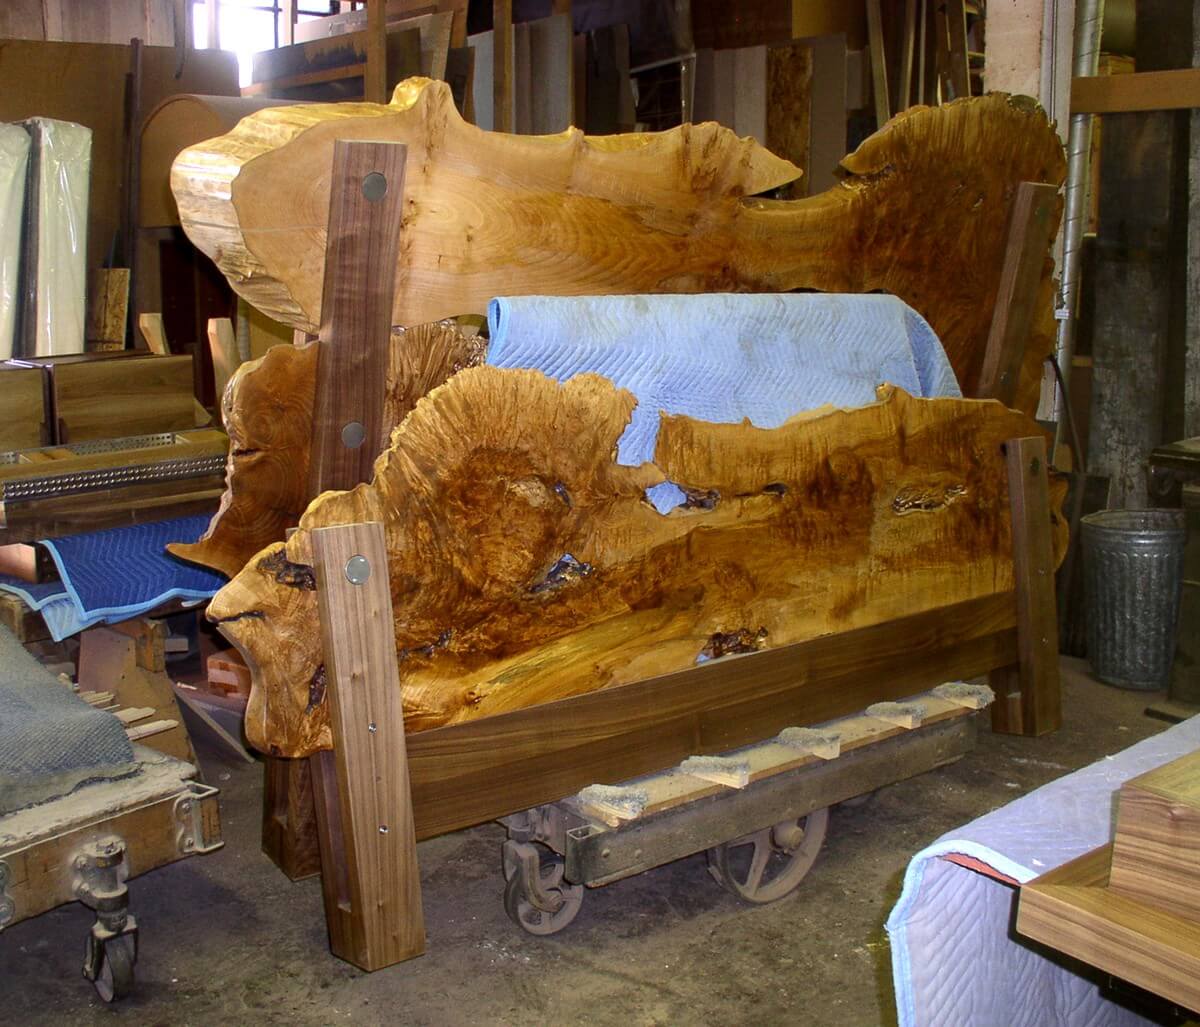 Finishing the Burl
 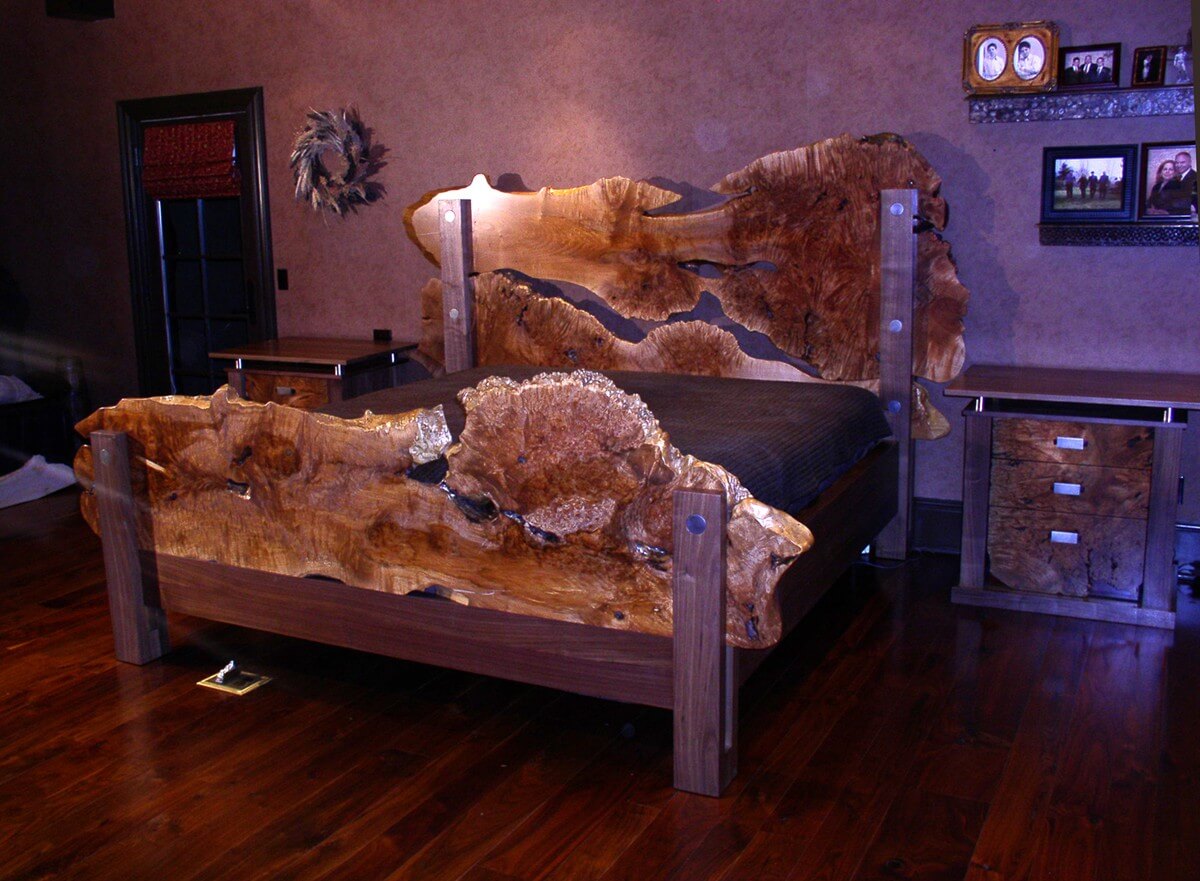 Completed Pieces
 The Night Stands
Again available material dimensions must be determined at the begining of each project. These dimensions must include hardware requirements as well as fixture operations and burl dimensions.
 Laying out the cuts
 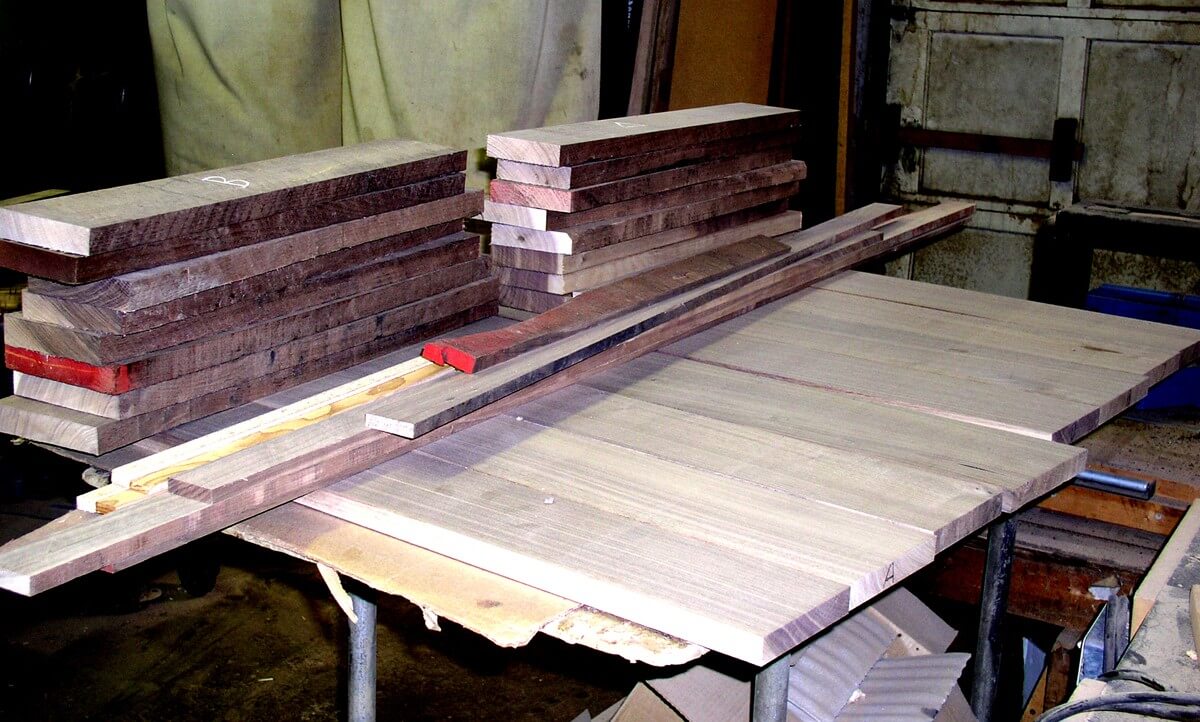 Horizaontal pcs
 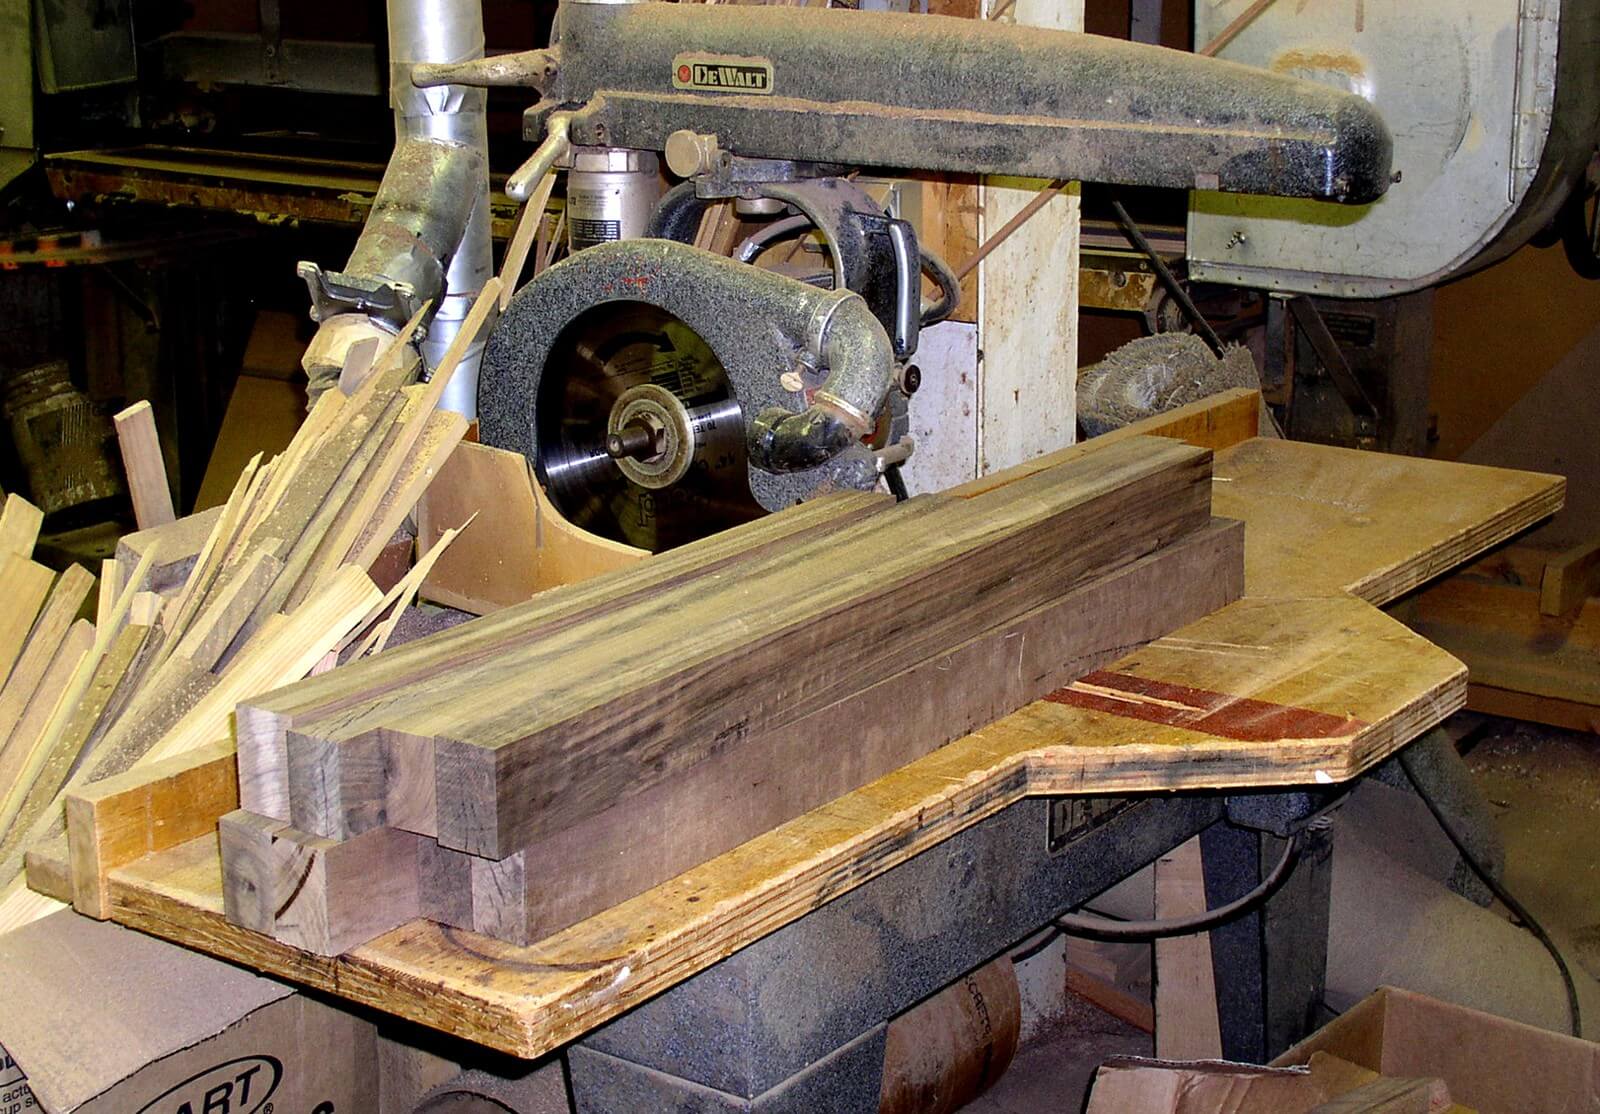 Vertical pcs
 In designing composit elements element together to make a single object, the physical properties each mterial must be taken into account. The aesthetic and functional decisions combining solid wood and veneer must coordinate while respecting the physical properties or the materials.
 Gluing up a side panel
 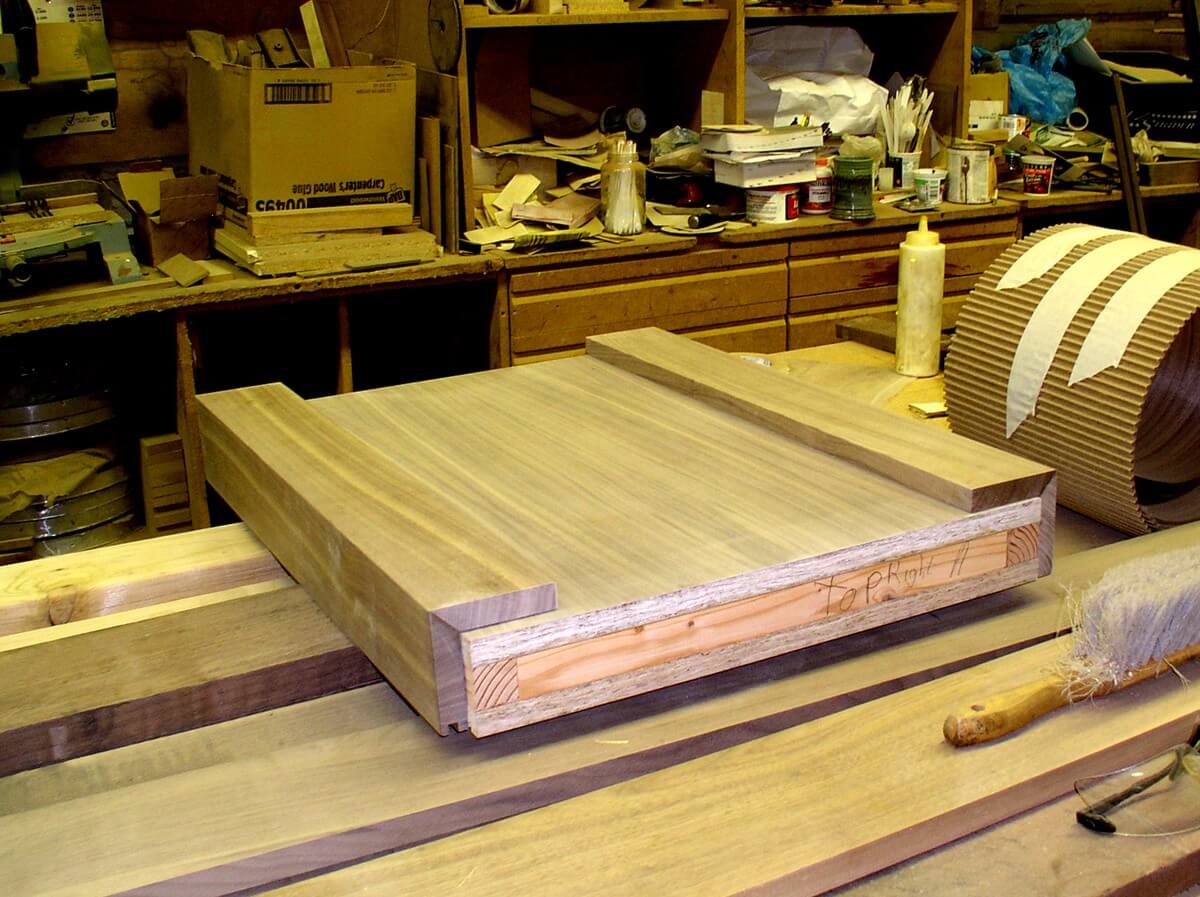 Glued up side Panel
 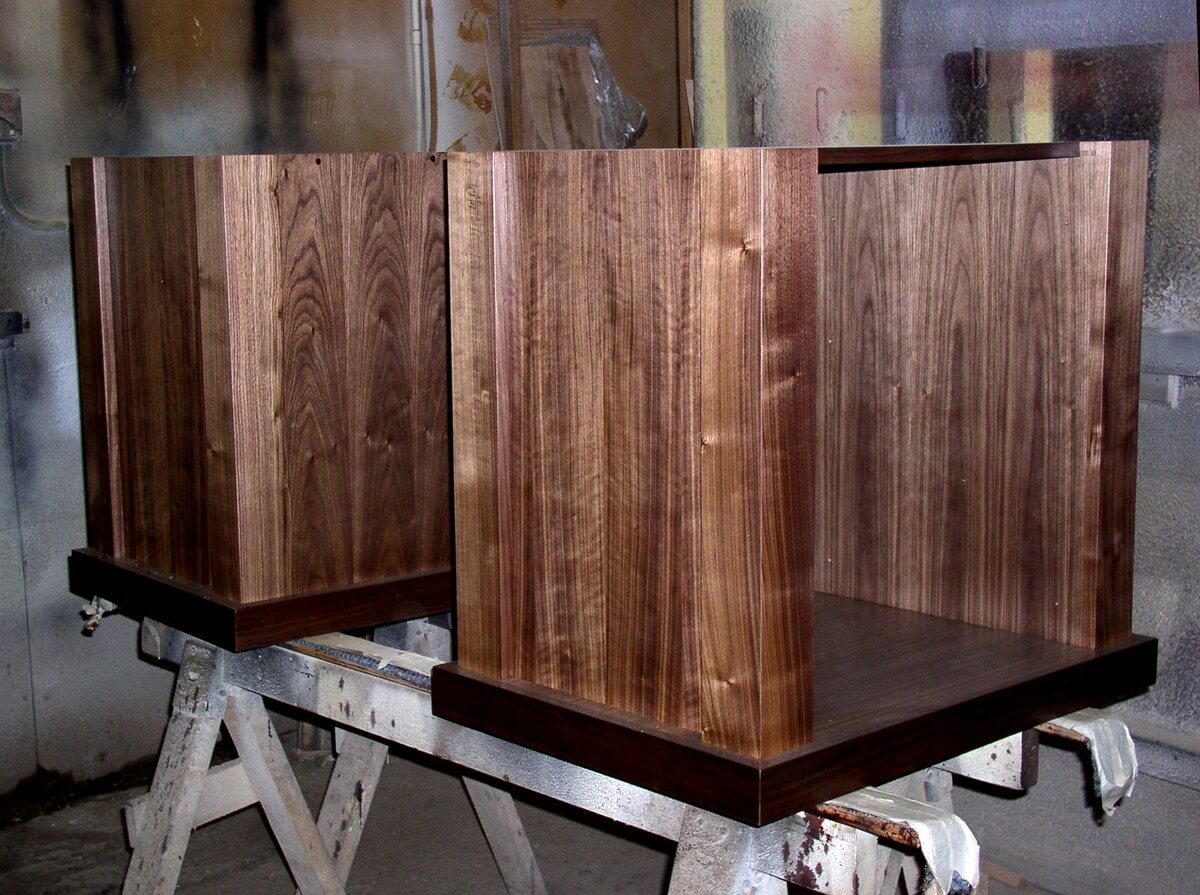 Completed Carcasses
 The final phase of the project involves a discussion of fixture requirements, drawers ect., integrating with the aesthetic potential and physical limitations of the “special“ material, the maple burl.
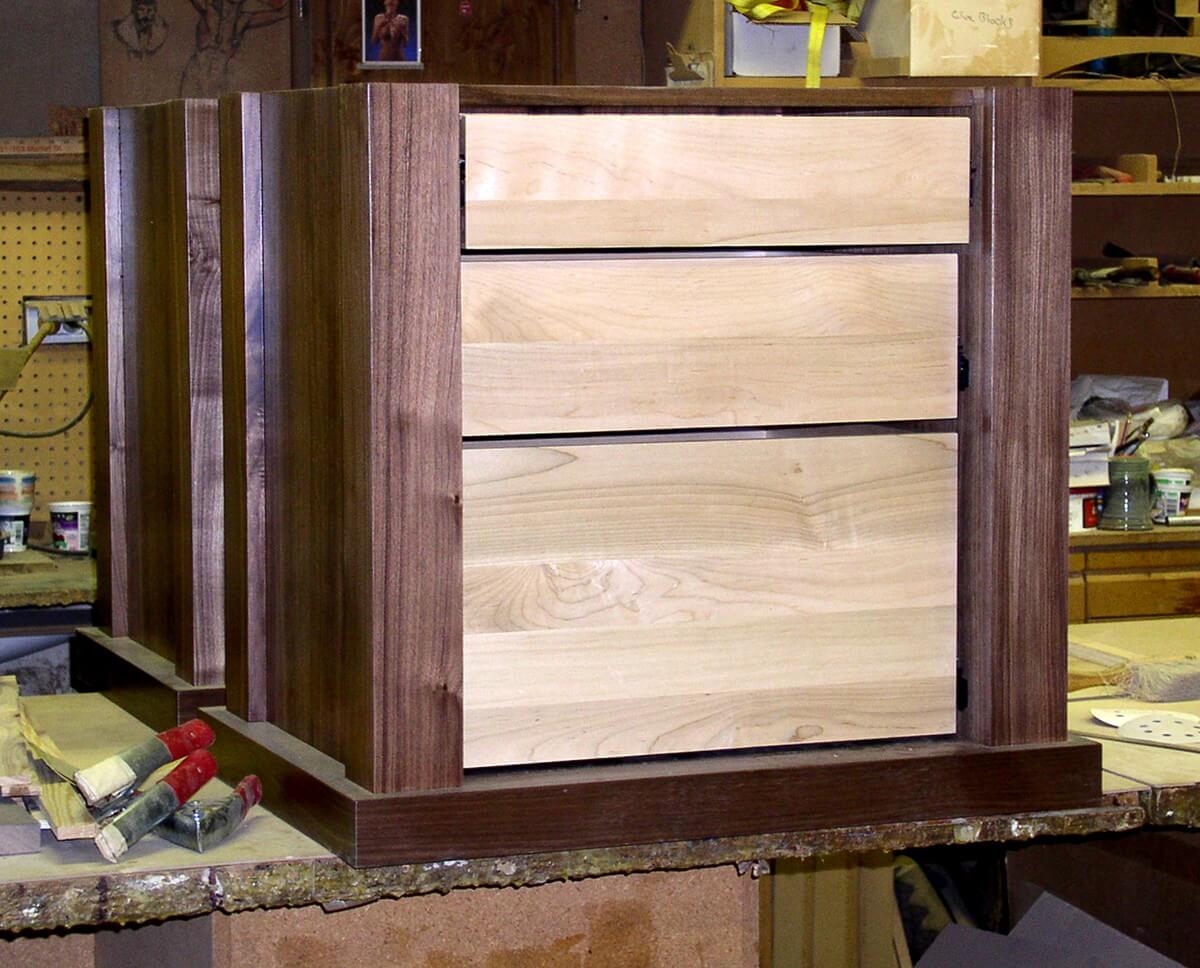 Drawers Installed
 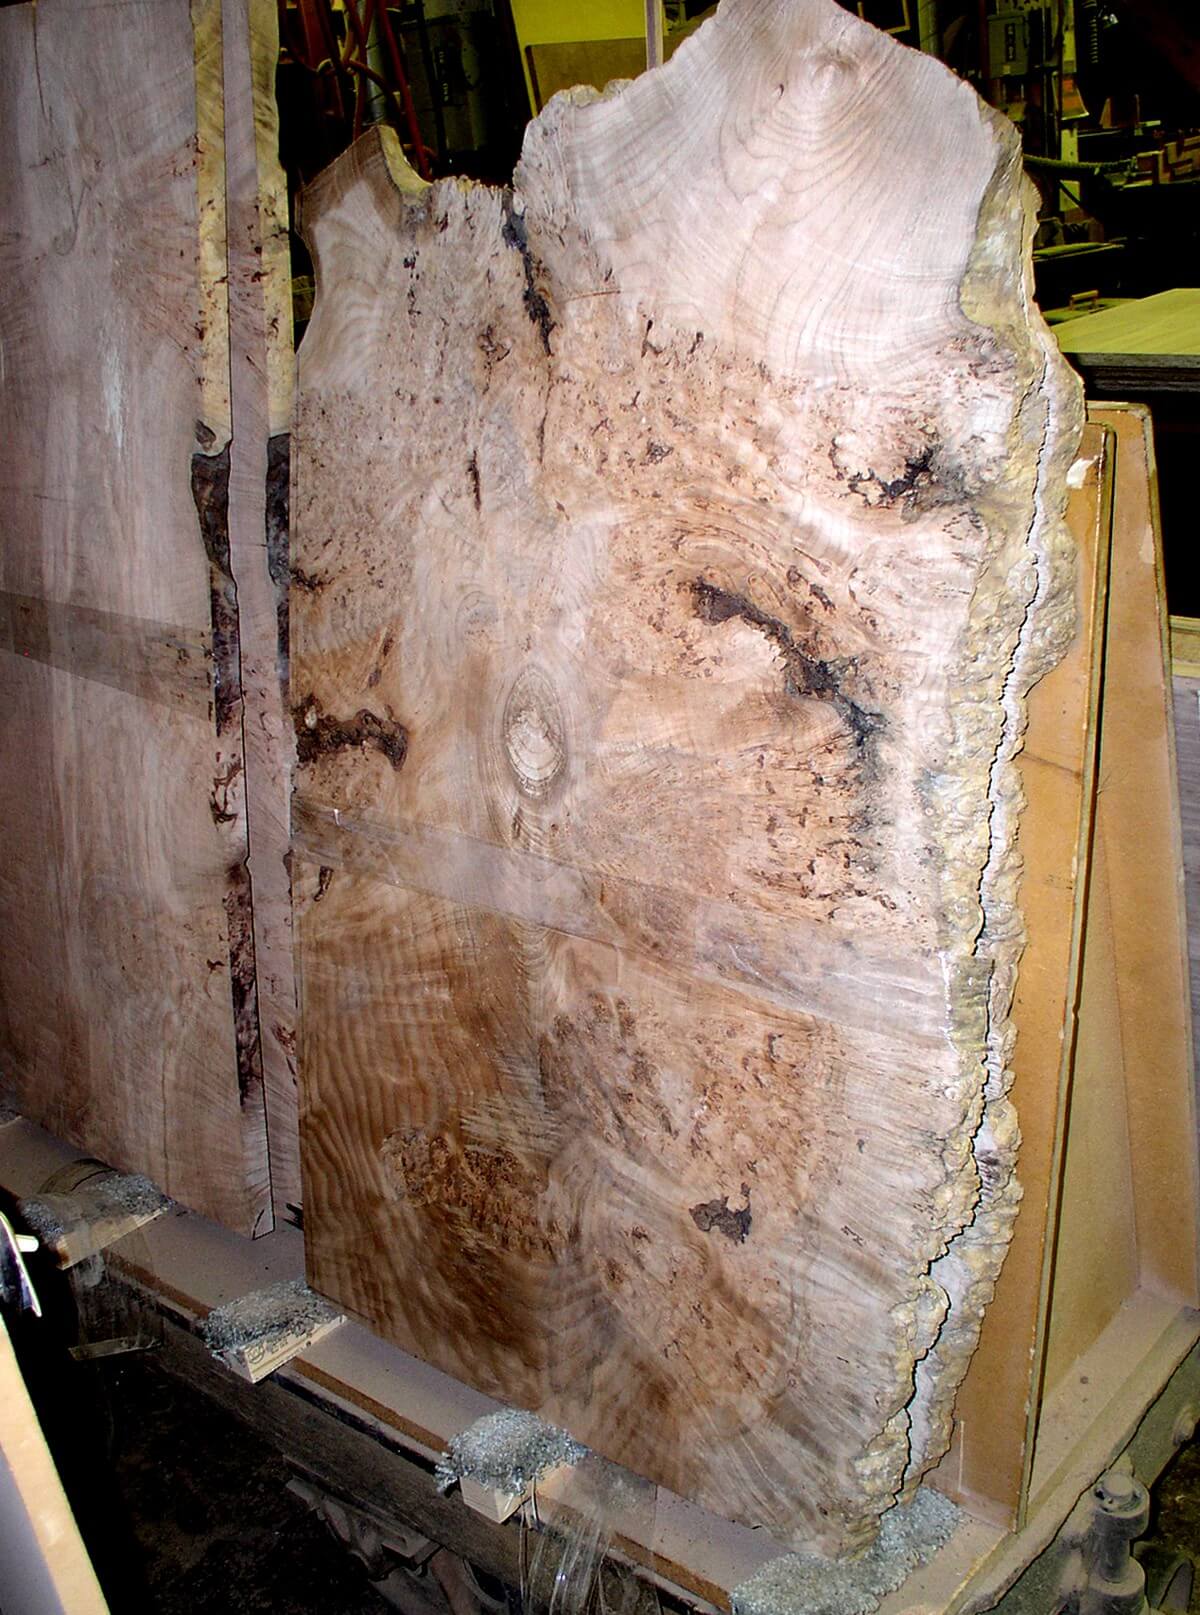 Burl for Night Stand
 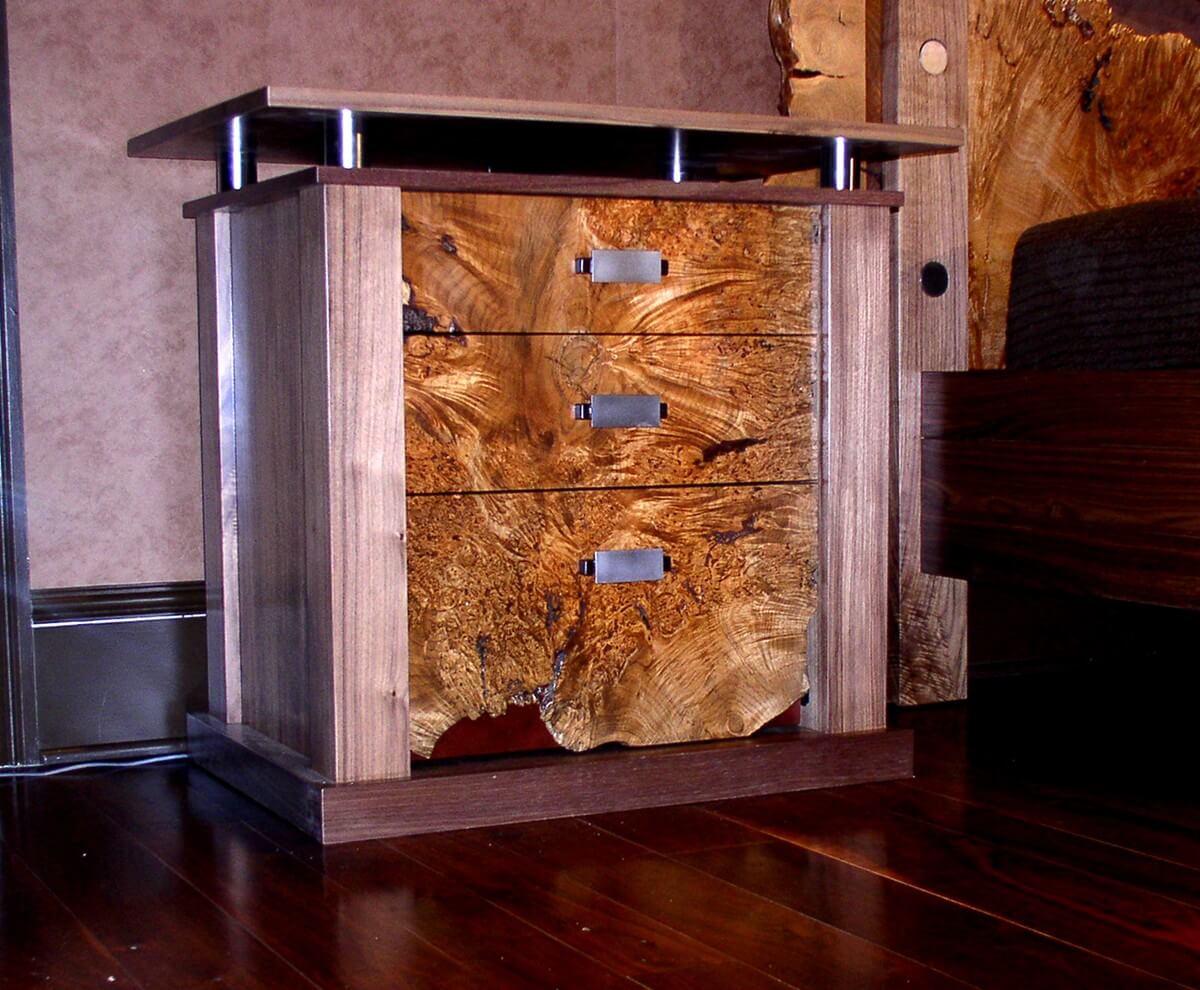 Night Stand Complete
 Bird’s Eye Maple Desk
The appearance of intersecting forms requires careful drawings and pre-set alignment points. The proper contrast of materials is important to add drama to the intersections. Additionally, accuracy in the continuation of the material flow is essential in making the counter point successful.
The Desk
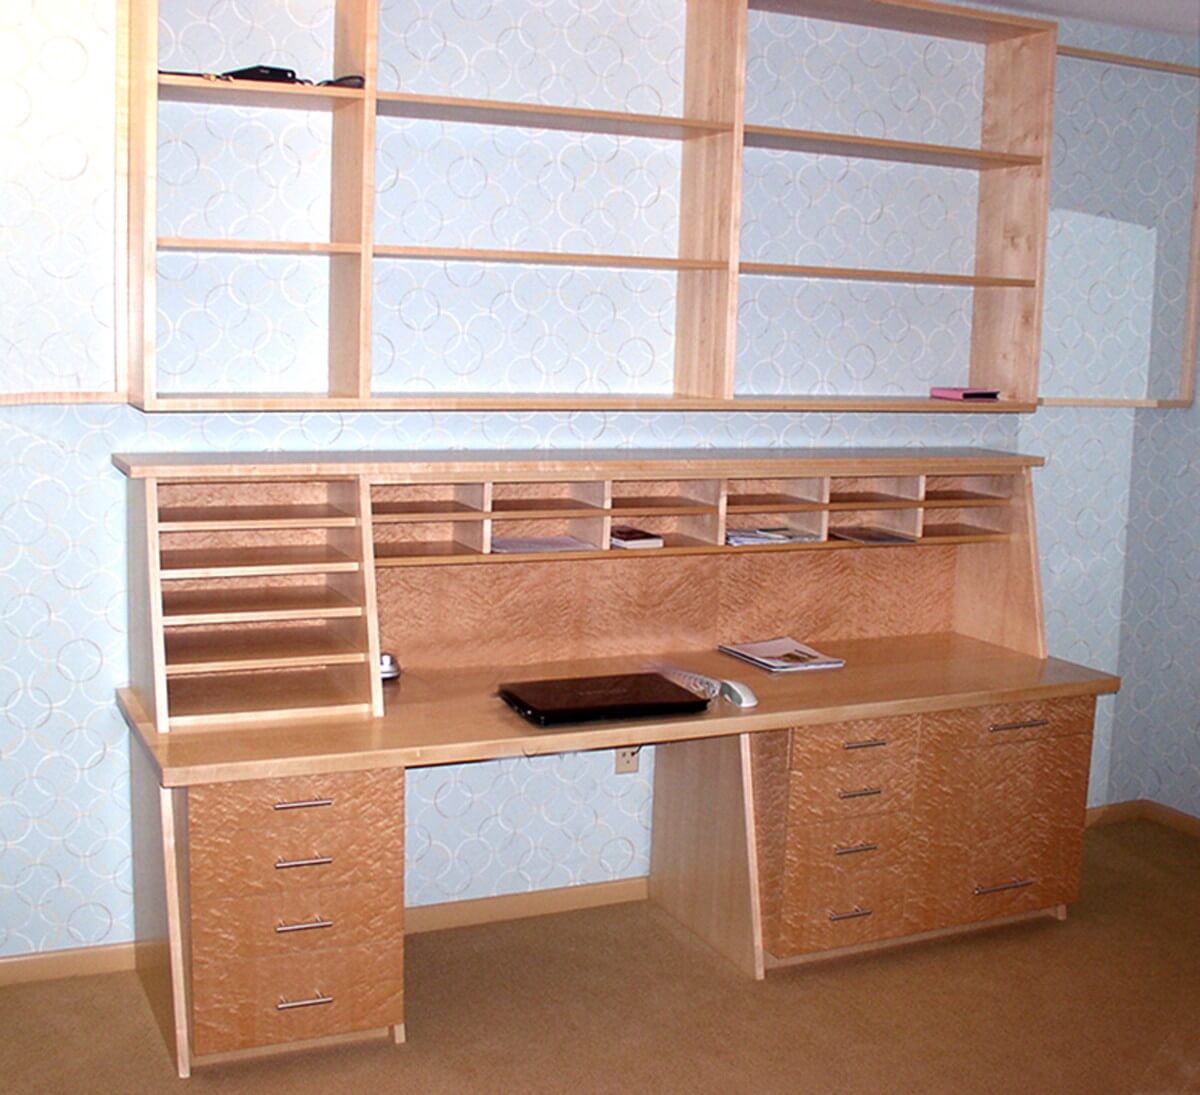
Note the visual contrast between the plane sliced maple and the birds eye maple. Additionally note the continuation of the inclined edges as well as the vertical walls.
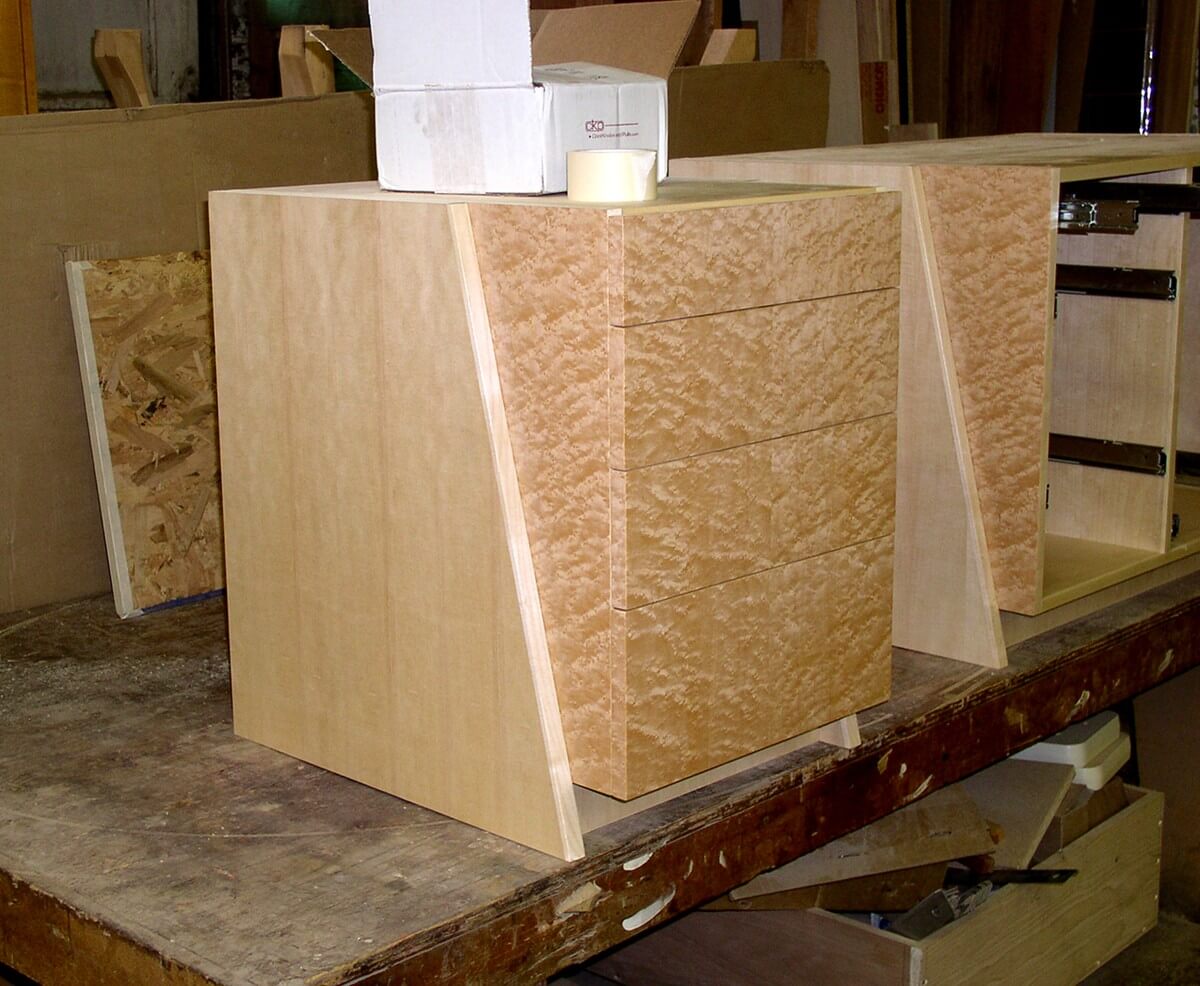 Pedestals
 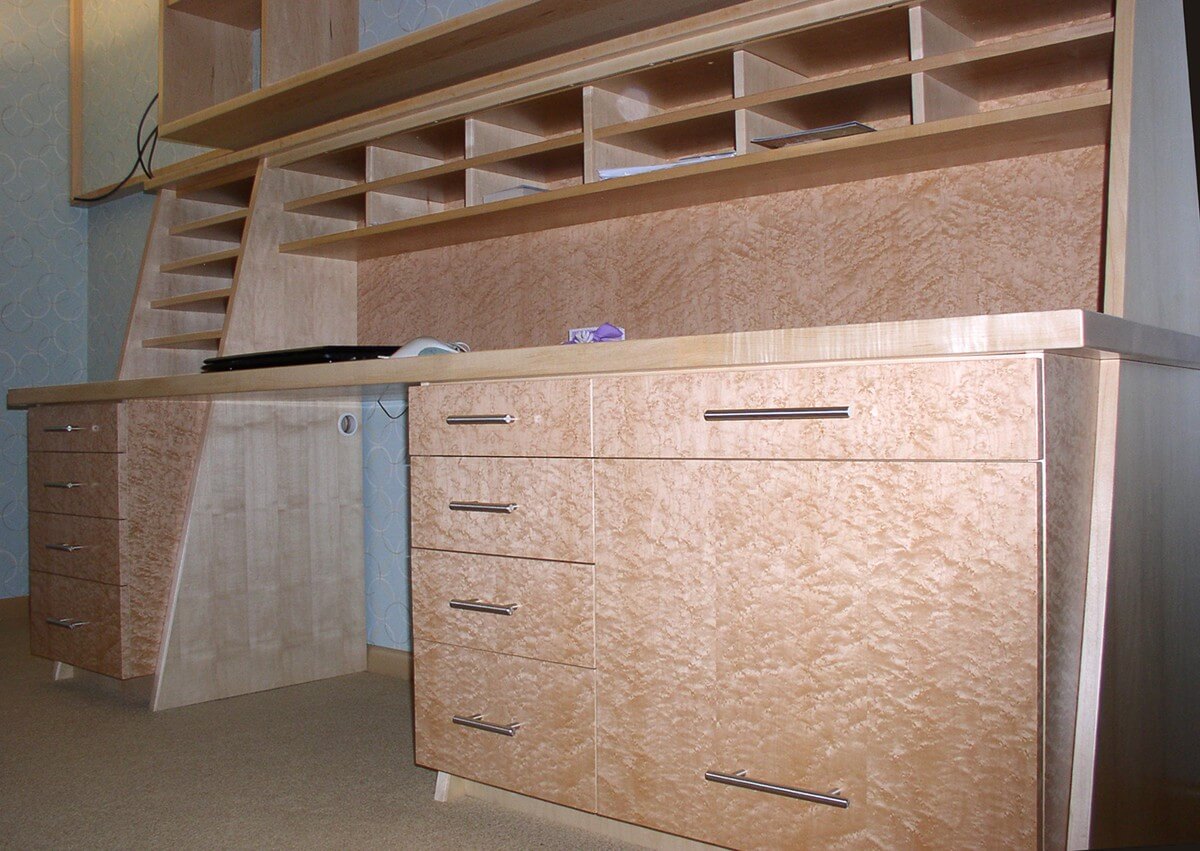 Close up of inclines
  Desk
Desk Entry Door, with Book Matched Planks
Bookmatching is a classic decorative device that is available with materials that are sequentially sliced off a larger source. This includes Wood (solid and veneer) and stone (marble and granite). Bookmatching is standard practice with veneer work but solid wood requires special suppliers and careful layout.
The Doors
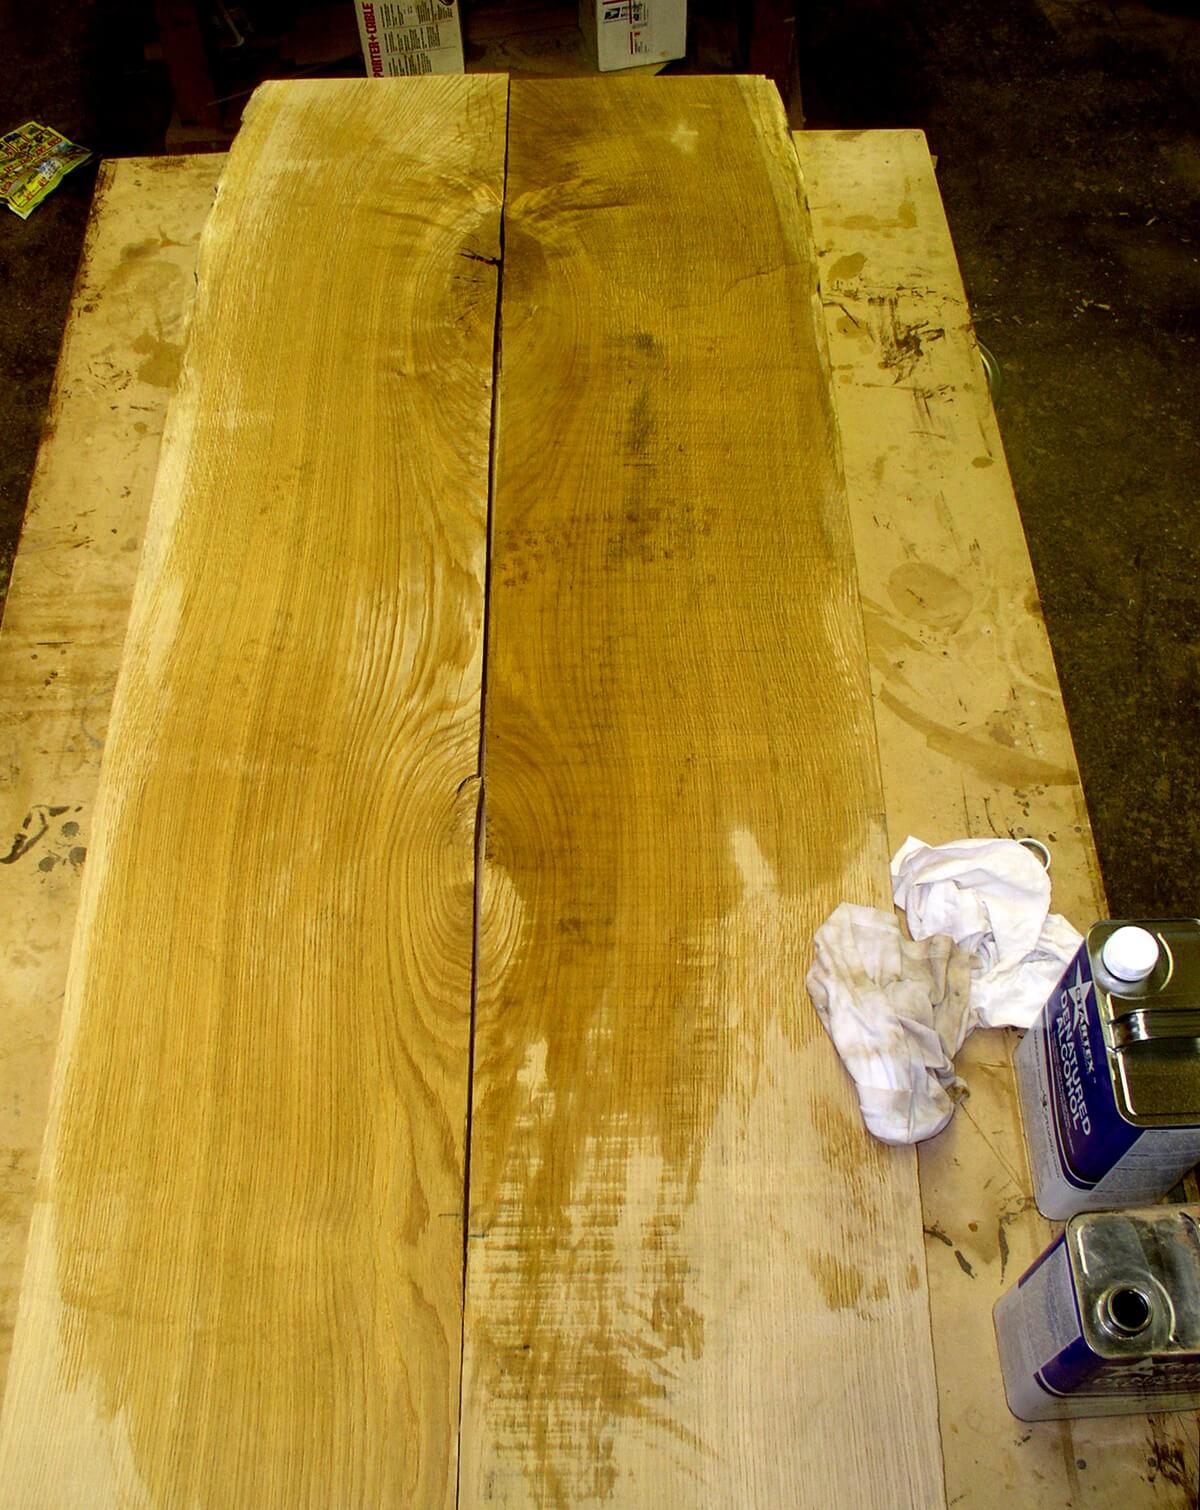
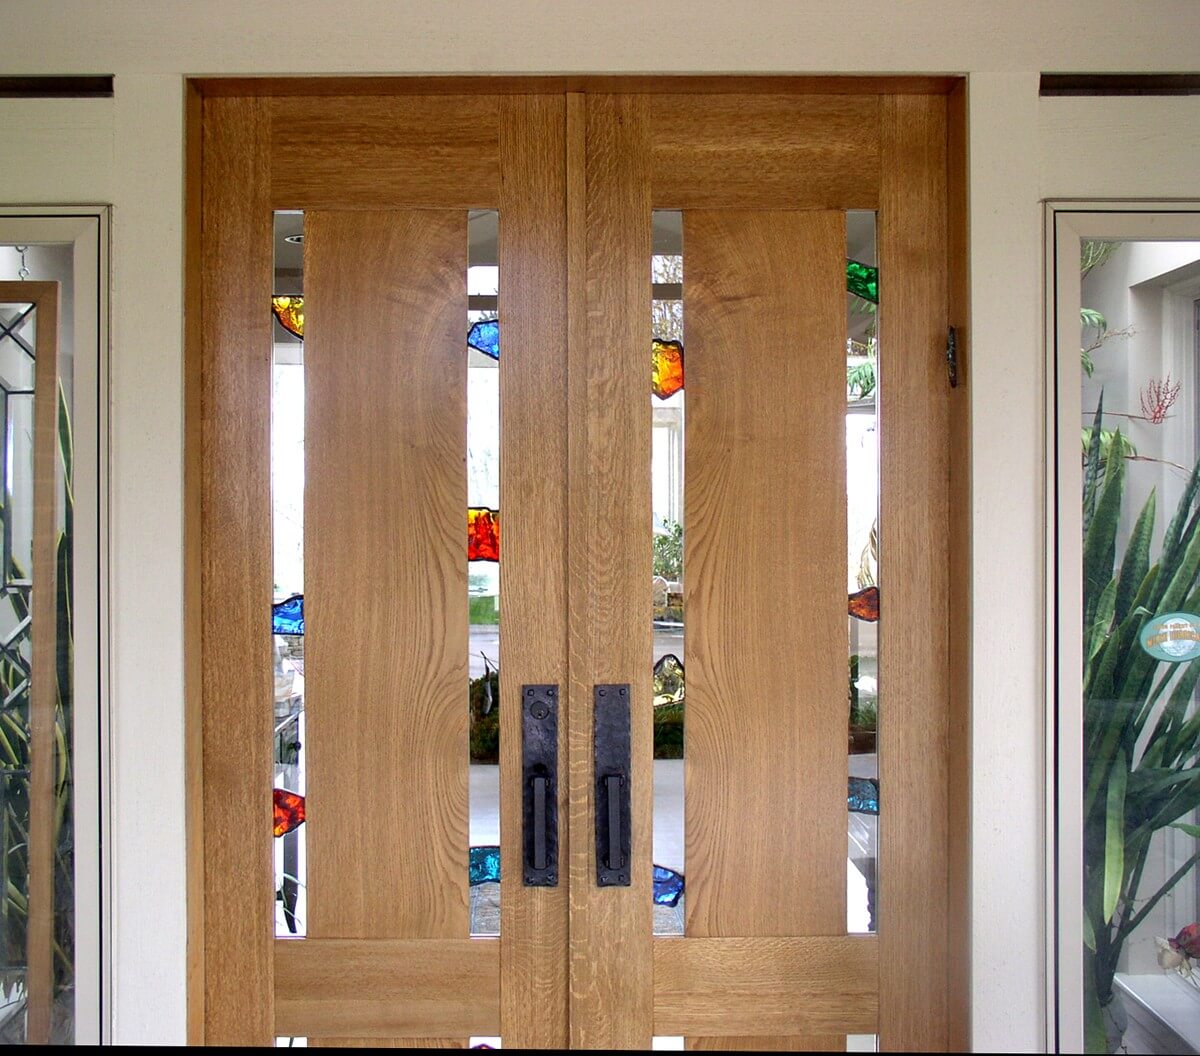 Close up of match
 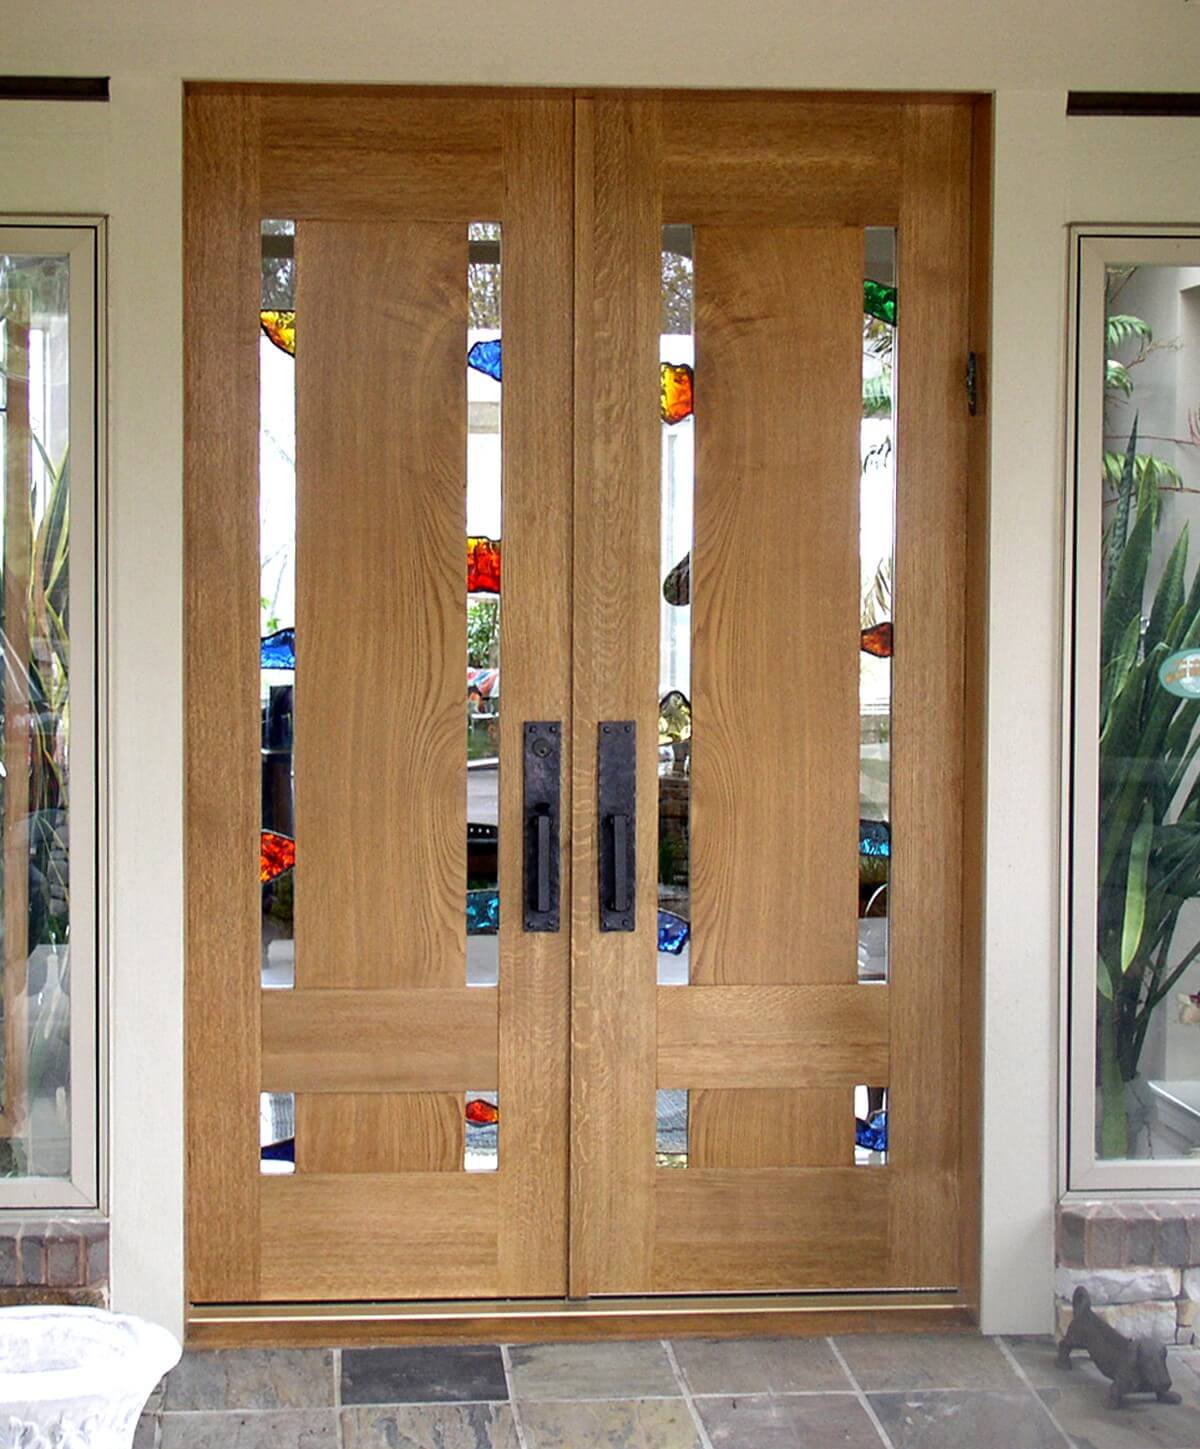 Full view
 These white oak panels were part of a unit that was auctioned off from a 250 year old farm in New England. I purchased the planks from my Supplier in Boulder, Co. who shipped them to me in Pittsburgh.
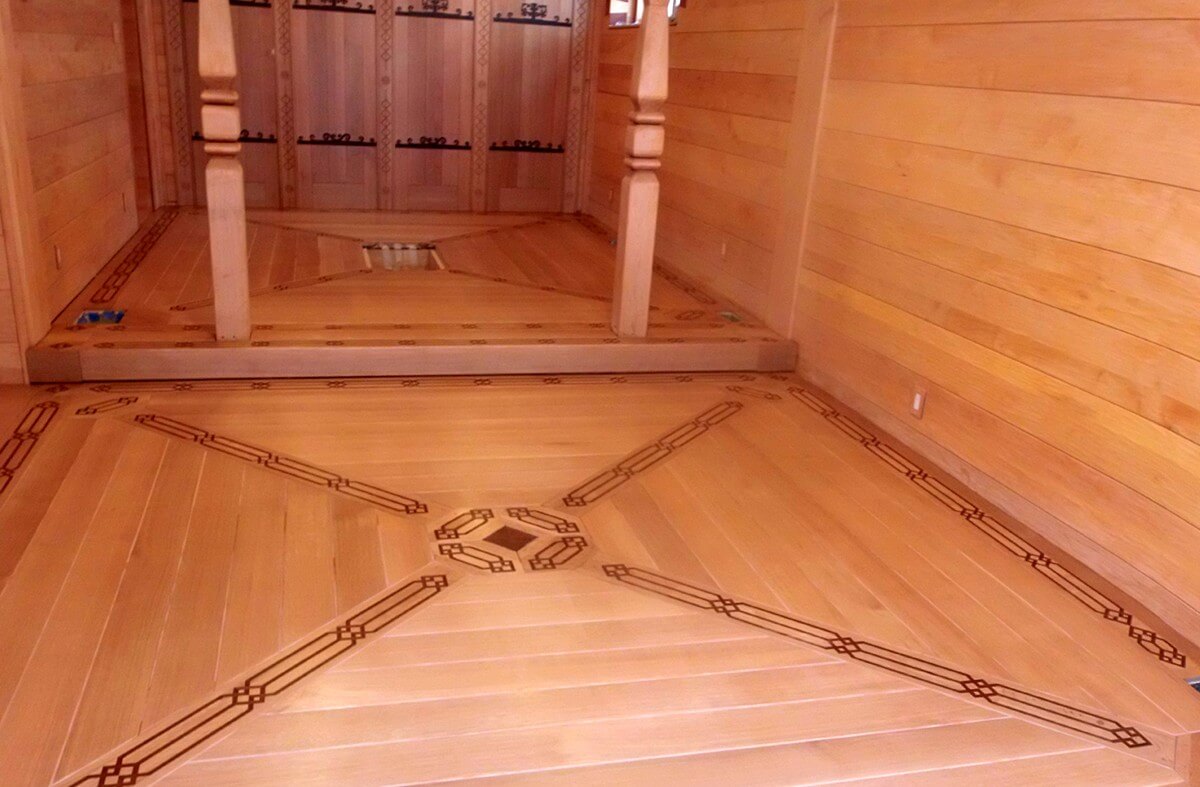
Ukrainian Inlay Pattern in a Solid White Oak Floor
For most interiors the last element of the construction is the floor. Hopefully the decisions and the designs for the floor were resolved at the same time as the rest of the space. When working with a period concept there are often historical references to access. The references are both aesthetic and technological. This floor project is a meld of Ukrainian decorative motifs and the imagined timber structure of a wealthy country lodge.
The Floor
Accurate existing measurements on a project like this are crucial to both the drawing as well as the installation. In this case, working from the center in both the design phase and the installation was the best strategy.
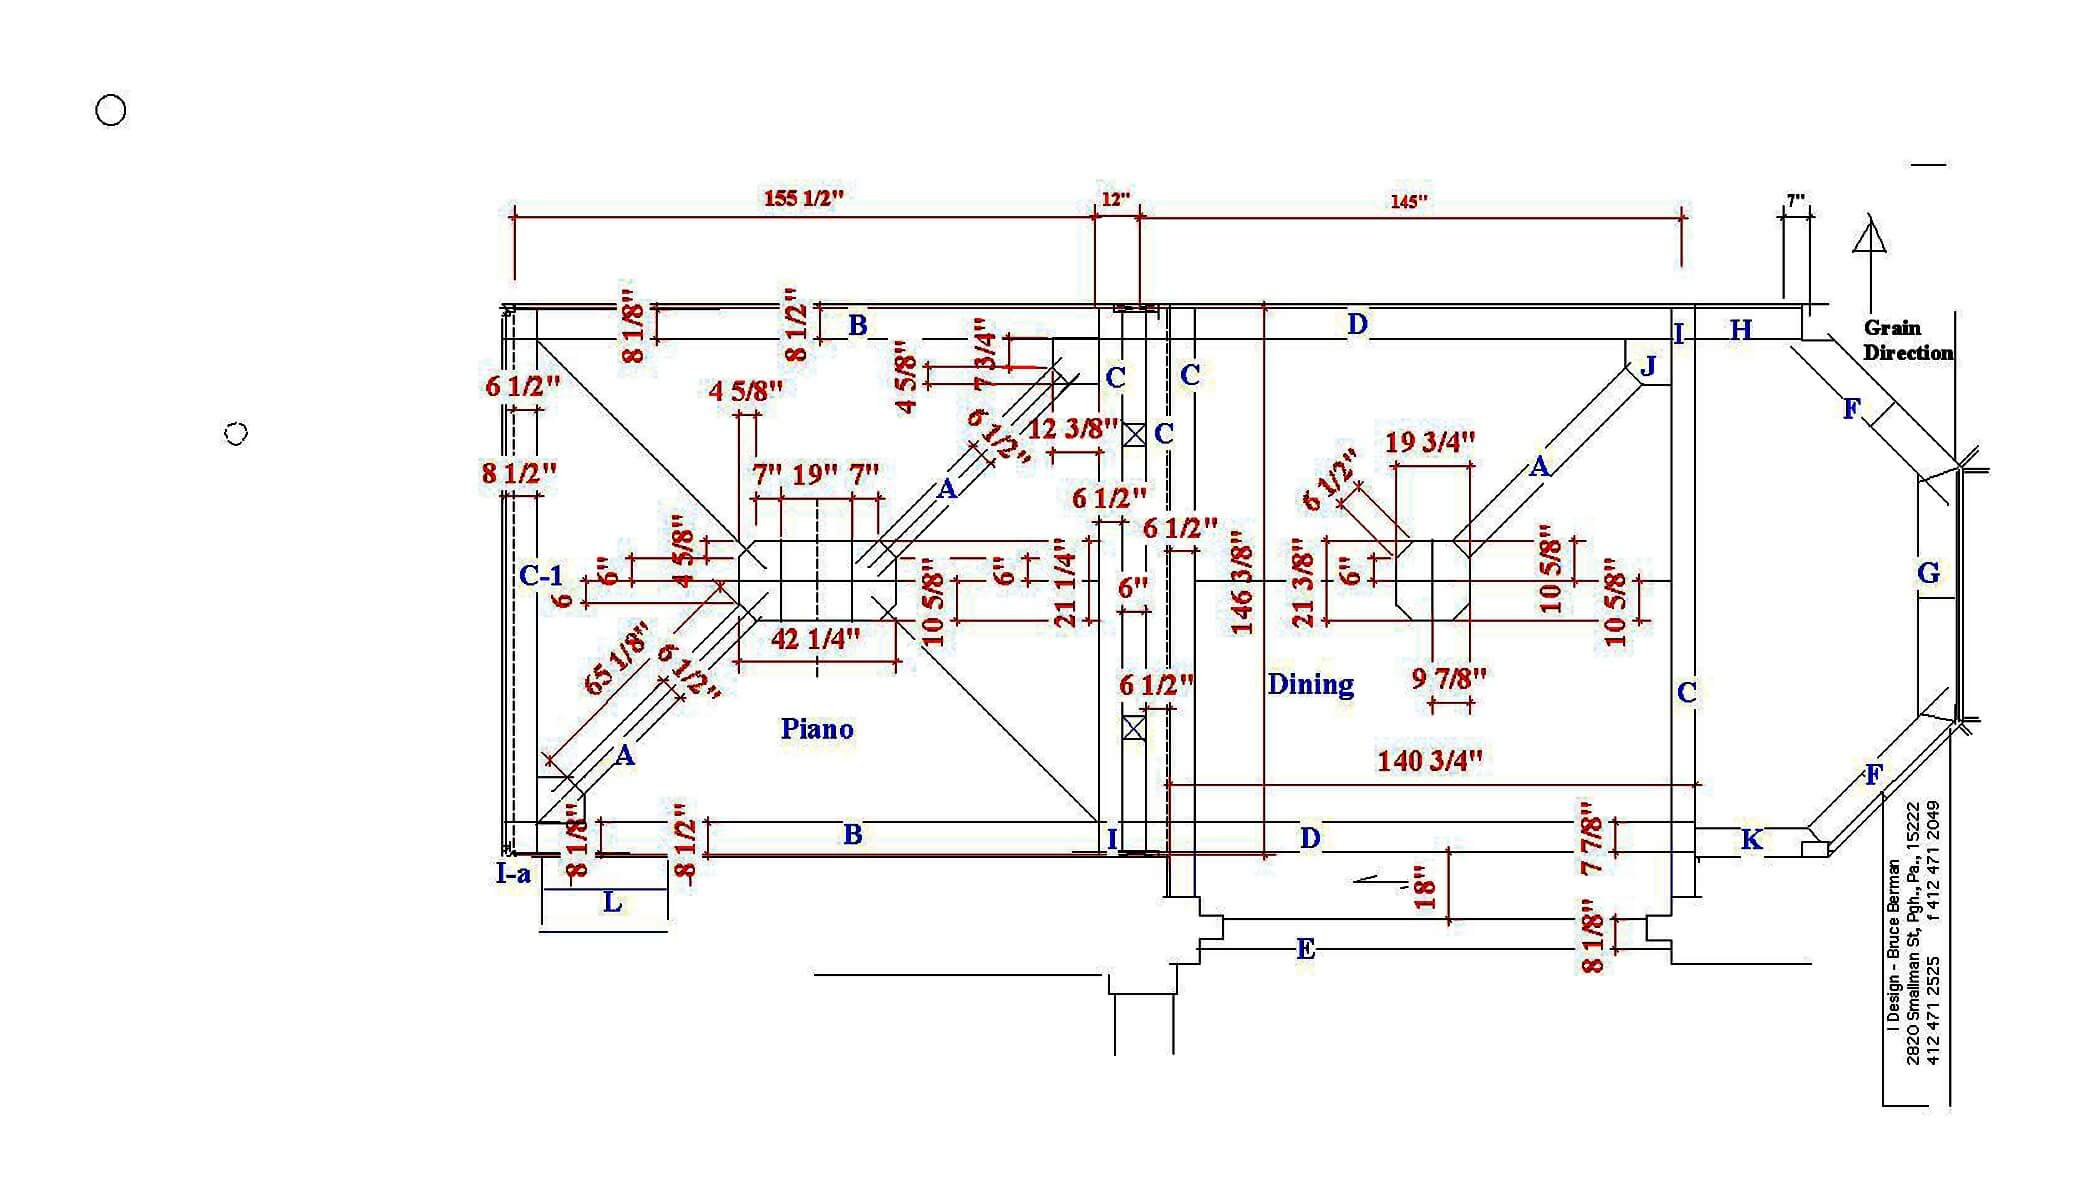 Floor Plan of the Flooring Install
  Flooring Plan
 Knowledge of the expansion/contraction properties of the flooring materials directed the installation procedures. The diagonal inlay beams had tongues milled onto both sides and the field flooring was grooved on site to fit the tongues to move with moisture changes and to eliminate and fasteners. Random Orbit sanding only.
 Initial Floor Layout
 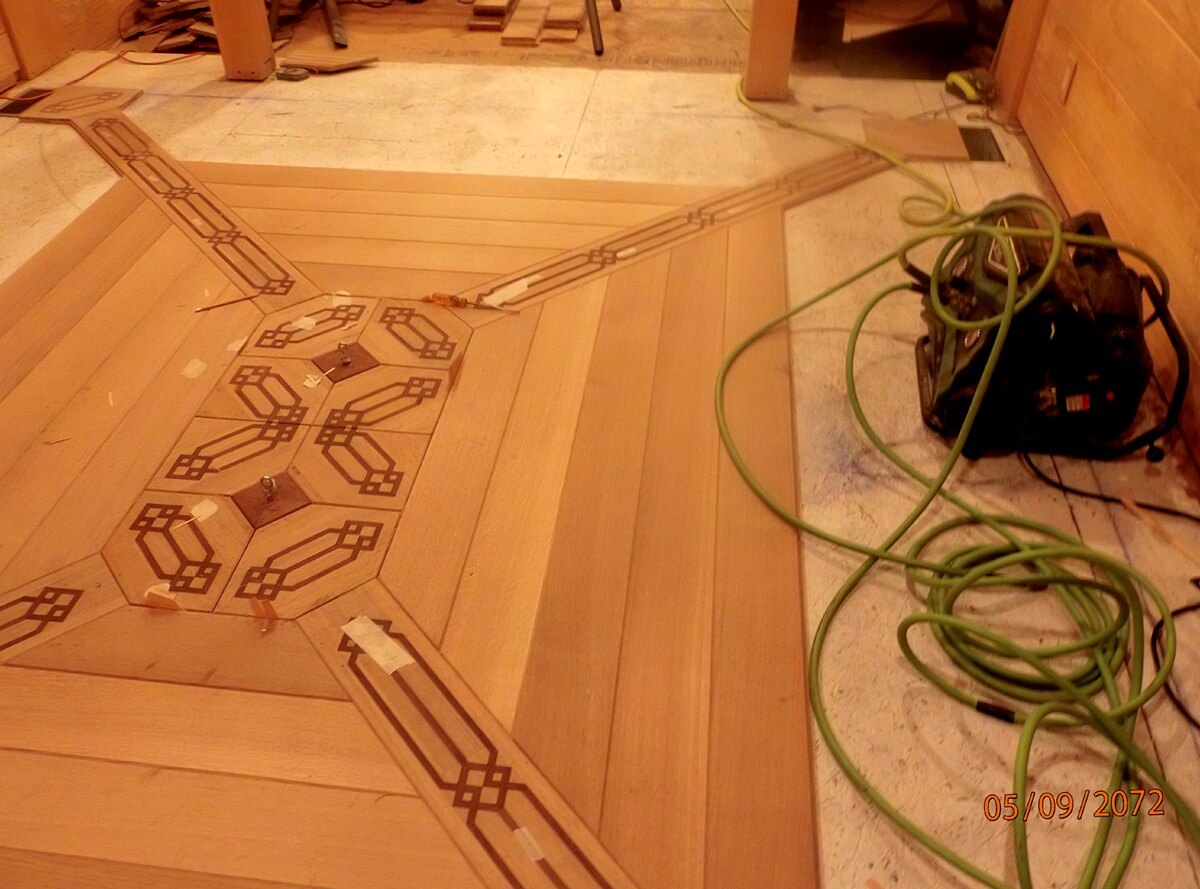 Continued Floor Install
 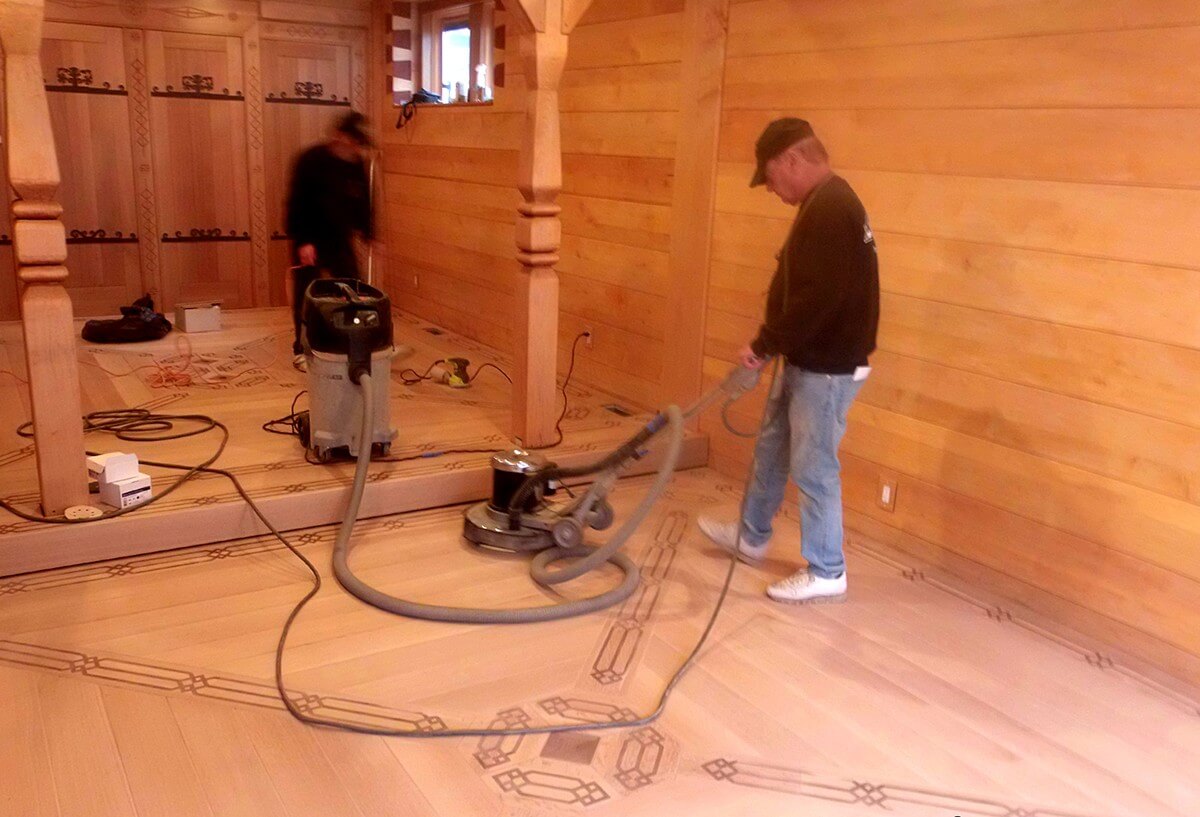 Sanding, RO only
 As in all projects of this level of detail the quality of the installation is crucial. Note the dowels inlayed into the floor to further simulate the beam structure of the floor.
 Inlay on “Beams”
 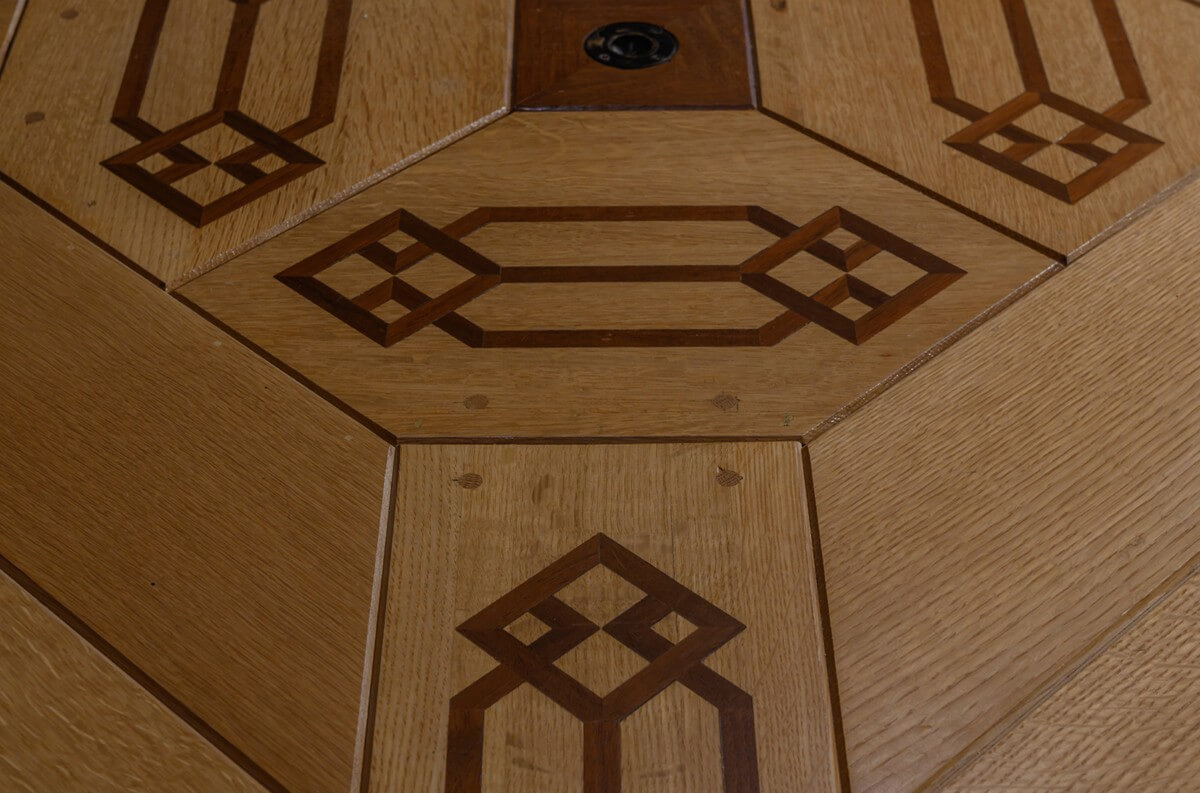 Center Patterns
  Completed Floor
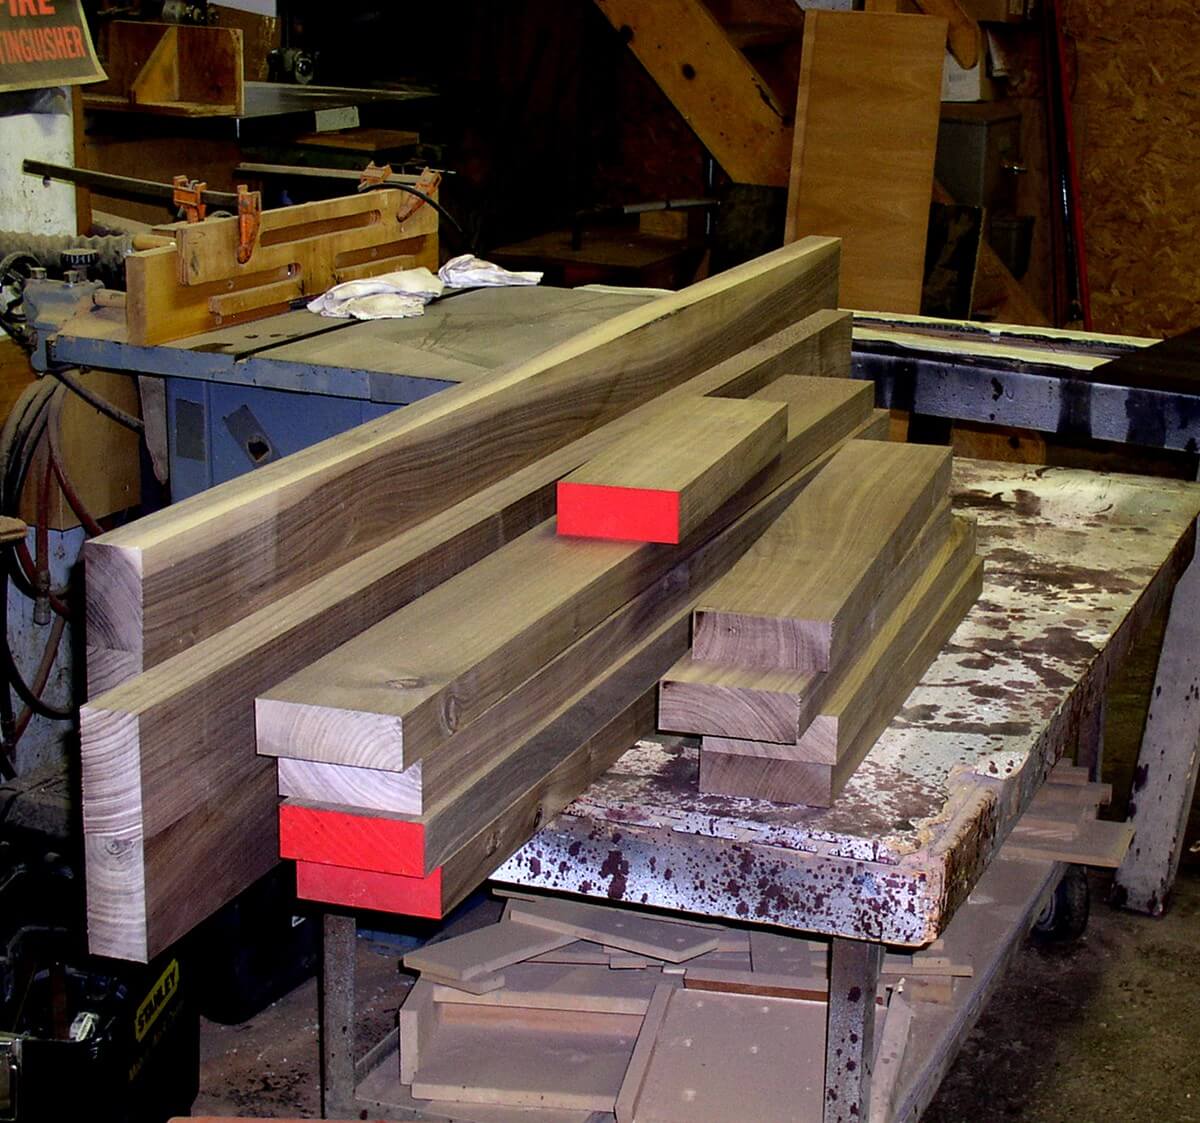
 Walnut Dining Table
The classic farm dining table starts as a simple concept. The challenge is to refine elements and details so that the final assembly is an elegant statement that has clearly left the farm behind.
The Table

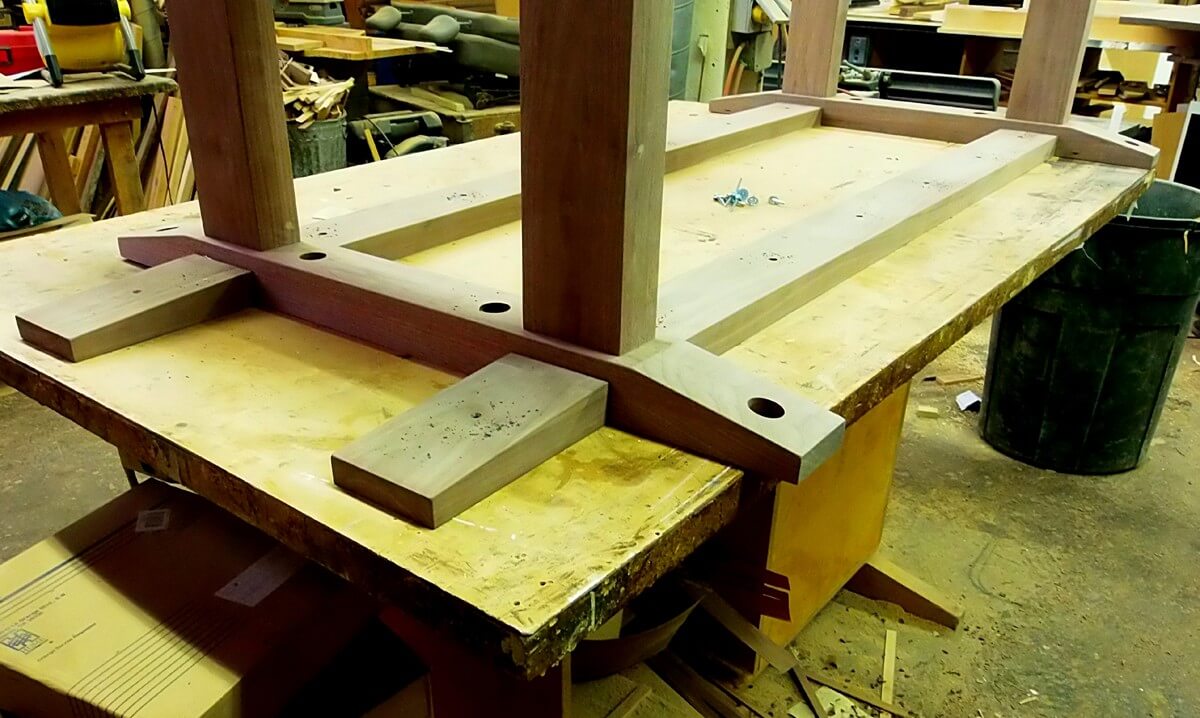
Choosing and adjusting the member thicknesses is an important step in the decision sequence. The upper frame’s connection area, within the requirements of mounting the top, can accentuate the longer thinner elements by the intersecting contrast with the thicker cross elements. Then tapering the frame ends to a uniform end thickness gives much appreciated legroom while visually lightening the top installation.
 Detail of frame
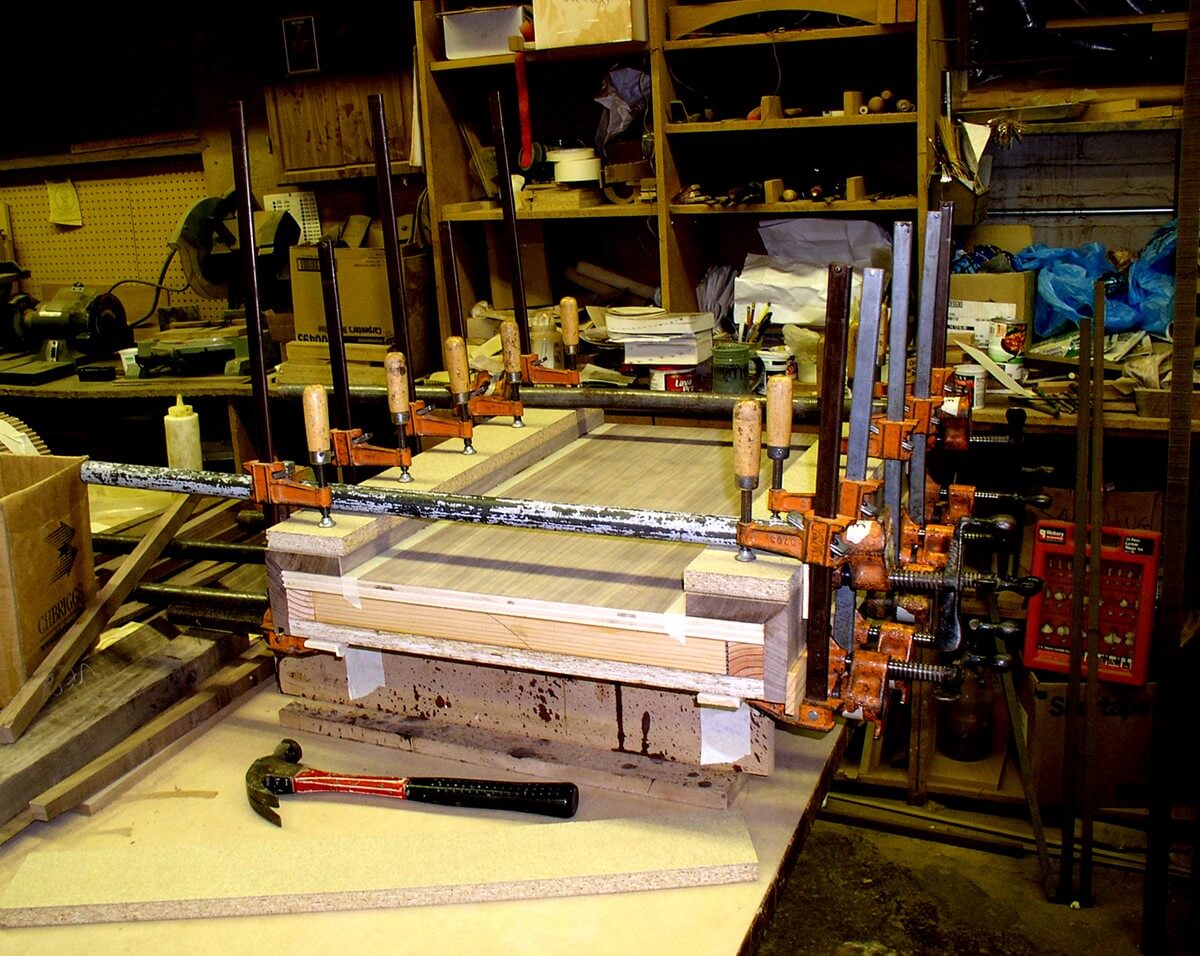
 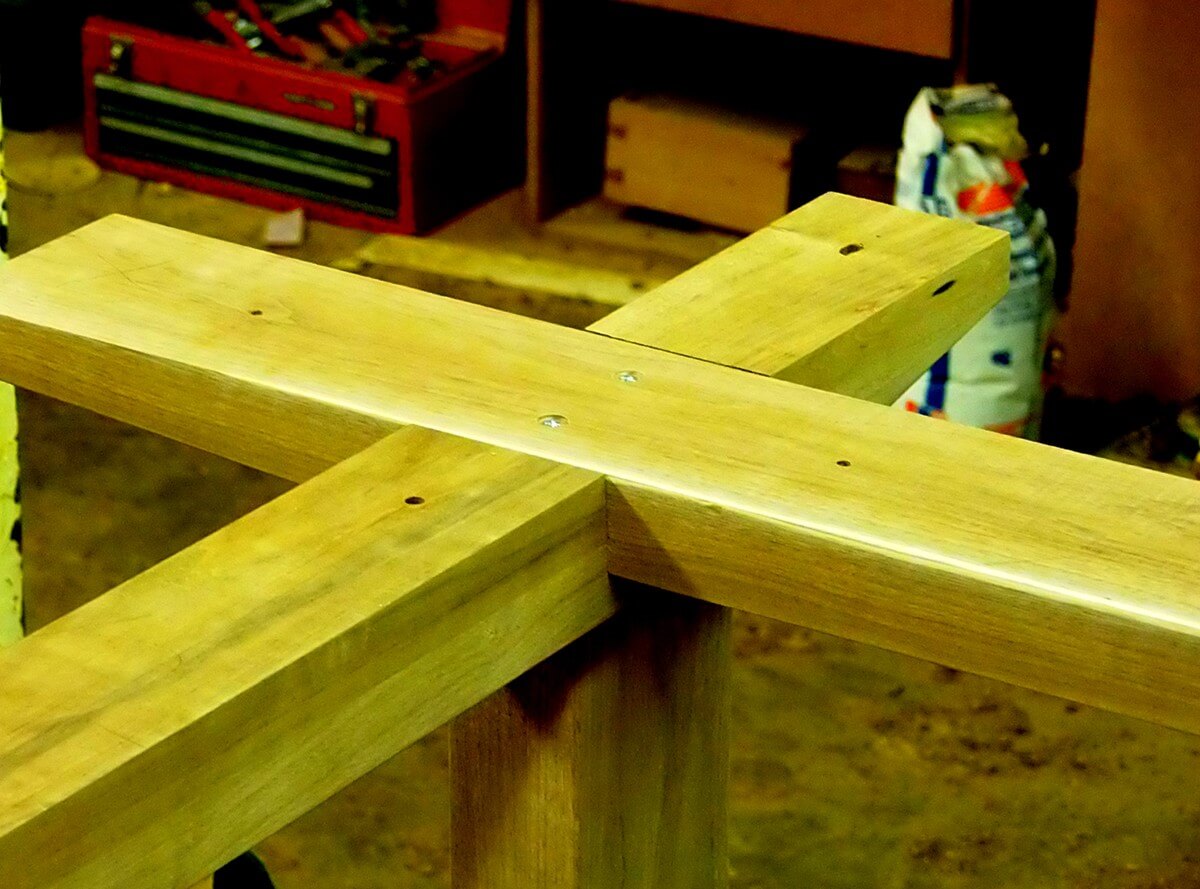 Top of the Frame
 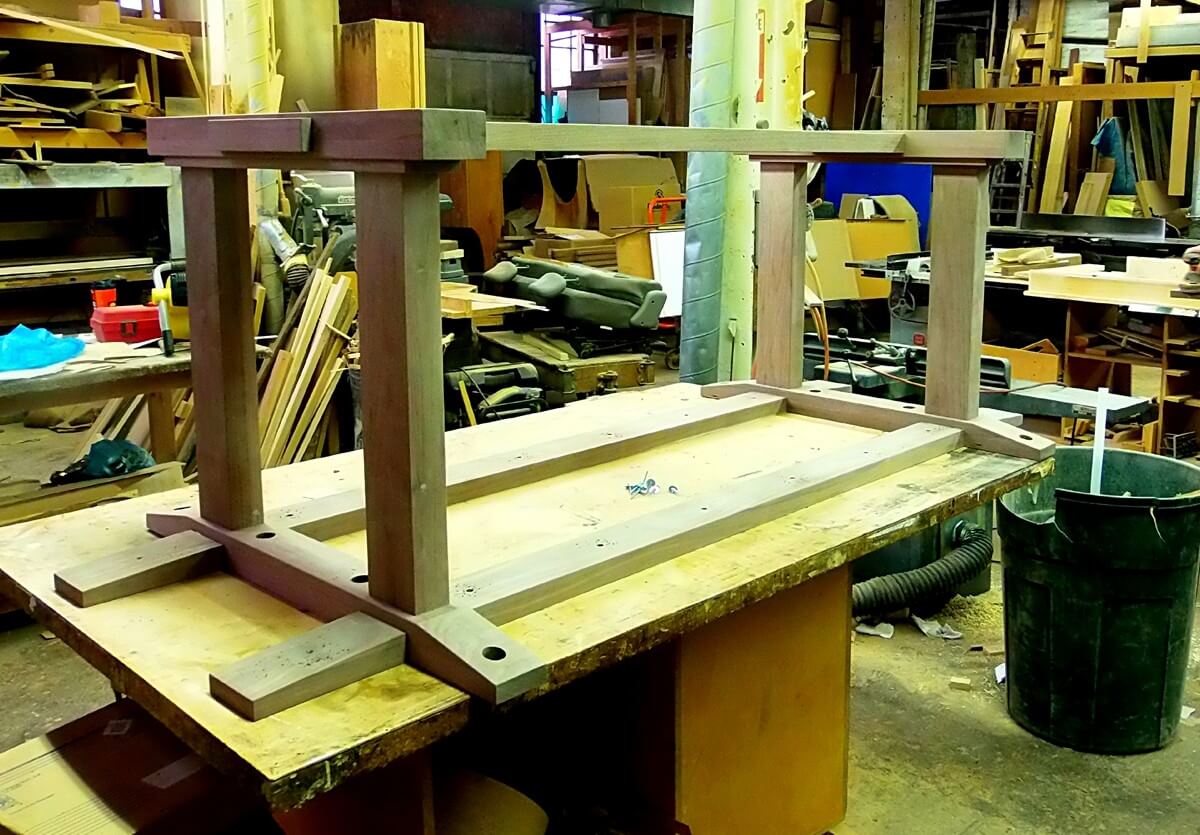 Full view of the Frame
 Deciding to place the flat linear stretcher at the floor level, with its apparent perforation of the base crosspiece, is a visually dynamic solution to the requirement for lateral stability. The step on the top face of the base crosspiece gives a nice transition to the rectangular vertical post. The post and base assembly are the result of a series of decisions that after completion seem seamless.
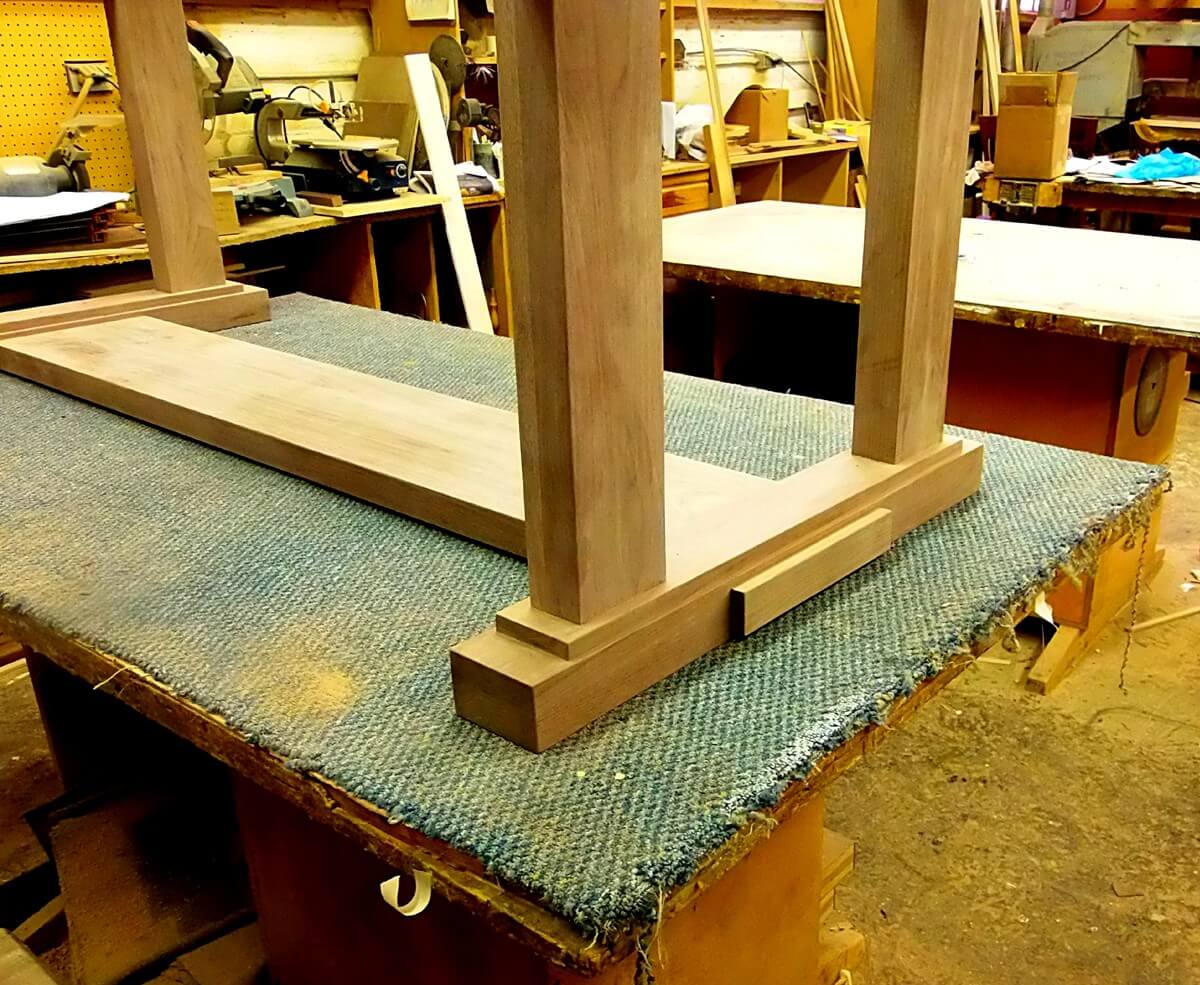 End of the Table Base
 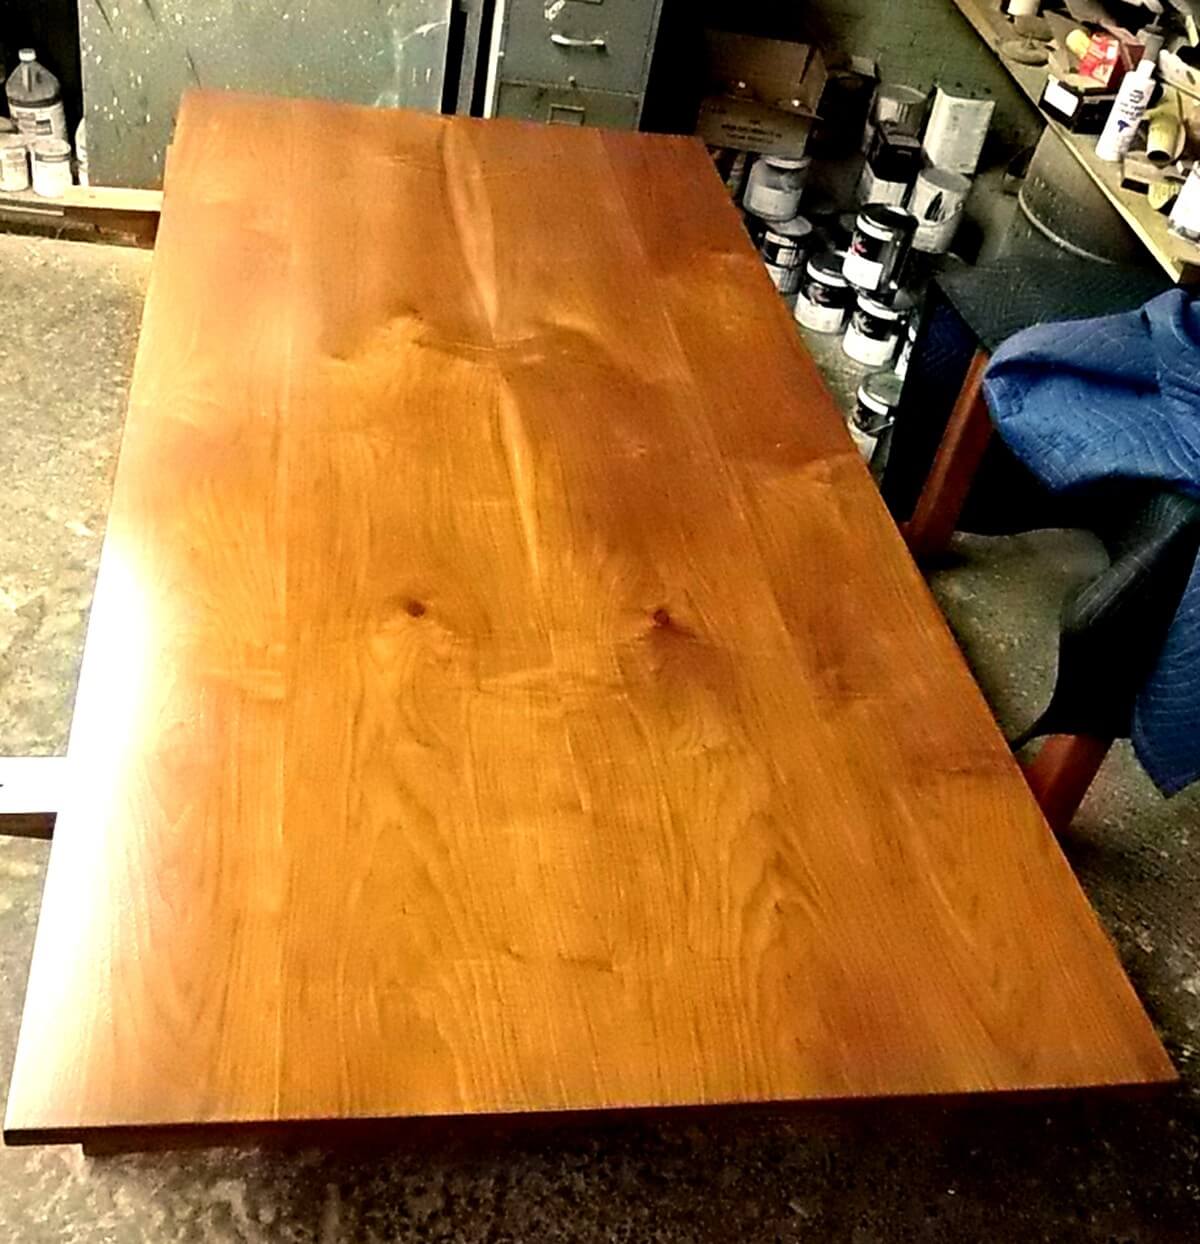 Table Top Bleached
 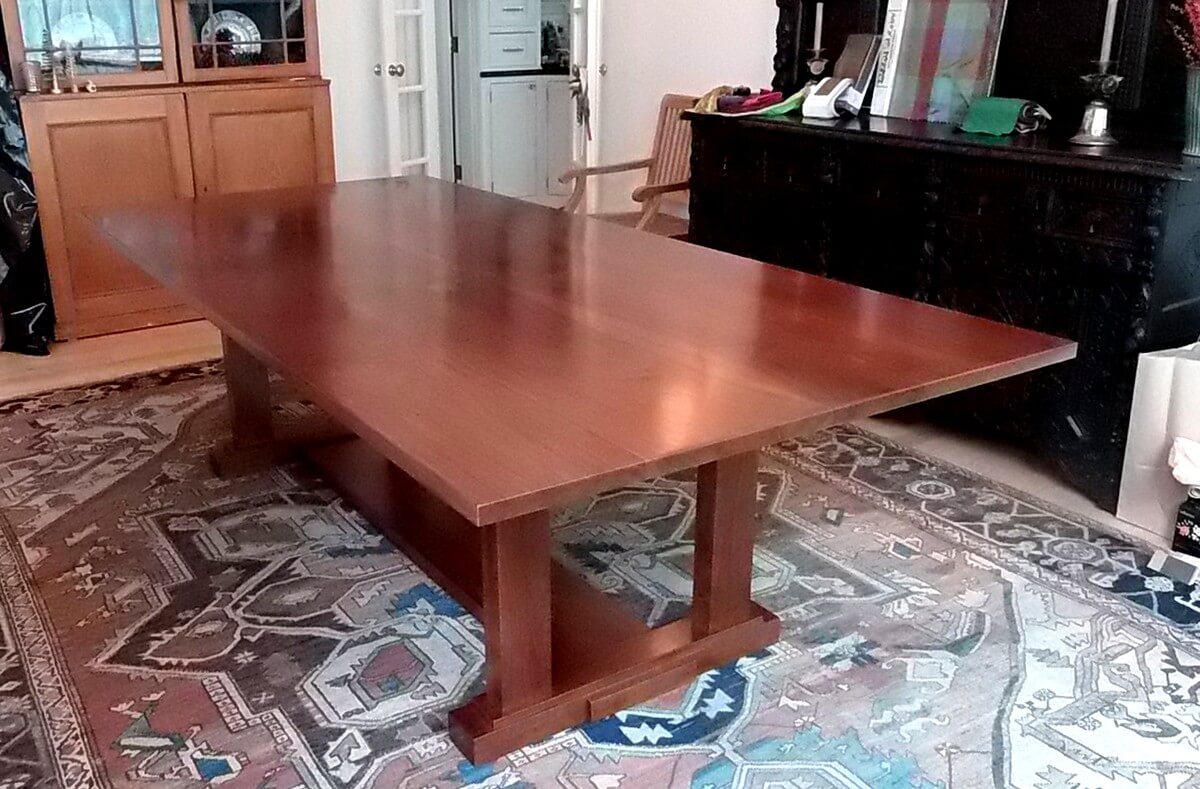 Table Complete
 Note that the tabletop was bleached before staining to get a more uniform finish for the final piece.
Figured Sapele Writing Desk
Signature furniture art pieces are often set in locations where they are viewed from nearly all directions. The design and execution of these pieces, no matter how simple, requires close attention from start to finish.
The Desk
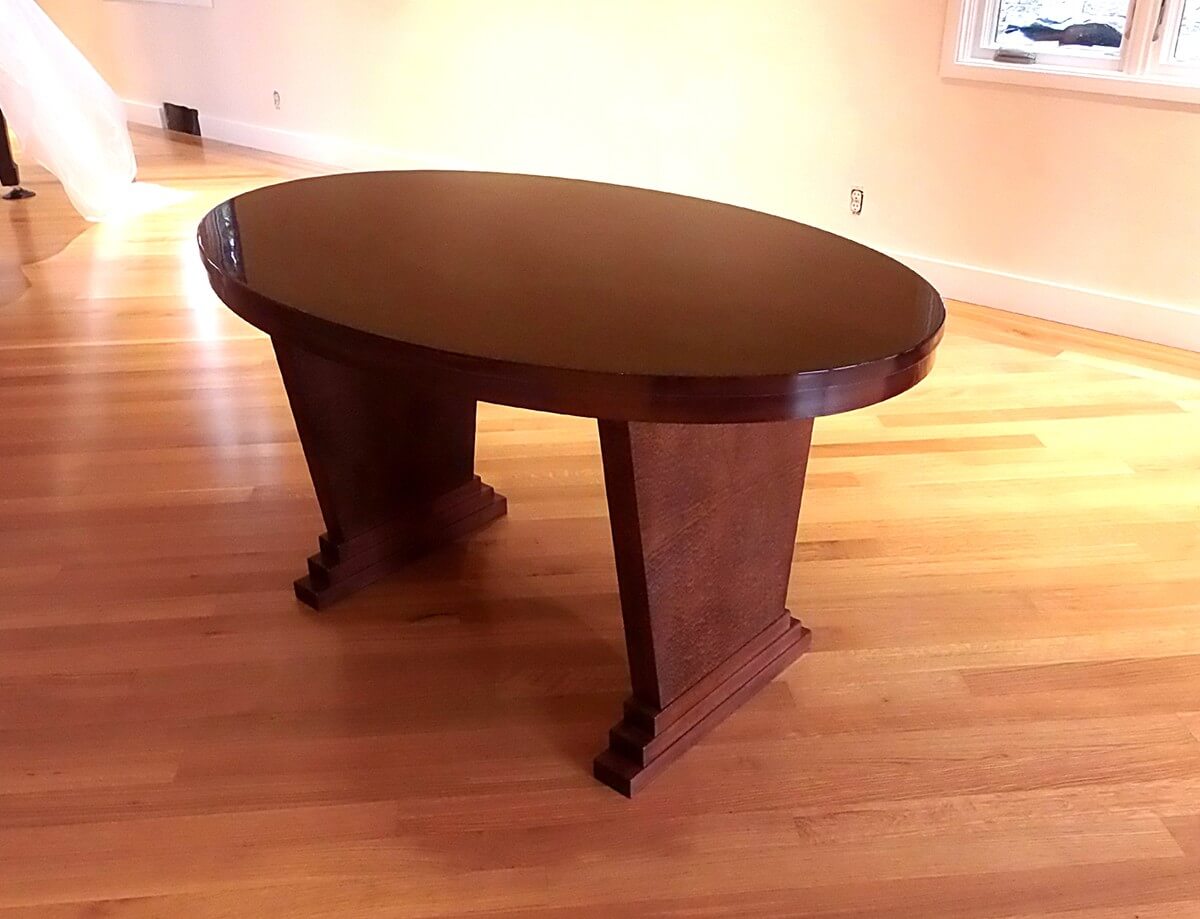
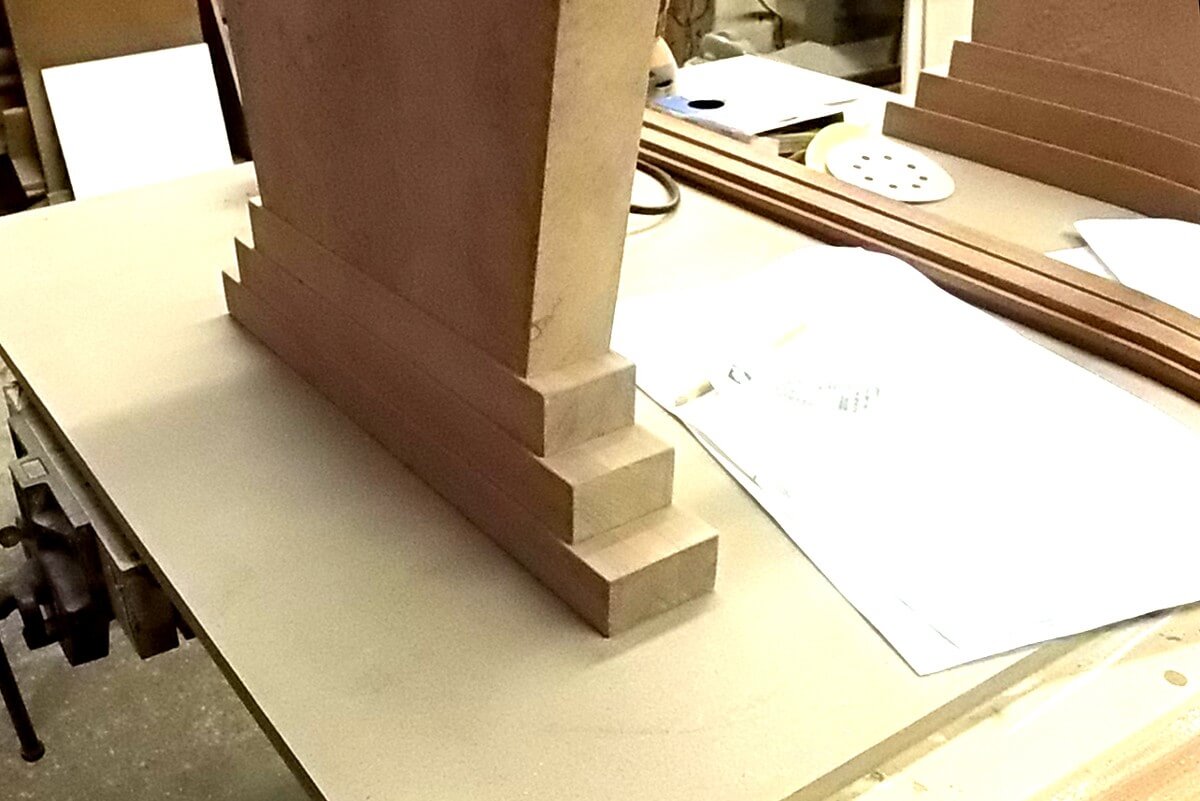
On a signature piece all of the parts, whether seen or not, make their own statement. Notice the foot of the leg with the pronounced tiers front and back with subtle returns on the side. This foot detail sets up the properly proportioned panel leg.
The very solid arch connecting the trapazoidal panel legs makes a very architectural relationship between the parts that is visible from across the room.
 The Desk Base
 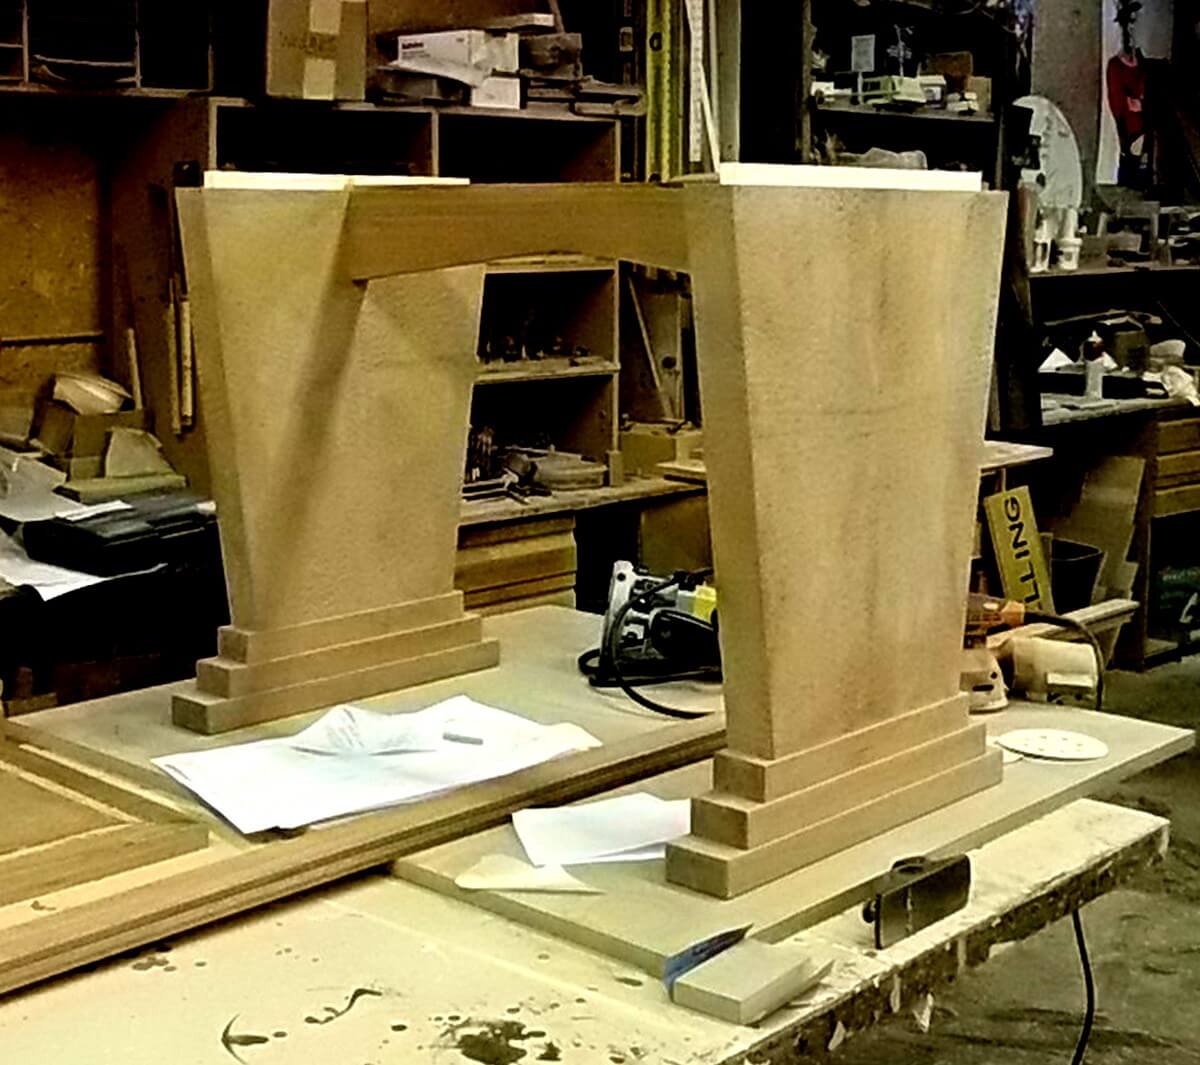 The Arch and the Legs
 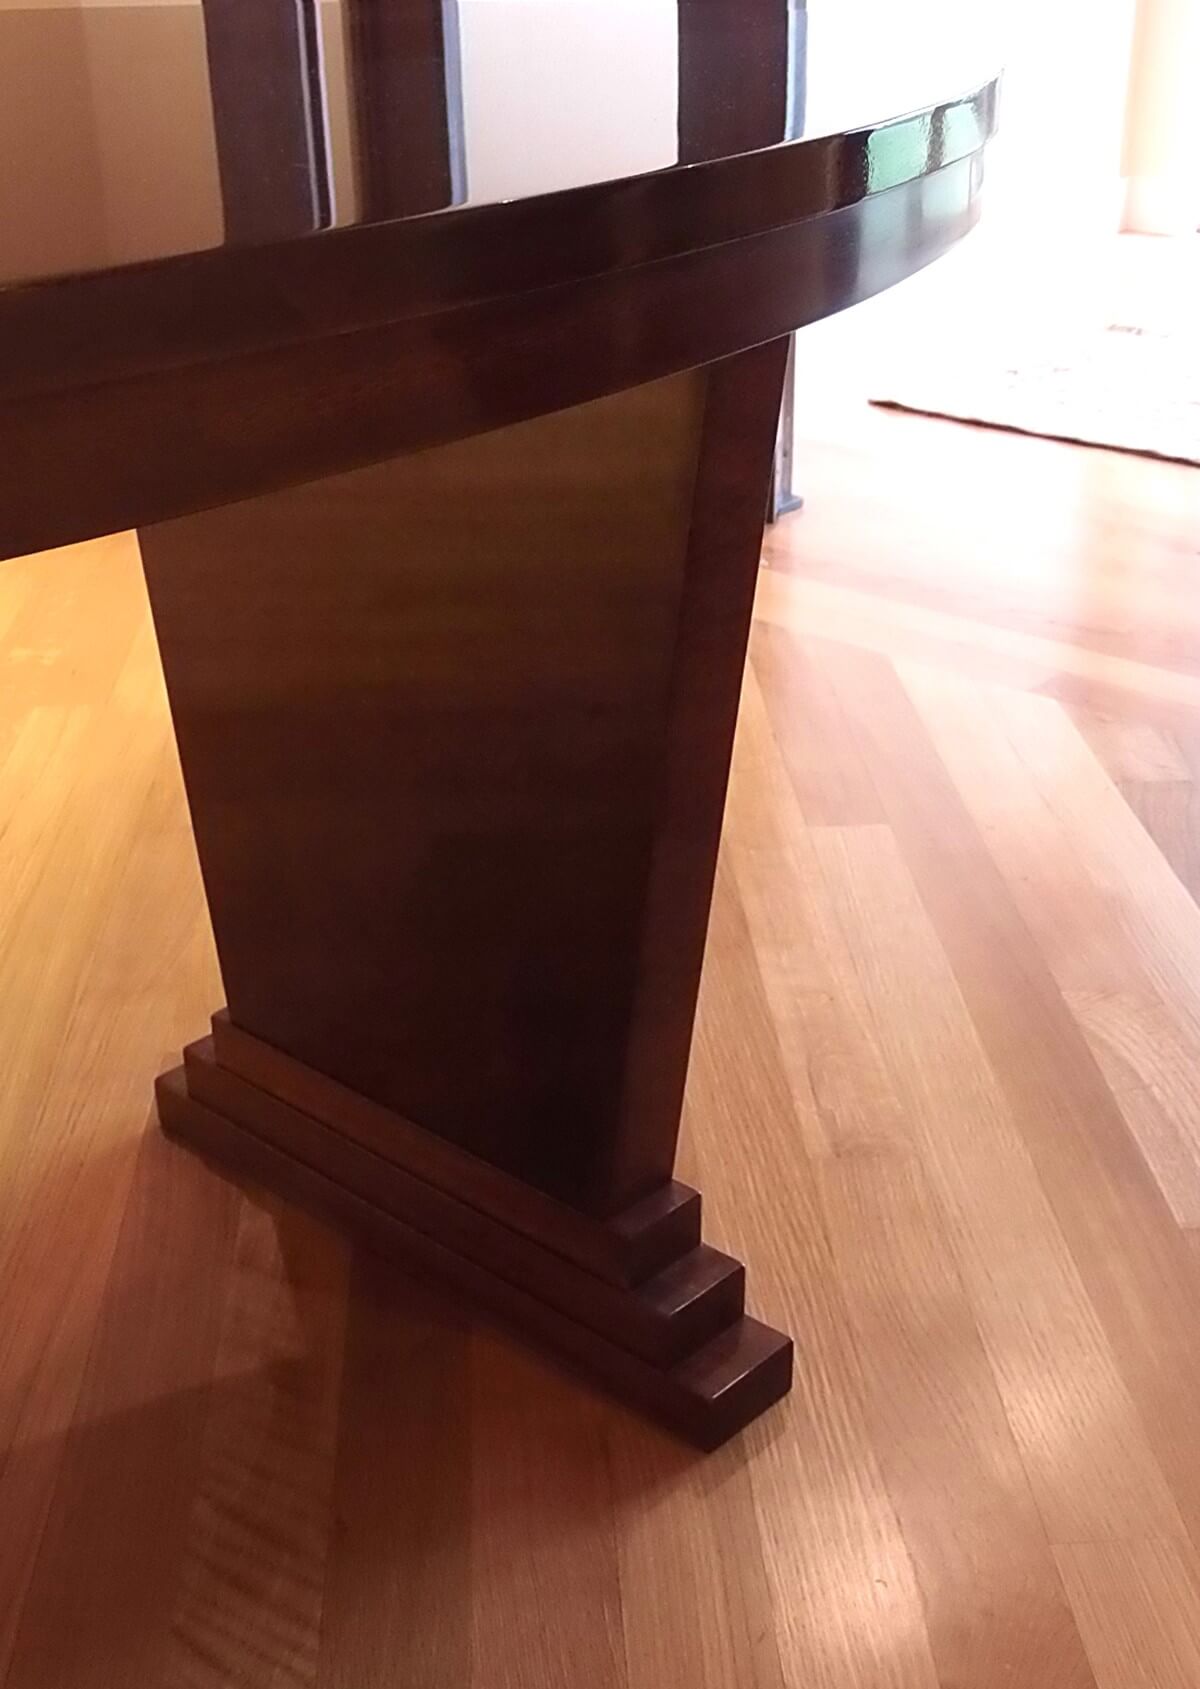 The Foot and Base
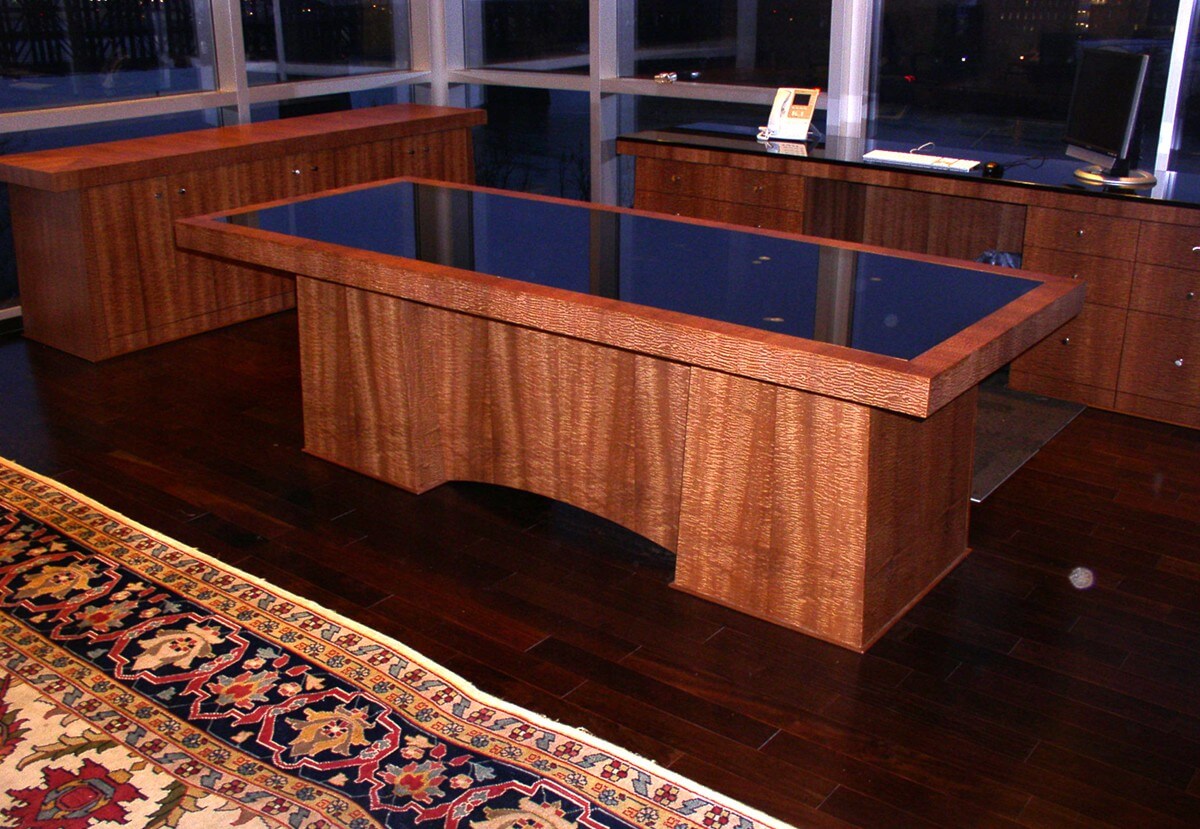
 Executive Office Suite in Pomele Sapele, 4 Pcs
This project was executed completely in Pomele Sapele veneer. The discussions here explore the possibilities and limitations that are part of any design employing custom veneering.
All veneer projects start with samples and mock ups. Not just species samples but the actual flitch and the specific bundle.
The Desk
Samples are essential for any Veneer project
 Quartered Sapele
 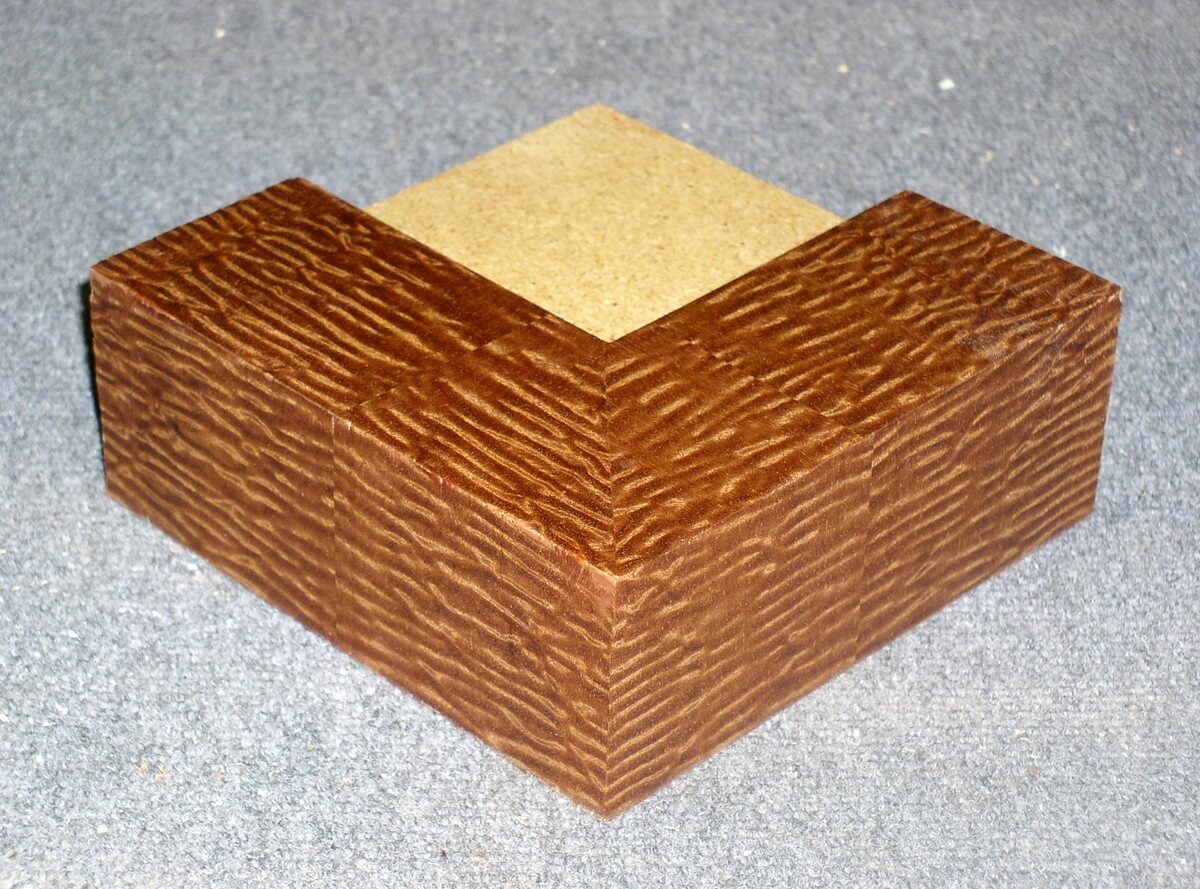 Pomele Sapele
 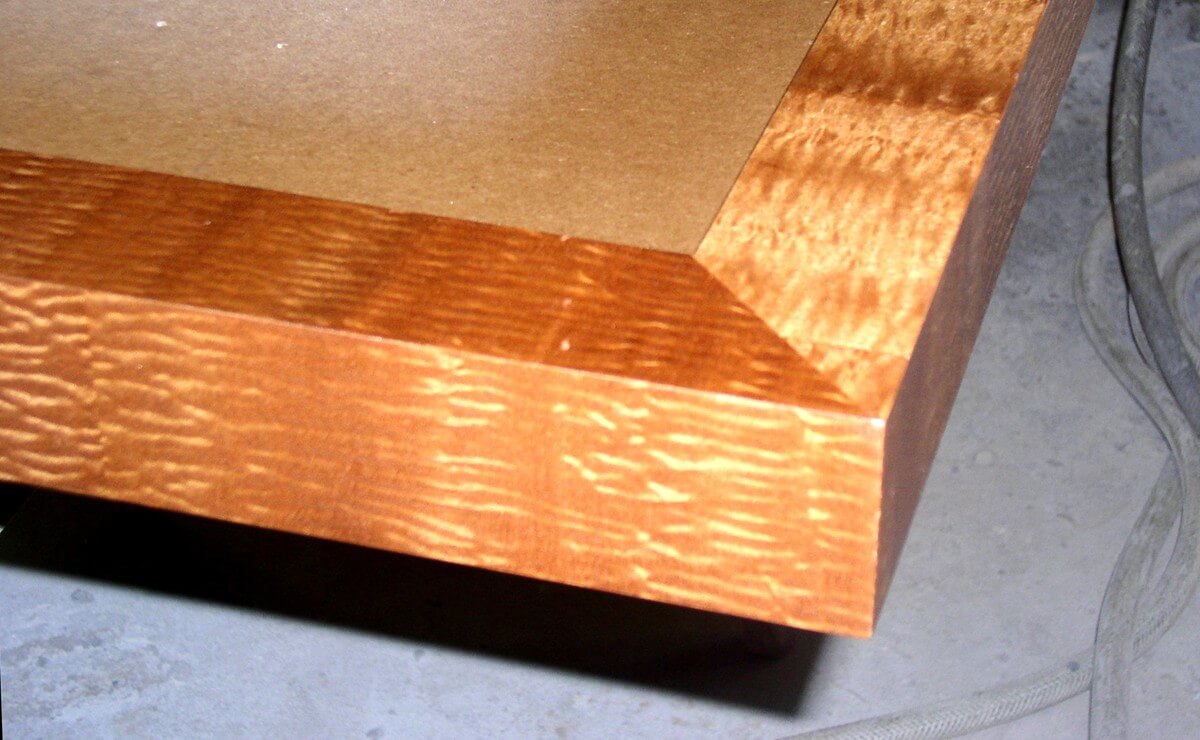 Actual in Pomele Sapele
 The organization of the veneer on any carcass is often an exercise in symmetry. The width of veneer leaves often requires double patterns. Highly figured veneers have offset patterns. Tight control is essential.
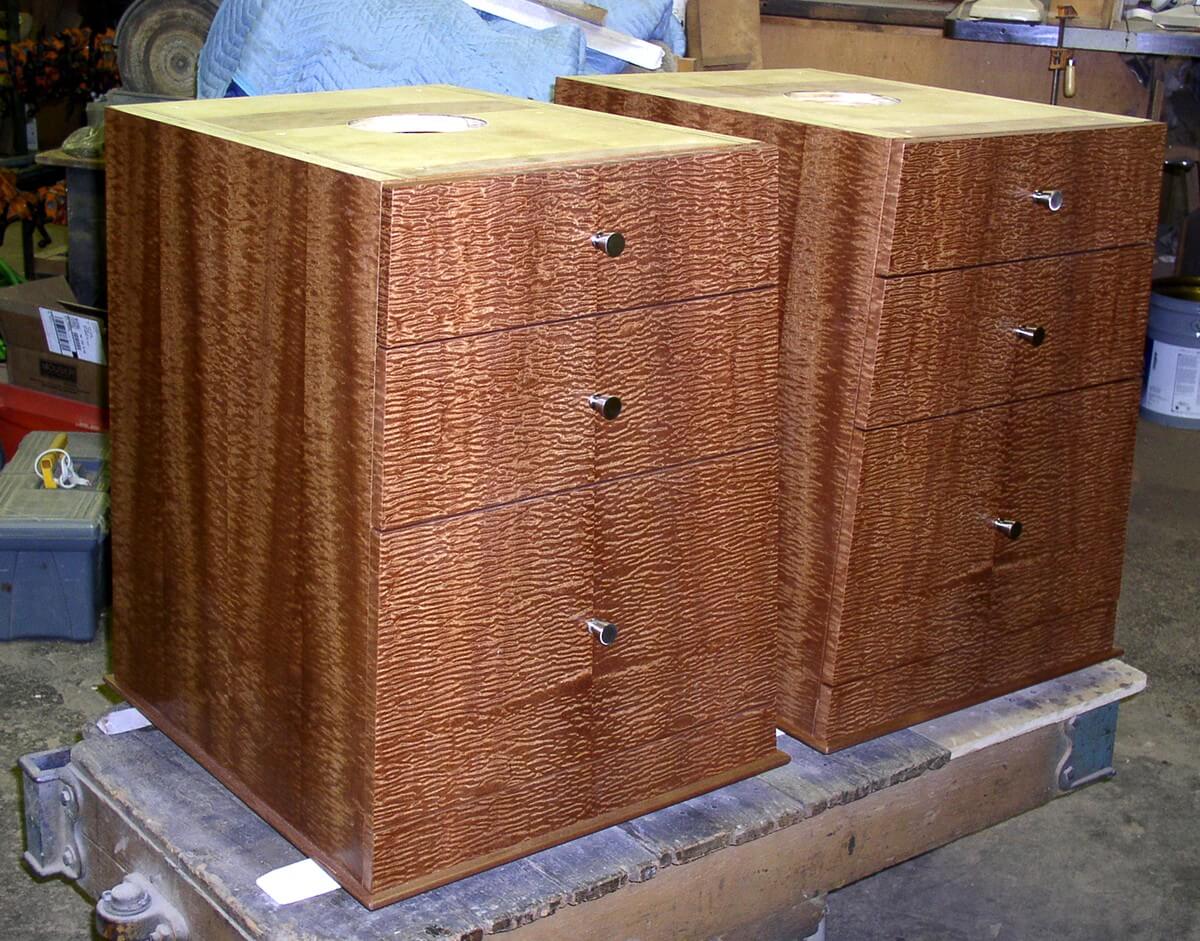 Pedastal Drawer Front
 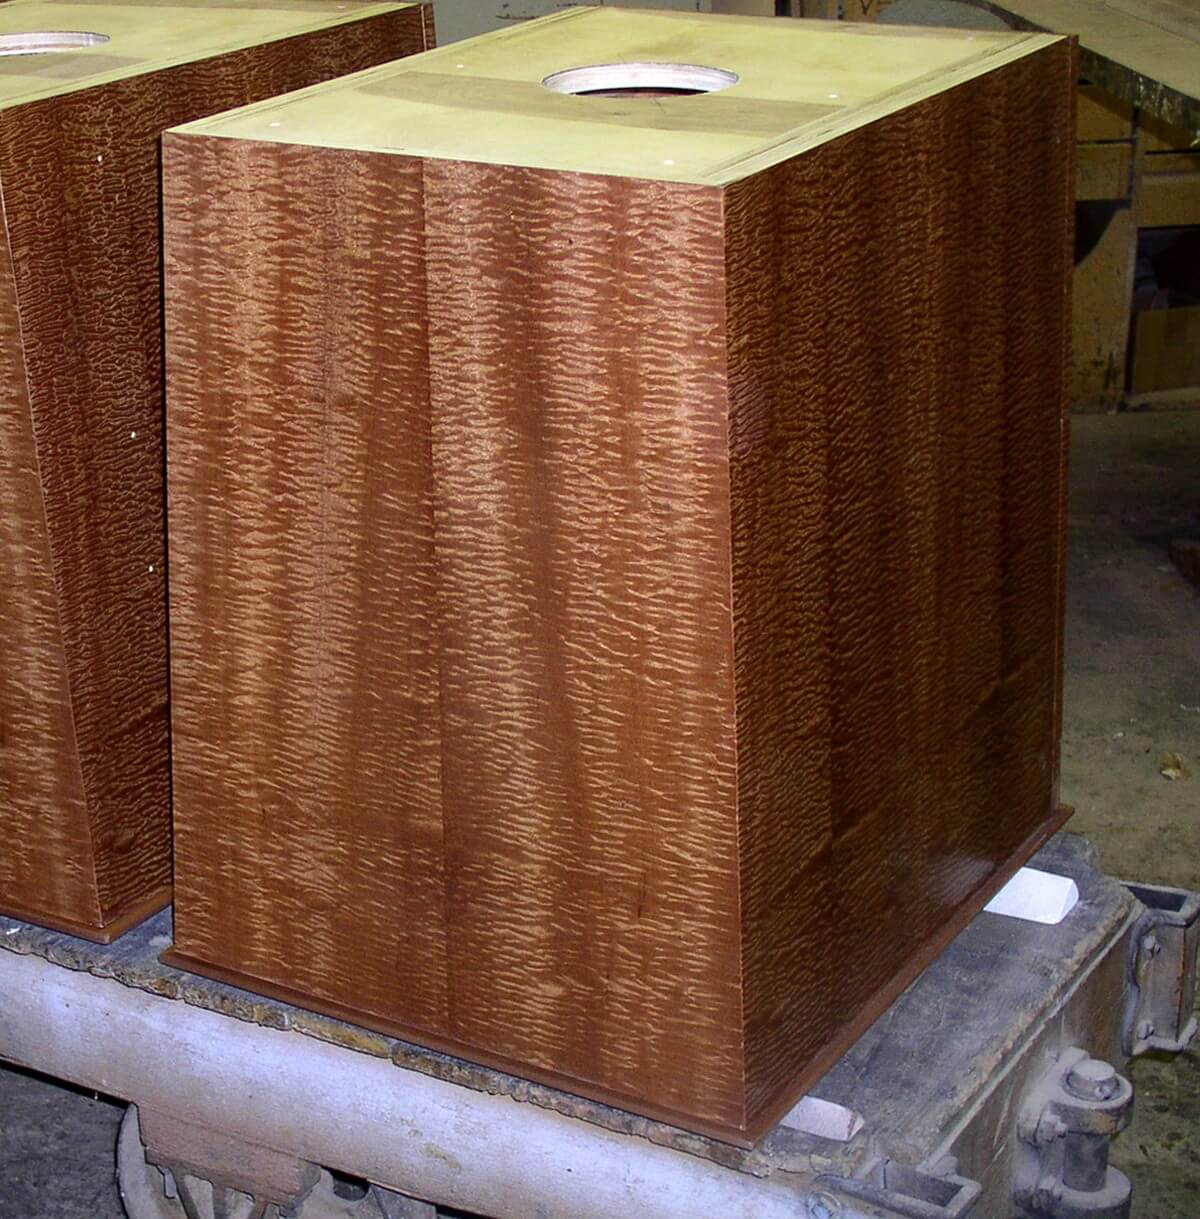 Pedastal Rear
  The Desk
 The Credenza
The opportunitiy for patterns is one of the great potencial for veneer work. Again, samples are important communication technique for customers who are generally unfamiliar with the medium.
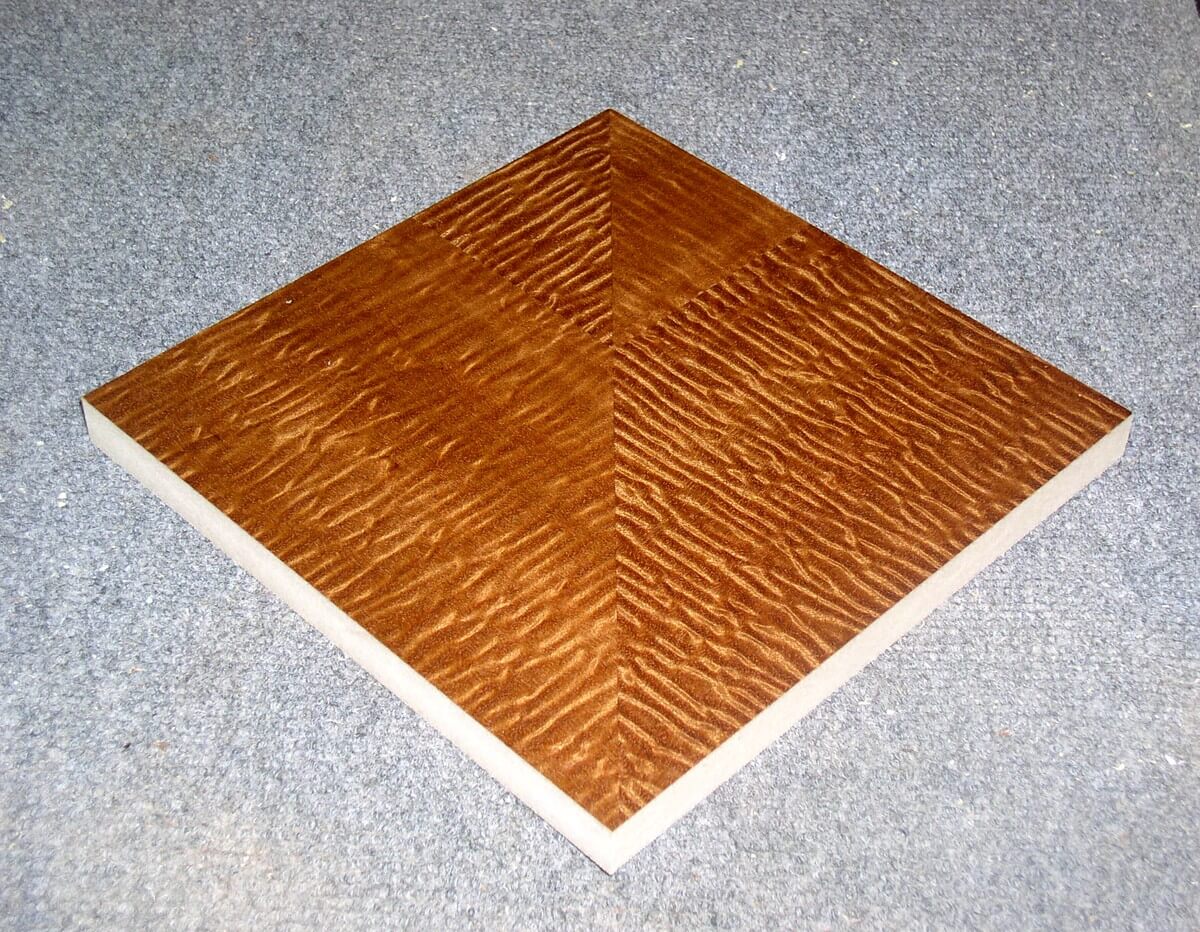 Veneer Sample
 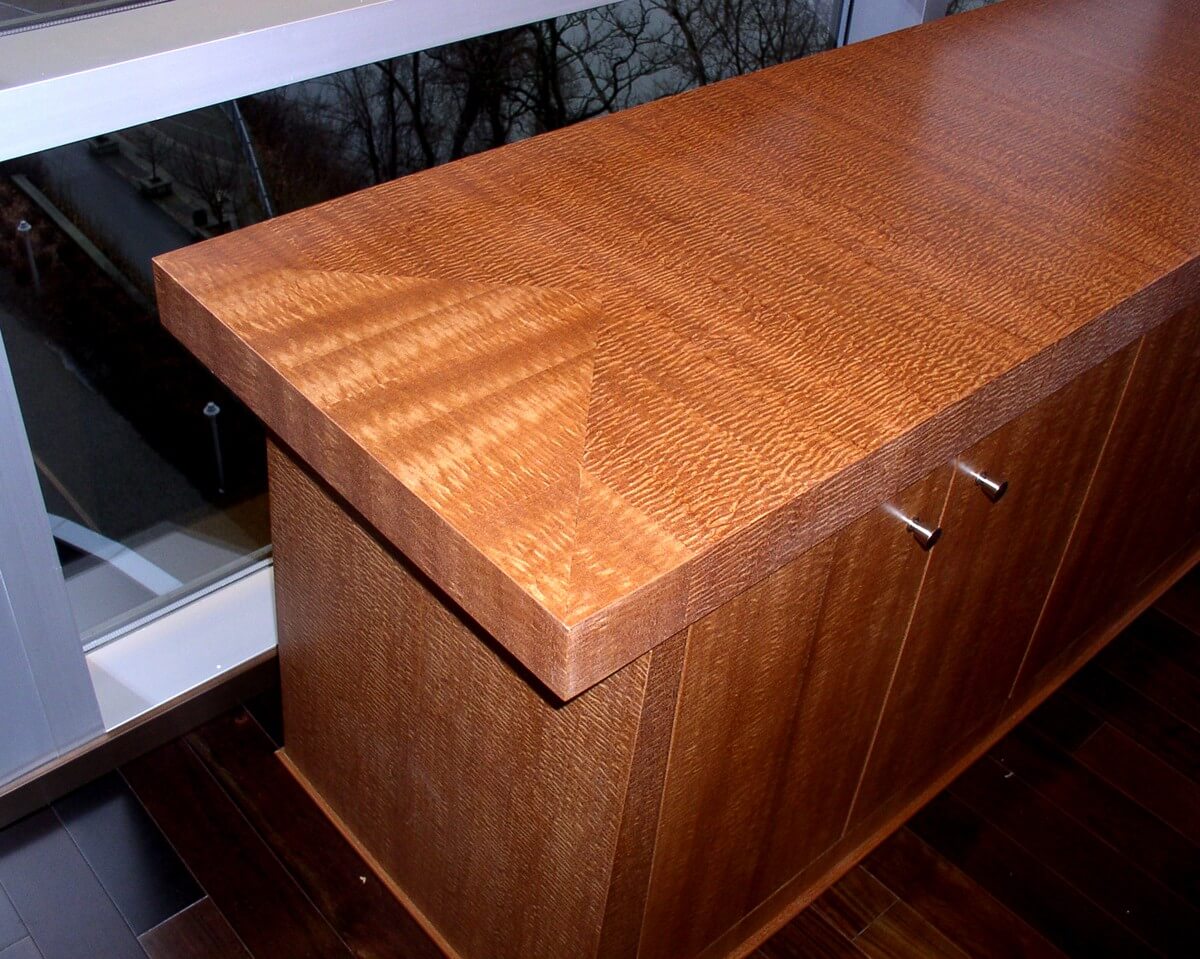 Credenza Top
 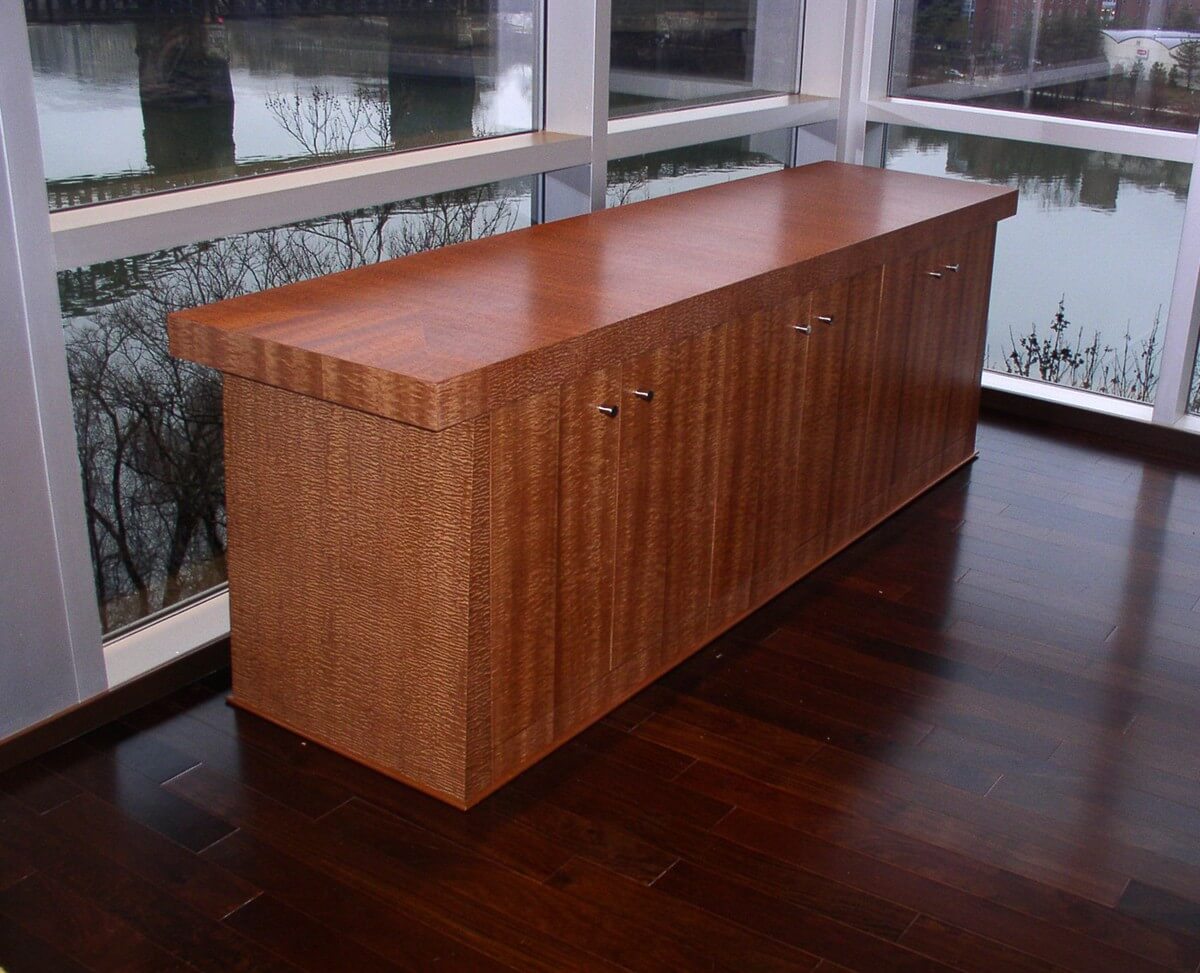 Credenza
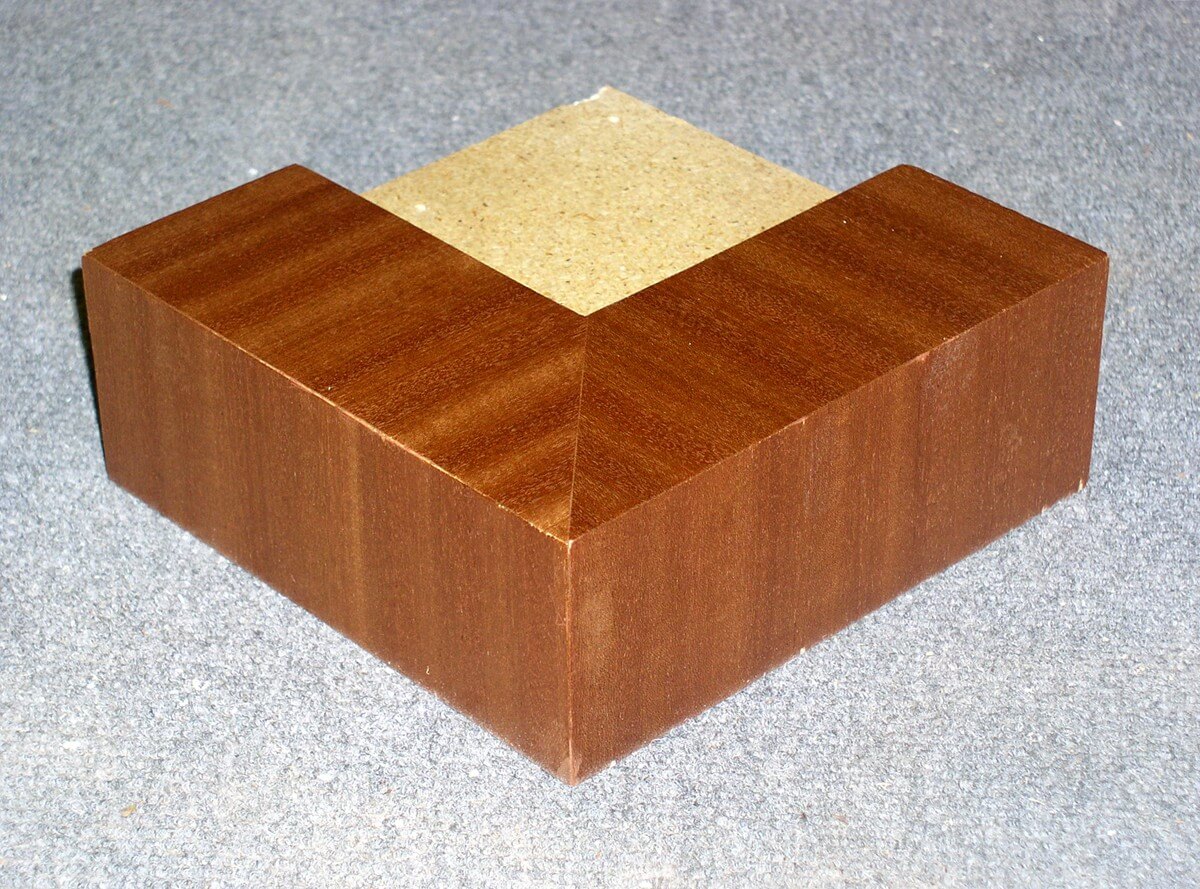
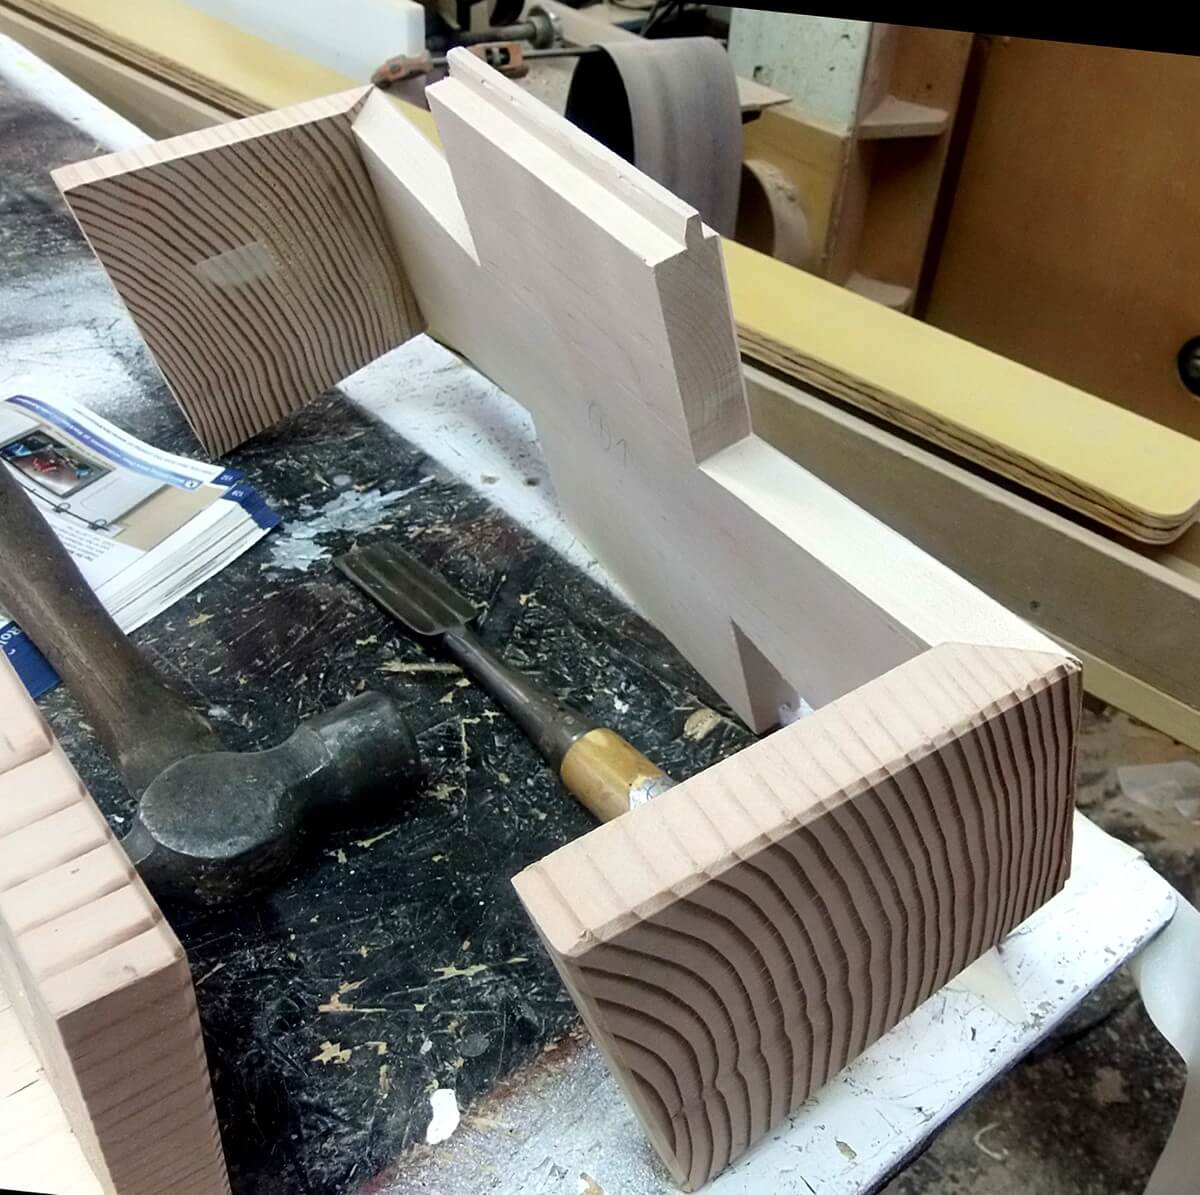
 Dovetail Details for Faux Timber Construction
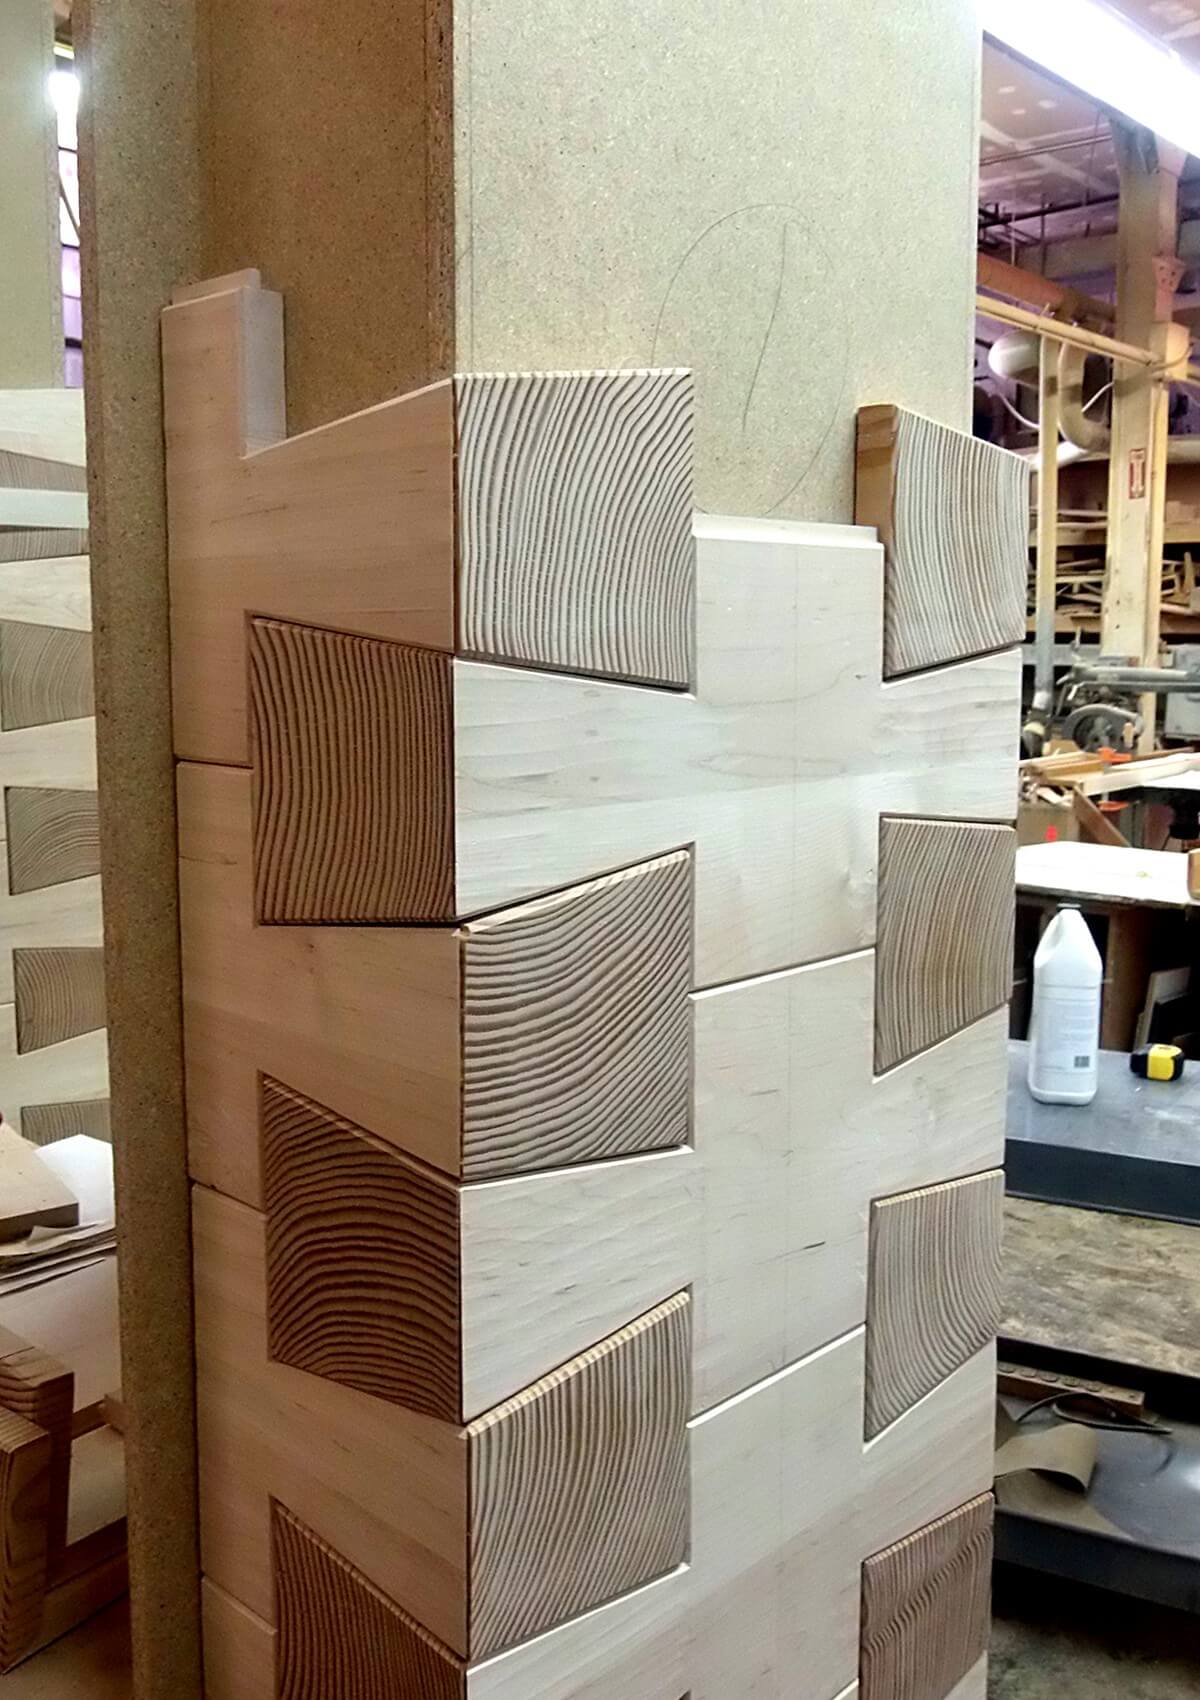
The dovetail joints, simulating timber construction, in this Ukraine Room inspired interior are one of the most significant architectural elements of the space. The choice to have double dovetails, the dovetail form on both sides of the joint, was the desire to have a consistent dovetail image in the multiple views of each outside corner location. The Ukraine room uses single dovetails.
The Dovetails

The challenge of this project was to design the process to produce the finished image that I had decided from the start. It was pure experimentation knowing that the final goal would be assembled on site. The photos show the steps of the process. One challenge was finding the proper end grain material. Our experimentation showed that Douglas Fir was the best. It took 2 weeks to find a 20-year-old timber in an Oregan lumber yard that was dry enough.
 Column Faces
  Wall Returns, Rear
 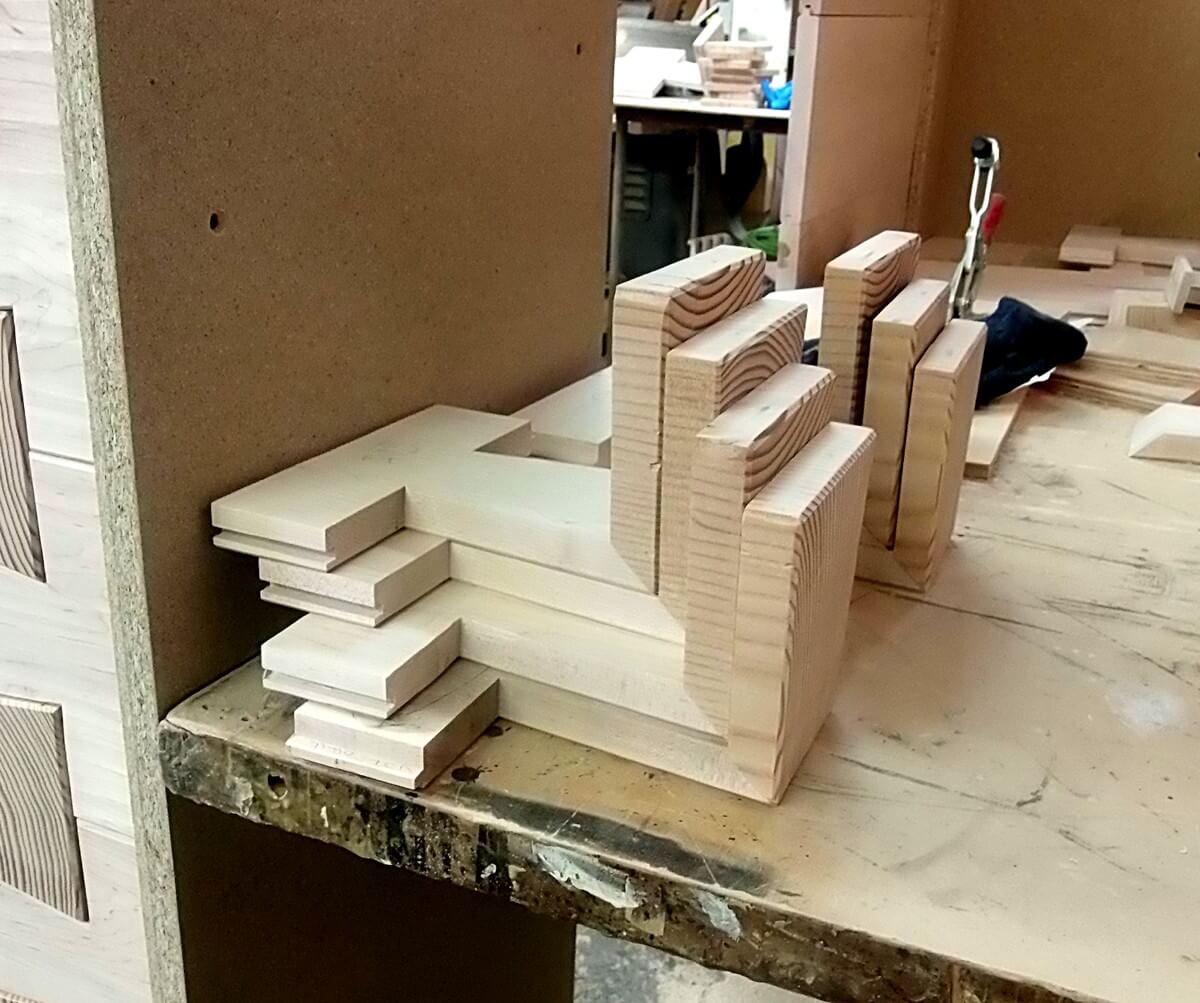 Corner Returns
 The mock up in the studio was essential and rewarding….and revealing. A great mock up make for a happy installation.
 Partial Mock up
 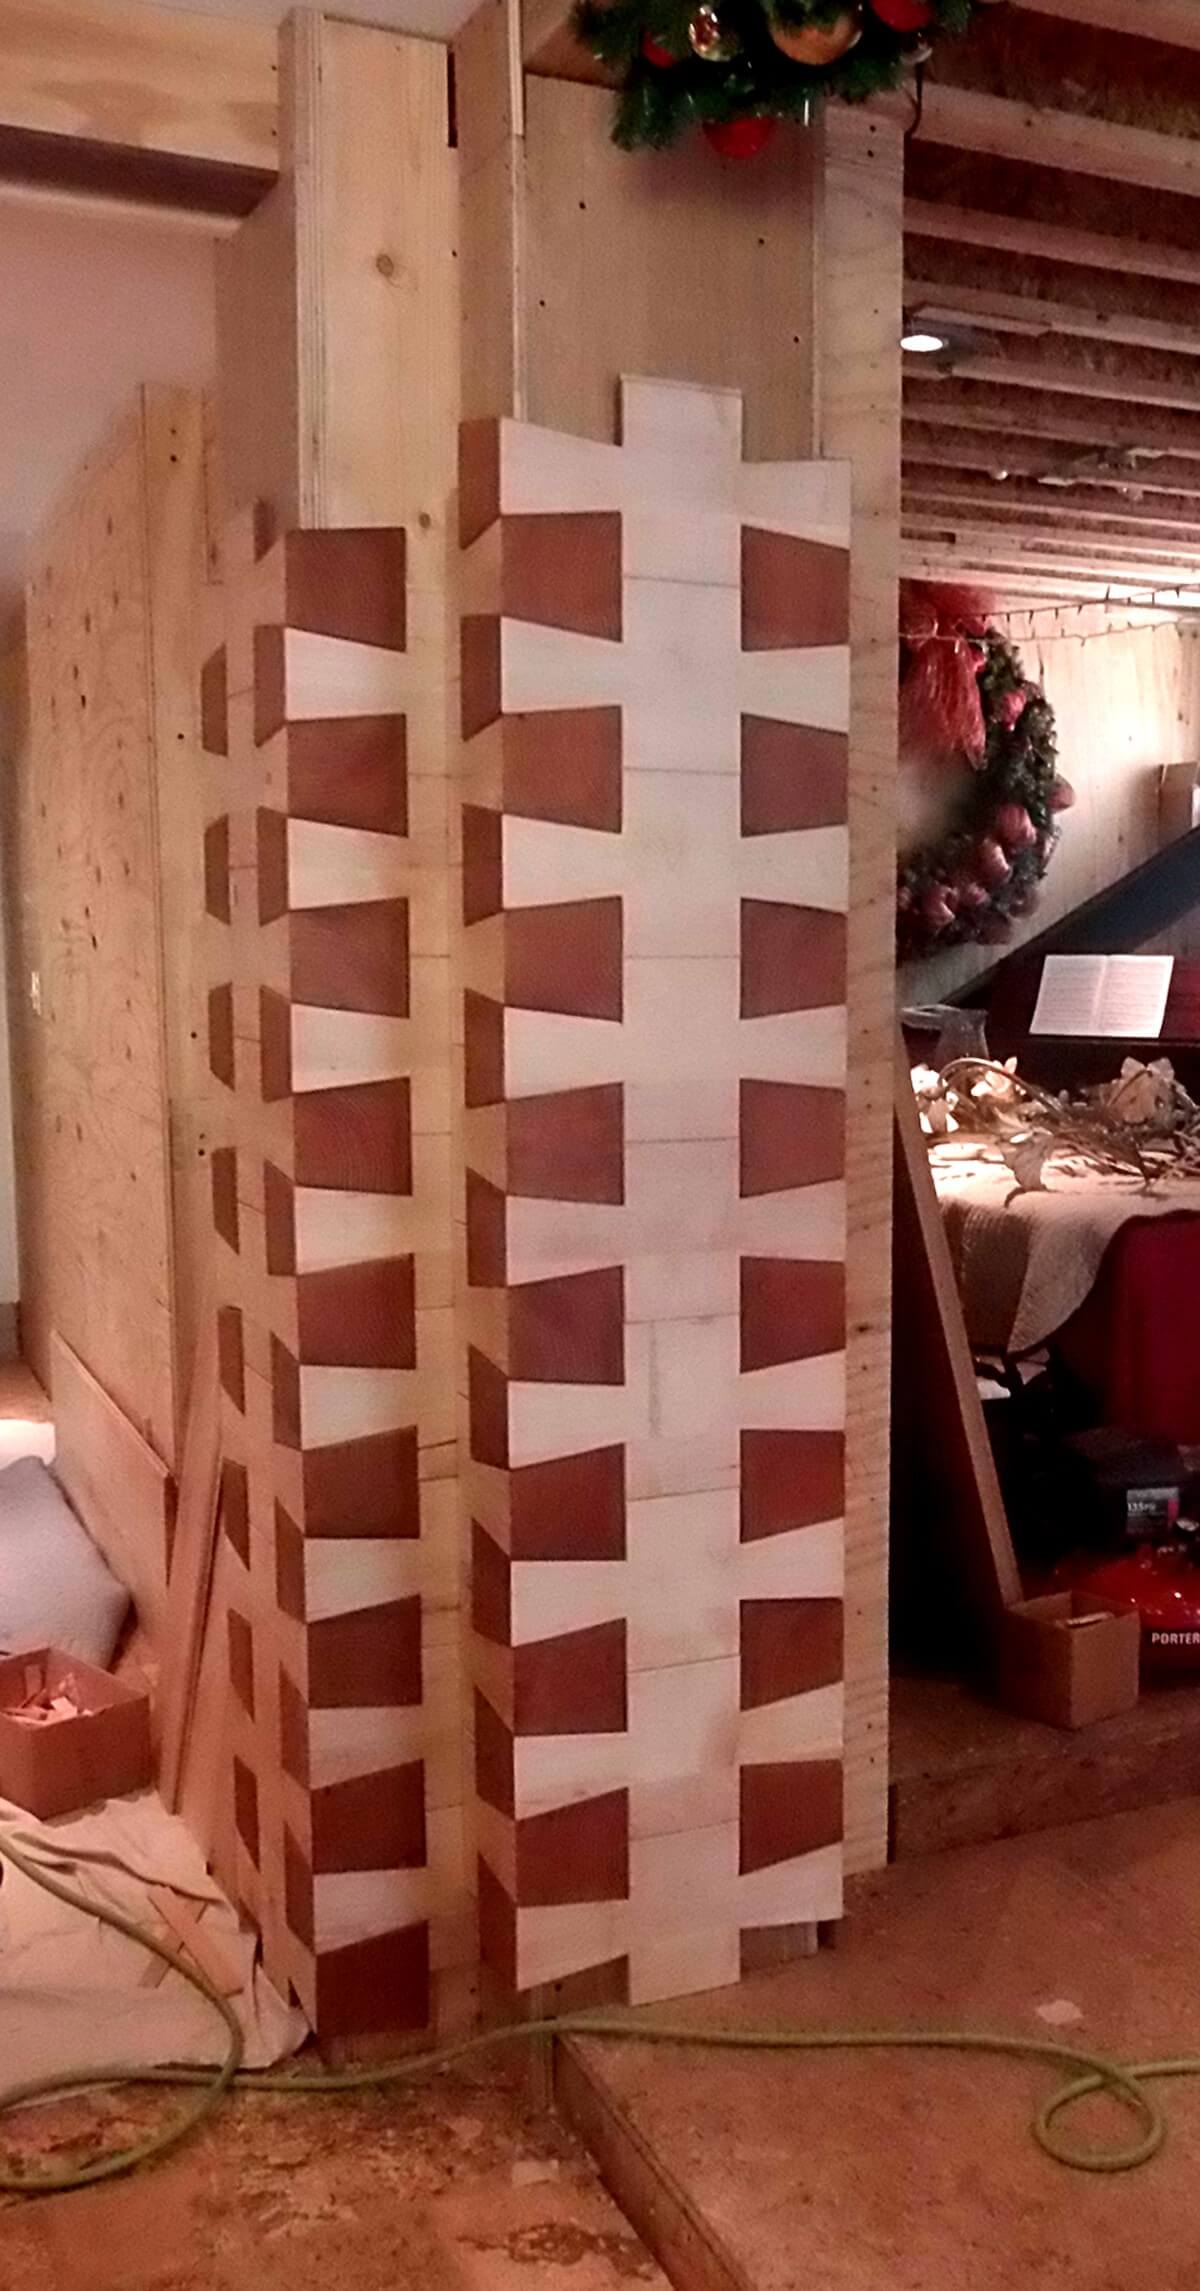 Full Mock up
 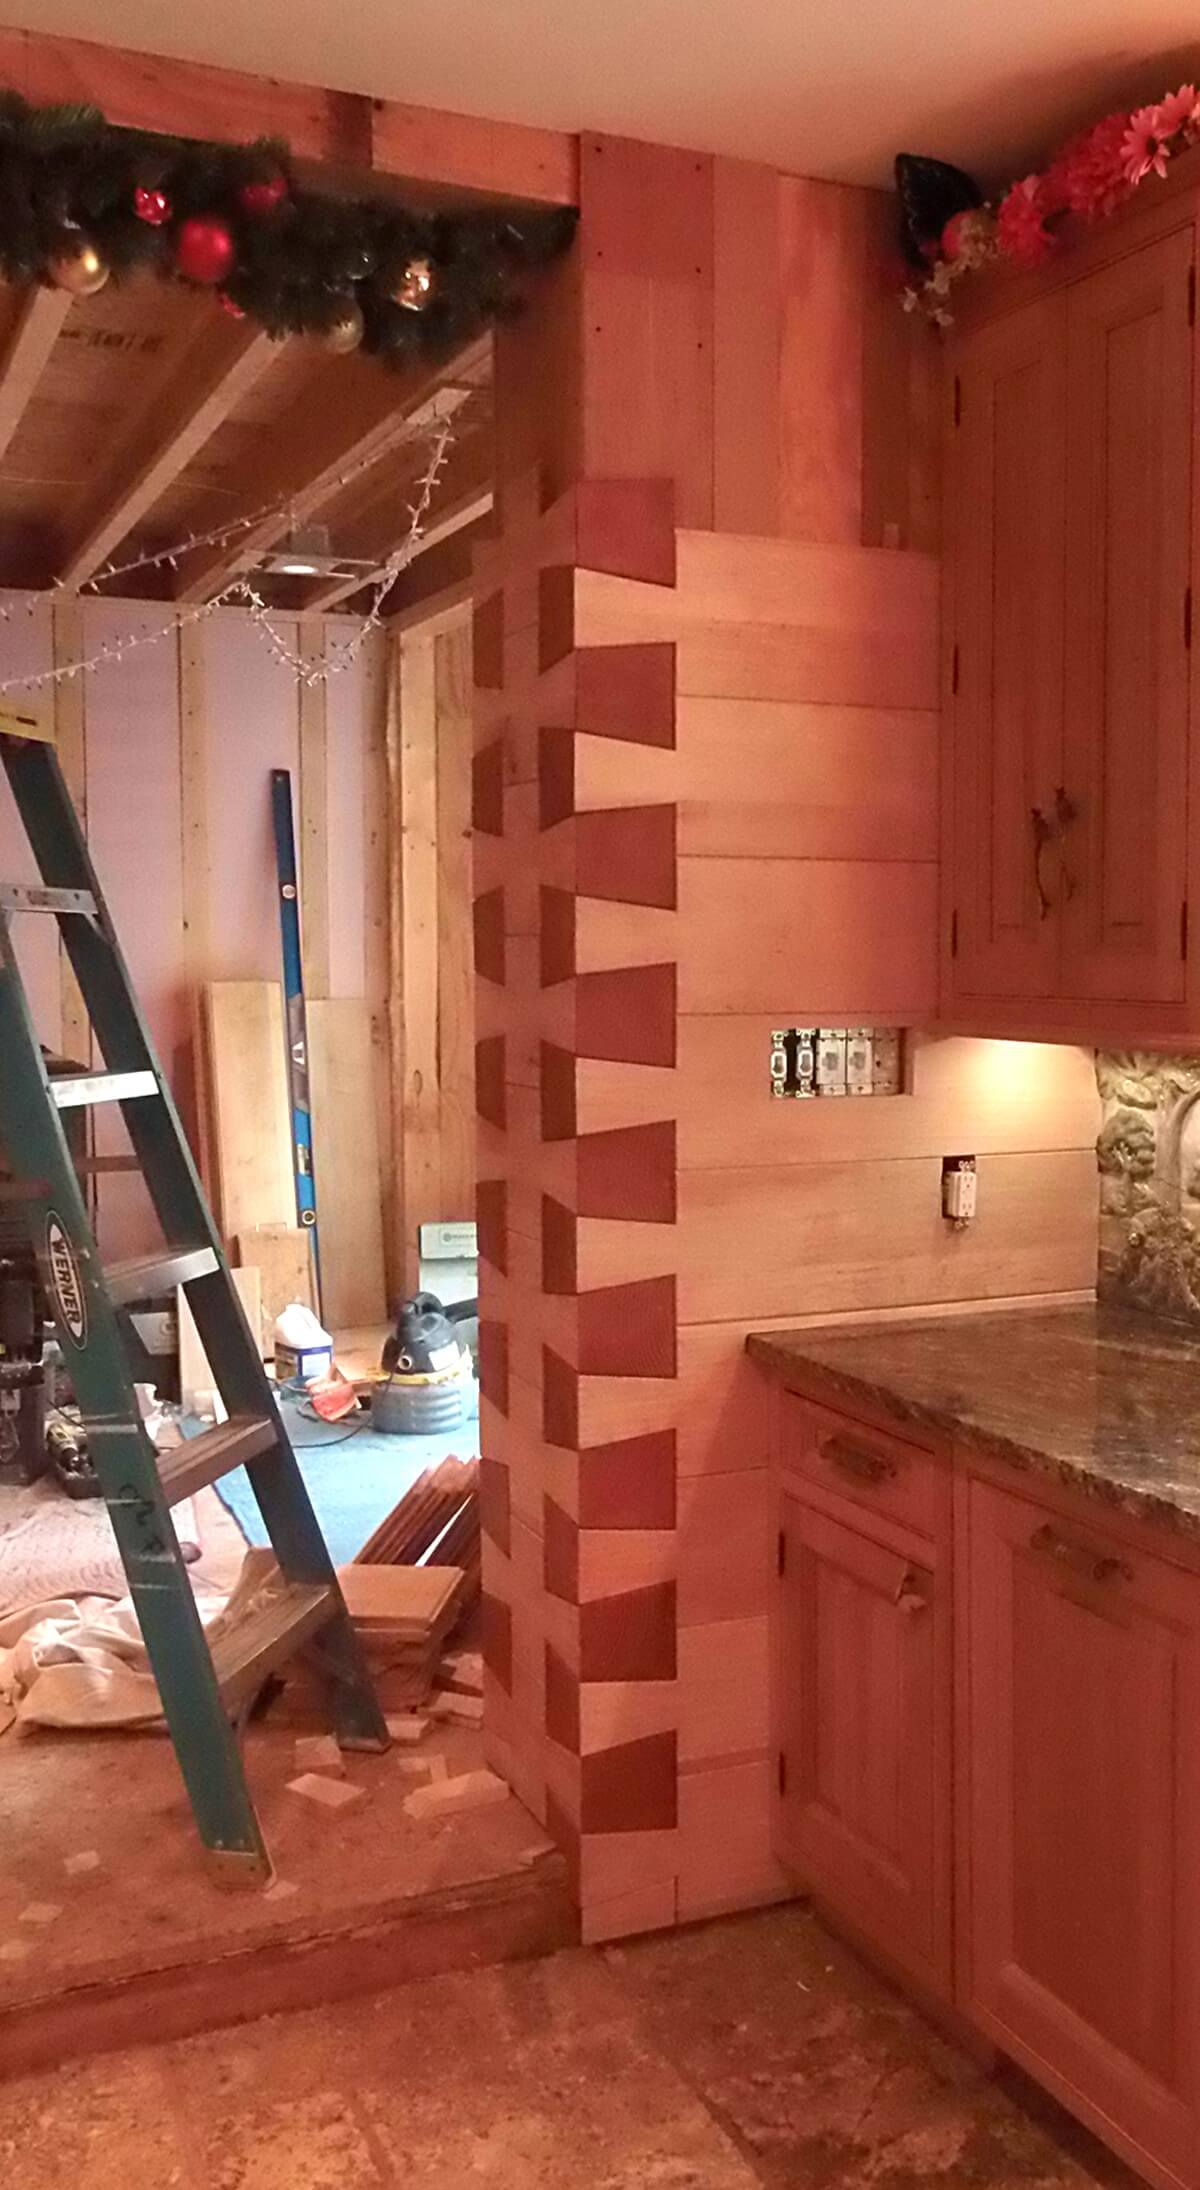 Installation